Decmbrrr czyli moja wersja grudniownika | Scrapczak

09:00 0 Comments

 Cześć! Już jutro pierwszy dzień grudnia, czyli ten moment, w którym zaczniemy zbierać zdjęcia do naszych grudniowych albumów w oczekiwaniu na święta!

W tym roku mój album został przygotowany z wyprzedzeniem z grudniowego zestawu scrapowego, otwierającego moc możliwości twórczych. Kupując zestaw otrzymujecie dostęp do zamkniętej grupy na FB, gdzie w ubiegłym tygodniu wspólnie tworzyliśmy maluszka zaprezentowanego na poniższych zdjęciach.

Album wymaga jeszcze dopracowania szczegółów - prosi się o liczniejsze dodatki i stemple czy naklejki, których propozycje znajdziecie w zestawie oraz w ostaniej kolekcji zimowej. Brakuje także zdjęć - to wszystko przed nami, bo już w drugim tygodniu grudnia widzimy się ponownie na grupie celem uzupełnienia albumu :)

A jak Wasze grudniowniki? Gotowe?

Do zobaczenia!

0 komentarze:

Zostaw komentarz, będzie nam miło.

Star christmas garland/Andrea Gellai


Hello Studioforty friends!


Today I want to show you my first winter inspiration of the year. I made a Christmas garland from the amazing Frosty Season collection. Its colors and atmosphere are beautiful, aren't they?

First I cut 5 bigger stars out of white cardboard 5 smaller stars out of the Frosty Seasonpaper pad and then glued them to each other. I punched  and put ribbon in them.


I decorated it with fussy cuts, die-cuts, chipboard stickers, and then sewed it all up on a pom-pom ribbon completed with a few die-cuts.


I hope you enjoyed today's project.


 Thanks for stopping by here today and happy crafting!


0 komentarze:

Zostaw komentarz, będzie nam miło.

December Memories Kit- Notebook część 2. I Papierowy Skrawek

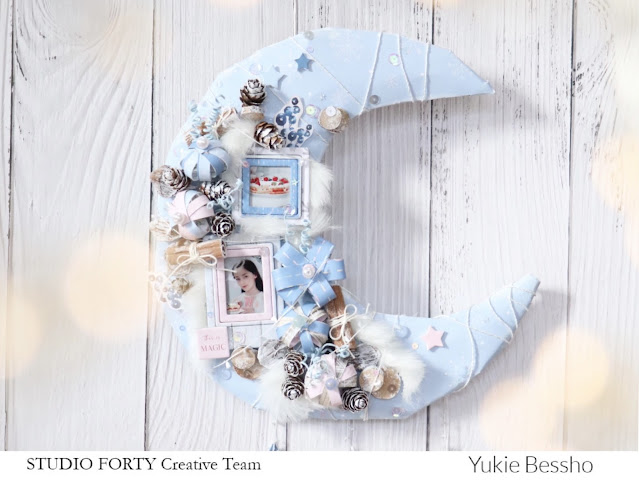
 Cześć! Najwyższy czas pokazać Wam drugą część mojego Grudniownika, który powstał z zestawu December Memories Kit


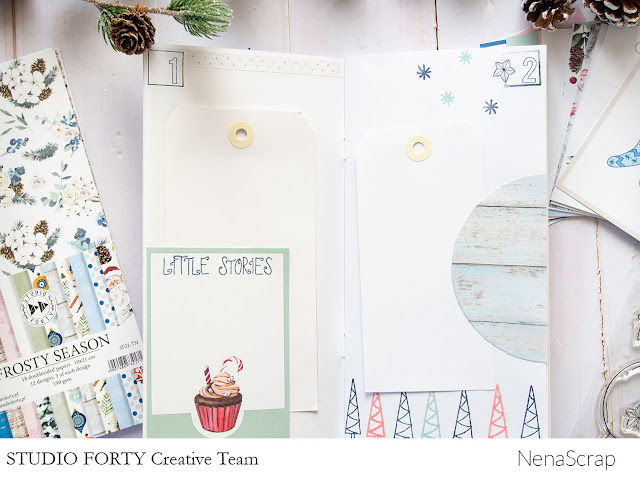
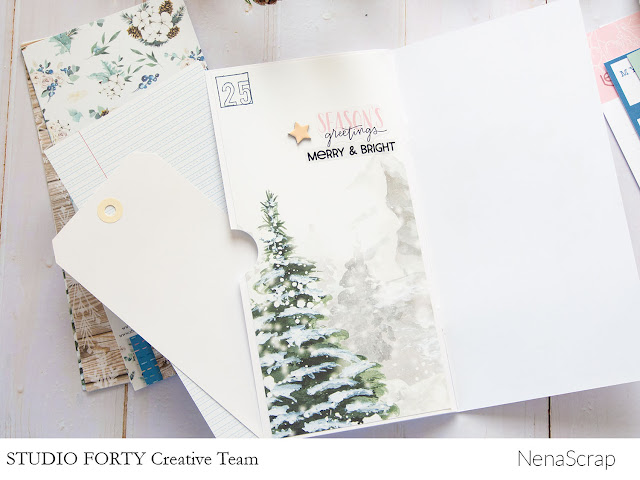
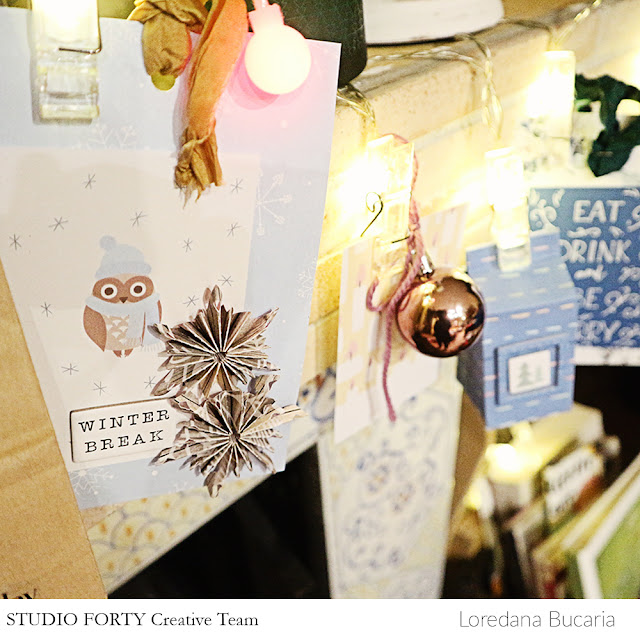
 Wydaje mi się, że druga część mojego Grudniownika jest dużo bardziej kolorowa. Znajdziecie w nim znacznie więcej mocniejszych kolorów: czerwieni, brązów i żółtego.   I oczywiście całe mnóstwo powycinanych elementów.
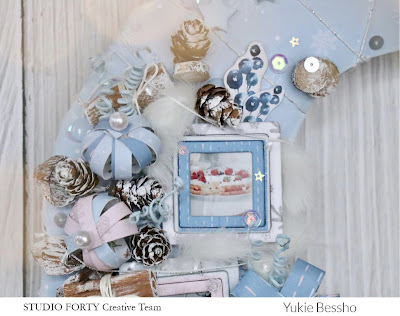
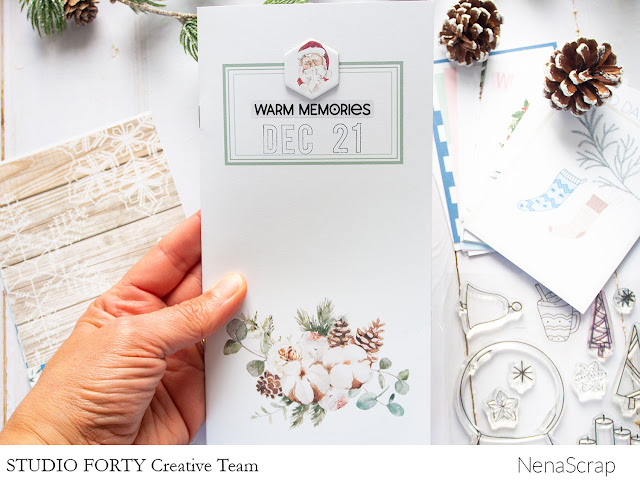
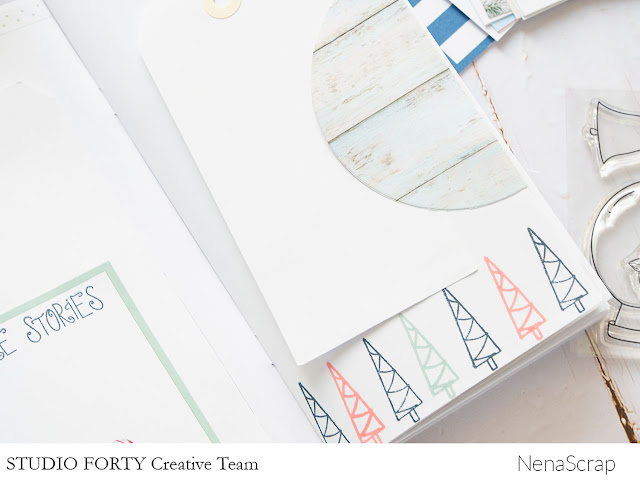
Planuję zrobić w grudniu dużo zdjęć, więc musiałam pomyśleć też o takich przegródkach, aby pomieściły więcej niż jedno zdjęcie. Nie obyło się też bez stemplowania. To mój sprawdzony sposób na stworzenie takiego tła, jakie akurat przychodzi mi na myśl, ale tym razem odbitki stempli zrobiłam zielonym tuszem, dzięki temu obie strony ładnie komponują się kolorystycznie. 


Po lewej stronie kolejny sposób na ukrycie zdjęcia. Aby włożyć lub wyjąć zdjęcie należy klapkę unieść od góry, a przeglądając Grudniownik będę widziała tylko taką część zdjęcia, która będzie widoczna przez wycięty otwór. 

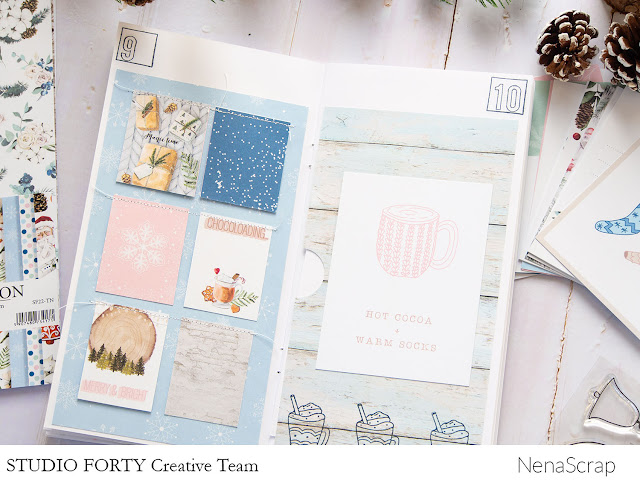
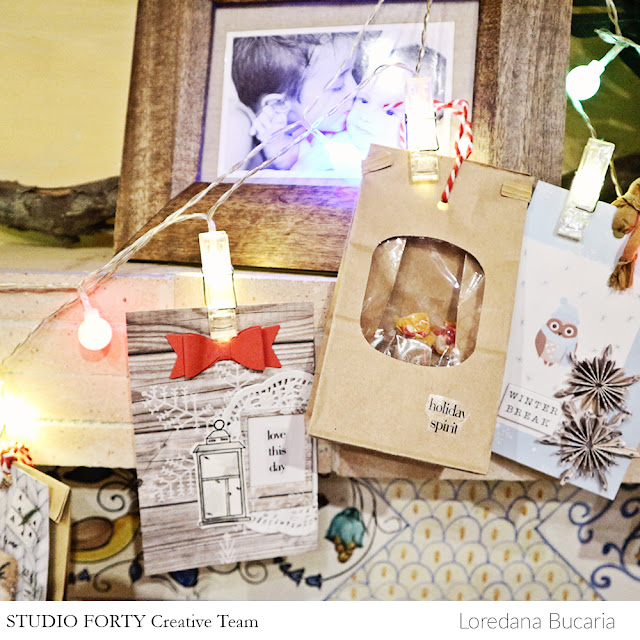
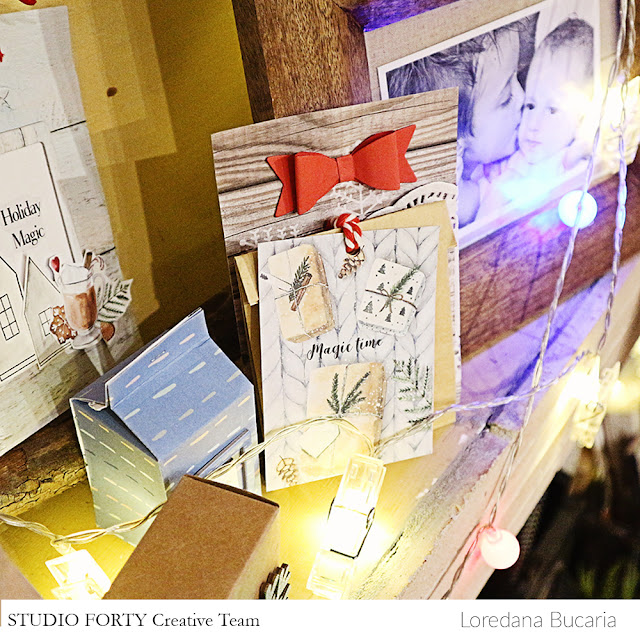
Do dekoracji stron polecam wszelkiego rodzaju skrawki papieru. Można z nich ułożyć ciekawe kompozycje, a jako dodatki niech posłużą Wam elementy powycinane z karteczek do journalingu i etykietki z zestawu printabli do własnego wydrukowania.Na tych etykietkach można umieścić różne informacje: daty, nazwy miejsc. Ja tym razem wykaligrafowałam okrzyk świętego Mikołaja : Ho, ho, ho. 

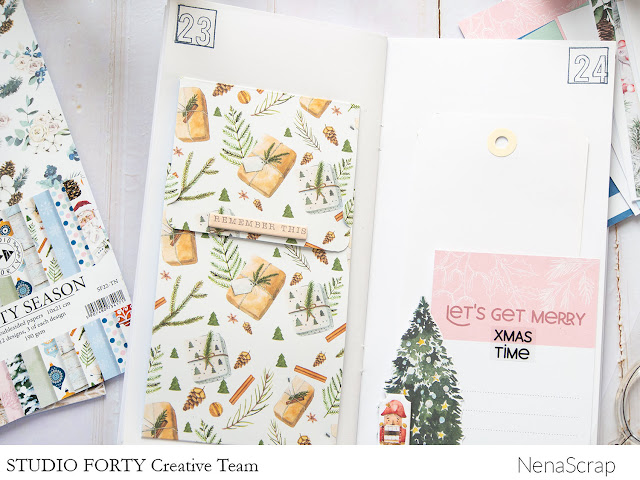
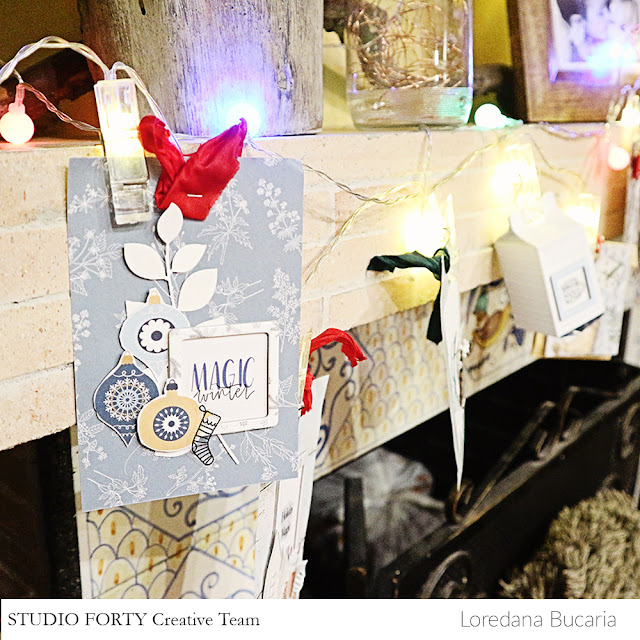
A tu mamy kolejny pomysł na klapkę ukrywającą część zdjęcia. Po jej uniesieniu ukaże się miejsce na notatki, a zdjęcie będziemy widzieć w całości.

Tak bardzo spodobał mi się pomysł ukrywania zdjęć, że w ostatnim wpisie skorzystałam z tego pomysłu jeszcze raz, al tym razem w postaci ukrytych drzwiczek. Po ich otwarciu ukazuje się miejsce na dwa zdjęcia, ale ja planuję umieścić tam kolaże zdjęć np. z przygotowań do wigilii.

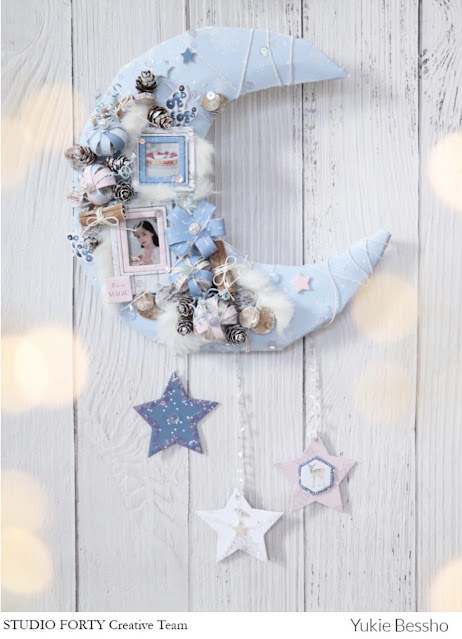
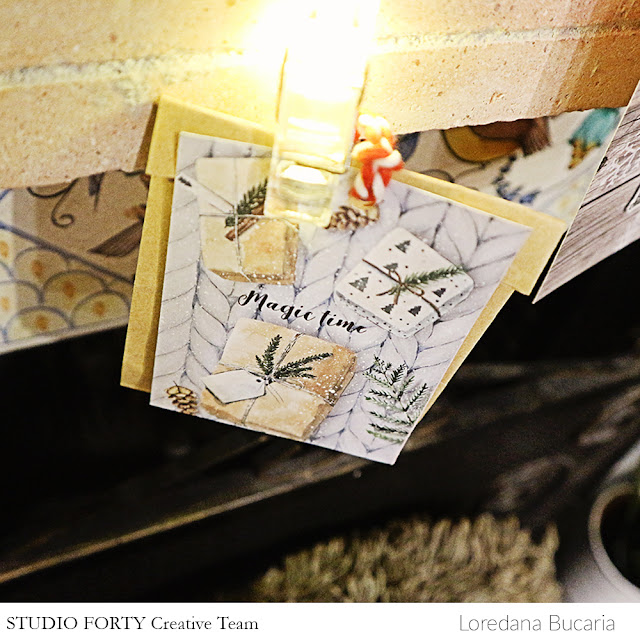
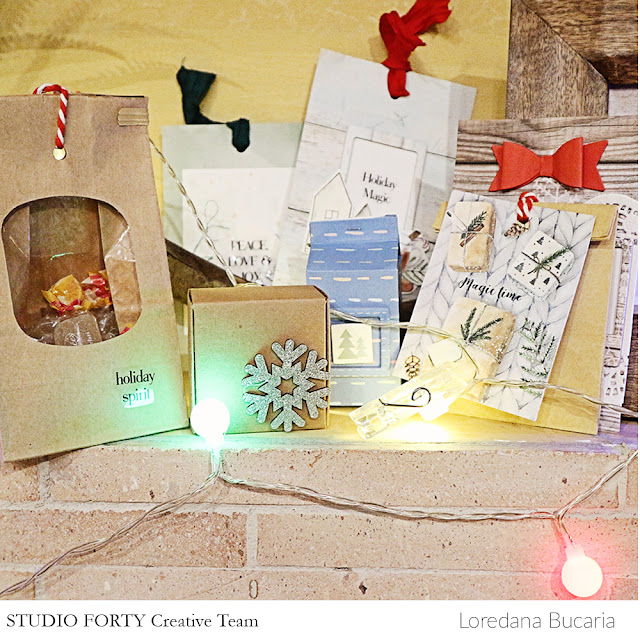
Mój Grudniownik jest już naprawdę niezłym grubaskiem, a przecież nie ma tam jeszcze zdjęć. W tym momencie mam przygotowaną bazę na 24 dni, ale znając siebie, zdjęć będę miałam znacznie więcej, więc pewnie pojawią się kolejne wpisy. Na samym końcu notesu umieszczę kopertę na zdjęcia niewykorzystane lub jakieś drobne dodatki, które zawsze przydają się później. 

Nie pozostaje mi nic innego jak czekać na początek grudnia, gdy mój notes zacznie zapełniać się zdjęciami. 

Pozdrawiam!

Papierowy Skrawek 


0 komentarze:

Zostaw komentarz, będzie nam miło.

Winter hanging on your kids room|Yukie Bessho


Hello everyone !

How are you all ? 


I would like to share something unexpected today. Scrapbooking and paper rafting always meet serendipities. 
And this one is a good example of them. 

I was thing
King something like an origami wreath with frosty season collection, and what I end up was this one. 

Nothing like origami, not a wreath. 
But I like what I got here very much. 


So it is a home decor. 
A perfect winter decoration hanging for a child’s room. 

Stars are decorated with some glittery stuff and sequins. 

So much of everything gathered up. 
Chipboard frames are my favorites. 
I wrap the half moon with quilt cotton.. so it’s quite thick. 
Fun creating. 

Chipboard stickers are so effective! 


Please check out the awesome FrostySeason collection →Click here

Thank you very much for staying with me until the end. 
Wishing you a happy winter!

Yukie


0 komentarze:

Zostaw komentarz, będzie nam miło.

Preparing For Documenting December | NenaScrap

 Hi Studio Forty friends,

It's NenaScrap with you today. I hope you're doing well.
Have you started planning your creative December ? Are you doing a December Daily ?
 
Every year, I embark on this project and I can't finish it ! So, this year, I decided to do it differently.

I prepare a notebook to note, each day, all the anecdotes and little stories of our month of December.
This way, I will have plenty of time to print my photos and make my December Daily once the month is over.

I stamped one day per page  with the Simple Alpha stamp set.
This way, I will be able to write down all the events each day so I won't forget anything when I do my December Daily.


I created on each page some kind of pockets by gluing, on 2 sides only, pieces of paper or Project-Life cards from Frosty Season collection. 
I will be able to write my journaling on my traveler page, the PL cards and even the tags inserted in the pockets.

I used the Fun And Cozy and the Winter Mood stamp sets to decorate my pages.


It's easy to create a wishlist with the Days Documented stamp set.
The Xmas Time transparent stickers are beautiful , I love how they look on the white pages.


I used chipboards stickers to add a little touch of volume on my pocket and card.


For the day of December 25th, there was a double blank page left in the traveler notebook, so I glued these 2 pages together at the top and bottom to create a pocket.
I will be able to add several tags and pages for my journaling.

I hope you enjoy this project and that it inspires you to document your December stories and perhaps make it a December Daily.

Have a happy crafty day.

XOXO

NenaScrap


0 komentarze:

Zostaw komentarz, będzie nam miło.

Christmas Kit - Advent Calendar & ideas - part 2| Loredana Bucaria


Happy Monday everyone!
How are you?
How will you start your creative week? I'm preparino some advent calendars this week. I have thought to make a surprise for my mother and for some friends, other than my children! So this is the final week, where ideas need to come and the calendars need to be ready for the next week! 

I can't believe November it's almost finished argh! Please stop the time!
And you? Are you preparing the advent calendar this year?

Today I would like to share the second part of my project and many tips I have thought about lately.

Usually I hold my calendar on a structure that changes year after year, this year I have thought about a wooden box for my children to close and to open each day with a key that the elf will bring with him.

For my mother, that is the recipient of this Advent Calendar I have thought to put everything in a white box and let her chose the card or the little package or the bag with candies she wants, so completely free with no numbers. 

This same calendar can decorate your halls, your fireplace and when I have taken the pics of my project I have understood that it would be a great and so festive decoration just adding also some black and white pictures of the past Christmas times.


Some TIPS:
  • use 3x4 journaling cards to close a little kraft bag
  • create some little packages with dies 
  • decorate with just little touches paper bags for your candies
  • add pictures and lights
  • mix different kinds of embellishments from the clear stickers to the chipboards
  • alternate packages and cards
  • use twines, ribbons and wool thread 
  • watercolors are perfect to play with the gorgeous Studio Forty stamps


Remember the little details let make a little project so magic !


Hope you have a wonderful creative week and that this project inspires you to create your own advent calendar! I am so excited and can't wait to have all the little gifts to donate it to my mom!

Have a wonderful day
It's beginning to look a lot like Christmas!

Love, Lory


0 komentarze:

Zostaw komentarz, będzie nam miło.