2 Layouts with Frames & Splashes | Marivi


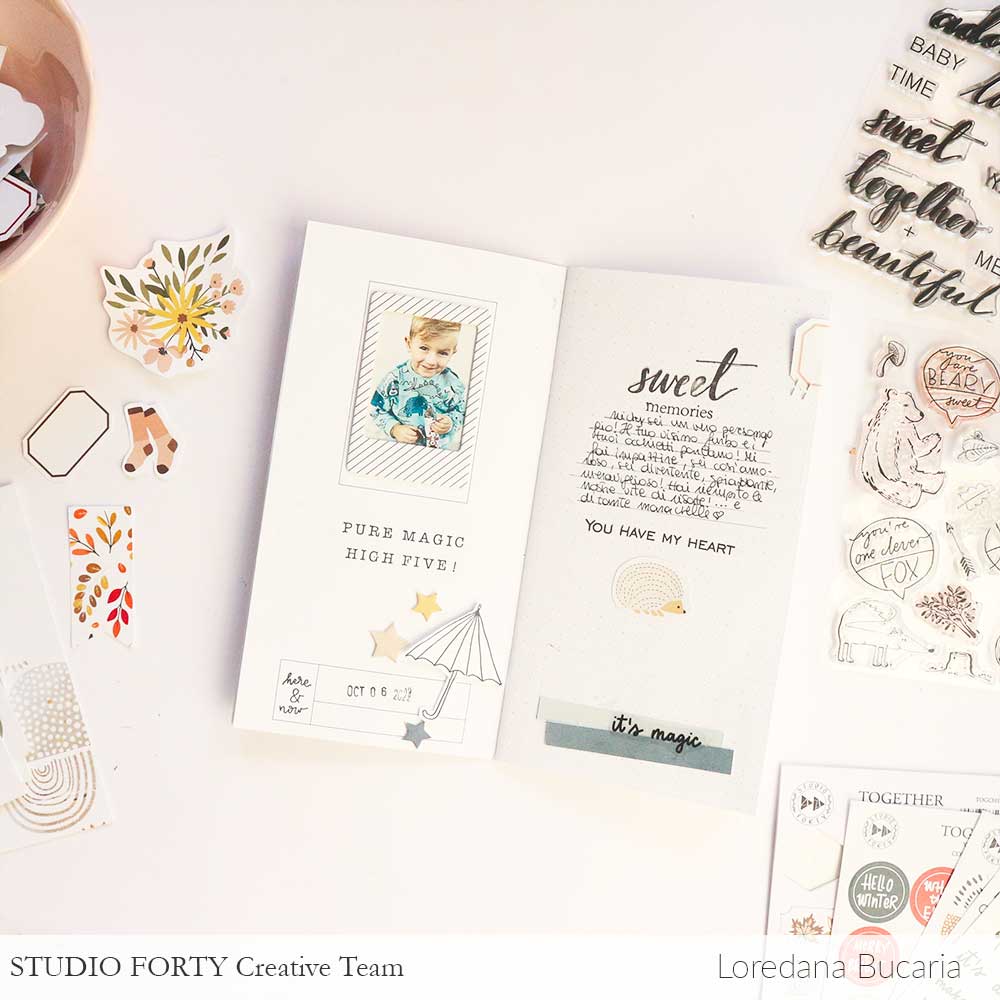
I'm here again, with new projects, this time layouts, of course with "Together"

Here I have placed a layer of paper under the photo and with various ornaments I have decorated.


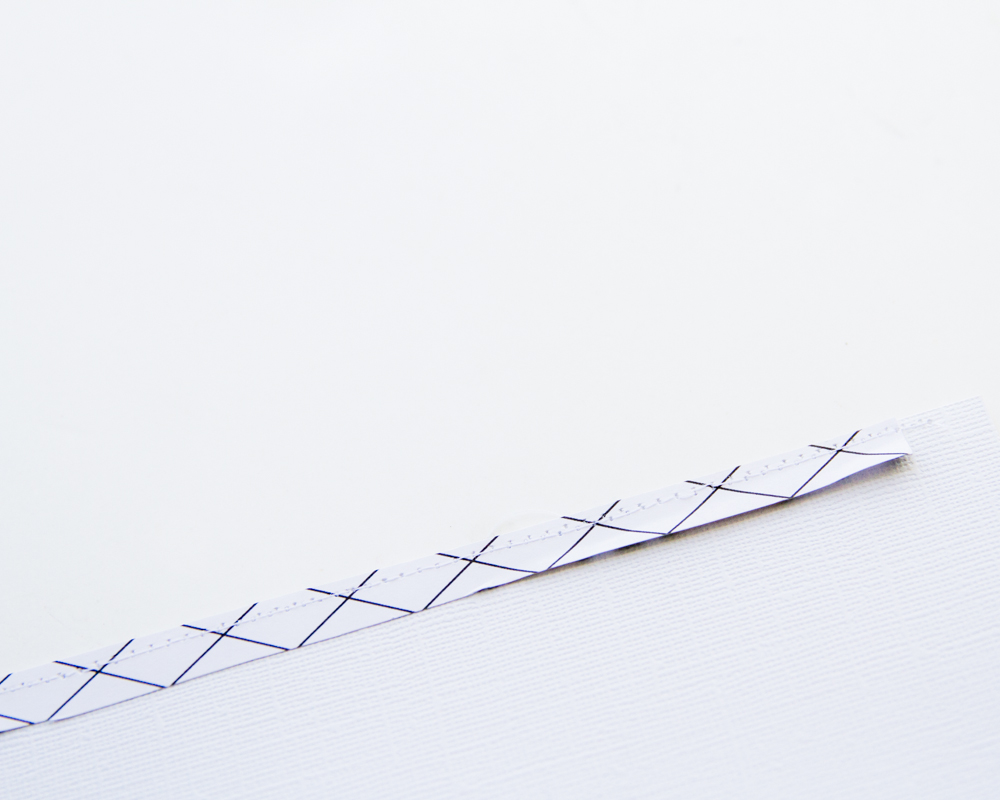
I have sewn a strip of paper on top of the paper.


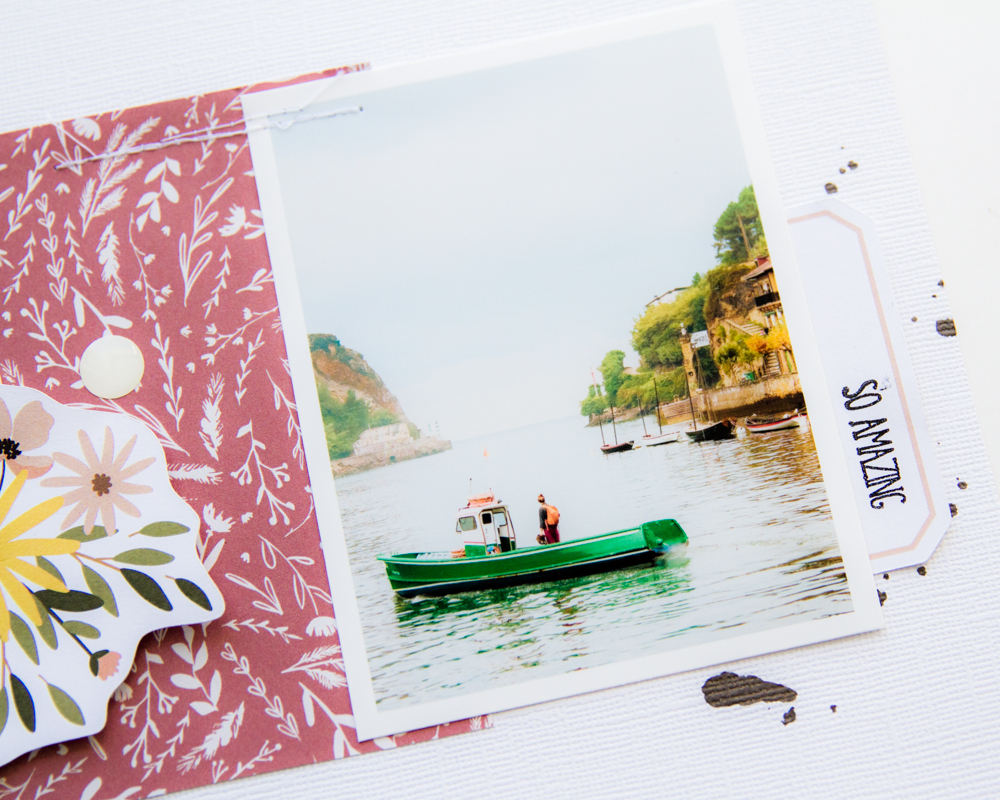
Before gluing everything, I splashed ink on the paper.
I have placed a label where I have stamped a phrase.


In layers I have decorated the left side and on them I have pasted another phrase that I have previously stamped on a piece of paper.

Finish off the design with a couple of enamel dots.


In the second I have used three frames, which I have placed adorning next to the photo.
In addition to splashing with ink I have added different small elements.


On a couple of papers I have placed the photo, and on one side I have glued some strips of paper.


I have also stamped some stars in green and near them I have glued enamel dots.

I have finished with some handwritten sentences.


I hope you like them!
Happy All Saints Day or Halloween!
See you soon!


0 komentarze:

Zostaw komentarz, będzie nam miło.

BELIEVE IN THE MAGIC/NICOLE

Good morning friends! I'm sharing another layout I created using the Together Collection. This layout started out simple, but I wasn't quite happy with it and just kept adding more stuff until I was satisfied with it. Does that ever happen to you? I just never know when to stop... it's the perfectionist in me.

I played with all the embellishments on this layout! And I didn't forget about the journaling cards. :) I used a pencil to roll up the bottoms of each card to add dimension and then I added the chipboard pieces


I added a few journaling cards to the left side to fill in the white space and stamped "twinkle", "twinkle" a few times using a light gray ink. I used foam squares to mount the ephemera down to add dimension. 

I hope you found this layout inspiring. Notice how I did NOT use holiday photos, but I used holiday elements. It totally works! I just love the overall feel of this layout. 


Thank you so much for visiting today!


0 komentarze:

Zostaw komentarz, będzie nam miło.

Mini album | Piruletasdepapel

Hello Studio Forty friends! How are you? It's Nuria today to share a mini album with Together collection.


This mini album has a fake cover, slightly smaller, on top of the real one. Did you see it? I used Snowy day, Think Happy and Gather patterned papers for the covers and decorated it with autumn ephemera set, few chipboard stickers, and enamel dots. I created a frame with stamps for the title "Banyoles". A final touch with half ephemera frame and two ribbons (1 white and 1 yellow) between the different cover layers was added.


Do you make videos with your mobile phone? I do. We record them with a lot of enthusiasm, but we hardly ever see them. Does this happen to you? It used to happen to me all the time, until I learned to include the videos in my albums... with a QR code! In this mini, I've decorated the code with a frame, it gives it an extra touch!


This mini album collects a fun day kayaking with friends! As most pictures were taken on panoramic mode, I decided to orientate the mini album horizontally to not to cut the beautiful sightseeing.


I stuck transparent stickers on the photo and decorated the page with patterned paper to create a small card, with best wishes inside, decorated with this amazing hedgehog and circles cut out of jounaling cards.


The inner structure is like an accordion in order to keep the mini album dynamic and fun. It is created with white cardboard and decorated with the same combo of patterned papers as in the covers. On some pages I added fold-outs to create pages 3 in 1.


I love the spread of the page with tiny envelops! I hide a mini tag with a message inside one of them and decorated the envelops with chipboard stickers.


And that's all for now! Hope you’ve got inspired with this mini album and thanks for stopping by!


0 komentarze:

Zostaw komentarz, będzie nam miło.

Christmas mini tags | Magda Łuczak Art

Hej kochani! 
Tutaj Magda. Mam dziś dla Was przedsmak Świąt. Jako matka trójki dzieci, każdego roku miałam tyły czasowe, jeśli chodzi o przygotowania do tych pięknych dni. Kupowanie i pakowanie prezentów na ostatnią chwilę... Robienie kartek na tydzień przed Wigilią... Albo wcale... Znacie to?

W tym roku mam ambitny plan zrobić to wszystko dużo wcześniej. Dzieci już dorosły, więc... powinno się udać!

Mam już kilka kartek, ale dzisiaj chciałam Wam pokazać mini tagi. Takie w sam raz do prezentów pod choinkę.


Kształt tagów wycięłam wykrojnikami. Ponieważ papier wydawał mi się za cienki to tego rodzaju pracy, podkleiłam go tagiem wyciętym z grubszego kartonu. Robicie tak czasem?


Jako tło użyłam papierów z bloczka TOGETHER - Notebook Edition.


Z białego kartonu wycięłam wykrojnikami gałązki choinkowe i gwiazdki. Na takim samym kartonie odbiłam mnóstwo różnych stempli (Holiday Cheer i Homemade): gwiazdki, śnieżynki, gałązki jemioły, napis Merry Christmas i ramki.


Z tyłu tagów z napisem świątecznym na białym tle można napisać dla kogo będzie prezent.


A na tagu z ramką bez napisu imię obdarowanego można wpisać z przodu.


Z odbitek gwiazd i gałązki jemioły zrobiłam sobie sama die-cutsy, a pozostałe wzięłam z zestawu elementów papierowych TOGETHER WINTER oraz wycięłam z kart do journalingu.


Mam nadzieję, że Wasze przygotowania do Świąt nigdy nie były na ostatni moment! Dają one tyle radość, że aż żal psuć je stresem, że się nie zdąży.

Pamiętajcie, że na hasło MAGDAART10 macie w sklepie 10% zniżki na wszystko!

Uściski!
Magda

0 komentarze:

Zostaw komentarz, będzie nam miło.

Pierwsza zimowa kartka || Magda - papierowy.cekin

 Cześć! 

Nie mogłam się już doczekać świątecznych klimatów i postanowiłam przygotować już nieco zimową kartkę. Ale spokojnie dla równowagi zrobiłam również jesienną kartkę . Kolekcja Together łączy ze sobą jesienne i zimowe klimaty. 


W ostatnim czasie bardzo polubiłam się z minimalistycznymi klimatami i takie są również te dwie kartki.


Jesienna kartka powstała na bazie papieru warm &cozy. Główny element ozdobny to słoik odbity ze stempli z zestawu homemade , jest to bardzo fajny i prosty sposób na własne grafiki wystarczy wyciąć i gotowe. 


Użyłam jeszcze kliku ozdobnych diecuts z zestawu oraz kilku transparentnych naklejek. Ja swoje naklejki naklejam na papier ozdobny i wycinam wtedy mogę podkleić go np na dystans aby ładniej się prezentował. 


I o to jest pierwsza zimowa kartka w sezonie. Do jej zrobienia użyłam tego samego papieru co do kartki jesiennej tylko drugiej strony all is bright


 Do ozdobienia  kartki użyłam stempli z zestawu chilly daysdecember days oraz holiday cheer. dzieki którym zrobiłam własne diecutsy. Stemple dają na prawdę wiele możliwości. A cudne domki i gwiazdka jest z zestawu zimowych grafik . 


Kto jak ja już nie może doczekać się świąt ? Wiem , wiem jeszcze mamy październik ale co ja poradzę, że uwielbiam te wszystkie świąteczne dodatki :)


0 komentarze:

Zostaw komentarz, będzie nam miło.

Autumn Stories Travel Notebook | LOREDANA BUCARIA


Hello Everyone! How are you? Do you feel the autumn in the air? I do! I love to spend time reading or having a hot bath, or just enjoying a beautiful, warm, sunny day in front of the sea. Time outside with my family.

I love telling the autumnal everyday stories and a travel notebook is the perfect size album to fill.

I have used one of the amazing TN from Studio Forty and the Together collection in all its pieces, the die cuts, the stickers, the stamps, the chipboards, love the color palette of this collection and the delicacy of the whole collection. The orange mixed to the pink, the brown and the blue are perfection.

Here a 4x8 page divided in many different little squares. The squares are filled with pictures and many different details, labels, transparent stickers, stamps.


Here, instead, I Played with a chipboard sticker frame and some journaling card that I used to cut out a piece, the umbrella. Think outside the box and you can create your own embellishments.


In the end a double page where I created a composition using many different stamp sets, love them to pieces!


What do you think? Hope these pages inspire you to preserve your memories and have a lot of fun creating with this beautiful collection!

Have a wonderful weekend.

Love, Lory


0 komentarze:

Zostaw komentarz, będzie nam miło.