You can count on me | Sanna Lippert

09:00 1 Comments

Hello there everyone, Sanna here again today. It is again my turn to share another scrapbook layout tutorial with you guys today. I am really enjoying creating with the Moonchild collection and made a dreamcatcher page with another start-to-finish video for you to watch - can you see I´m having fun creating with this collection!! Here is the finished page:


I chose a photo of me and my husband for this page and the story behind this layout is our anniversary. It is a happy page and all about feelings, so I added a long journaling, but hid it behind the smaller photo, because it is quite personal.

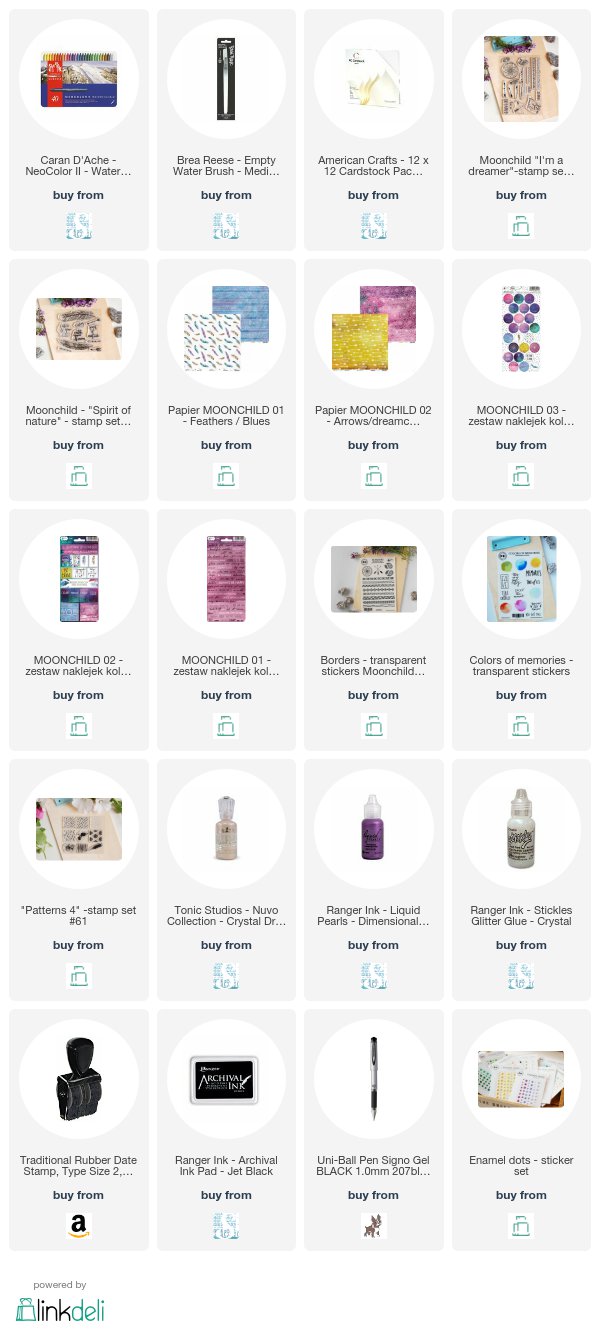
  As a focal point I created three dreamcatchers with the Moonchild collection stamps and papers and watersoluble wax crayons. I then went along with the circle theme and added a border of circle punched papers underneath the photos and drew some crayon circles here and there behind the photos in matching colours.


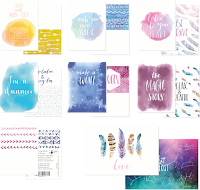
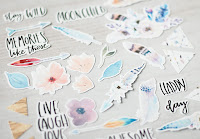
I´ve used a sewing machine to attach the cardstock to the patterned blue toned paper. It adds a fun detail and a finished feel to the page. There are lots of little bits and pieces that add to detail to the layout, like the in pieces cut stickers sentiments, the black ink splatters and the stamped "splatters" peeking thru behind the photos here and there.
In the end I added some details to the colored, fussy cut and stamped dreamcatchers with liquid pearls and glitter glue and even a single enamel dot in the very middle. I am also trying to document my layouts with a date and a place nowadays, to give me an idea later, where and when that particular picture was taken. See, the problem is, you think you will remember, but in a few years time, you will have forgotten. So better put those details down while creating.  
I´ll leave you with the start-to-finish video today (it´s quite a long one this time) and will be seeing you in a few weeks time again! I´ve also again added a link list of the products I´ve used for this layout and tried to replace product that was older/not available anymore with a similar product that would work as well.


Have fun scrapping & see you soon,
Sanna

Supplies:

1 komentarze:

Zostaw komentarz, będzie nam miło.

Best friends | Lisa Borbély Holst


Hi there! These are the products that I used for this layout that will be my very last as a Design team member.


I wanted to make a layout about how much my husband loves our cats. He tends to them at all times and I know they love him back! I made the layout in my notebook that is size A5.


I love pie charts and wanted to make a large one as an embellishment and also a background for my journaling. I used my circle template from Fiskars that I have had for ages. 


When I had cut out the circle I used my ruler to make three pie pieces. I always like to make and use templates from scrap paper.


I really love the Moonchild papers and used three different papers for my pie chart. I love using paper pads since the papers already match!


The stamp set Spirit of nature, that is gorgeous by the way, has two large feather stamps that I wanted to use. I stamped on one of the patterned papers I already used in my pie chart. I then cut out my stamped image.


I used 3D tape to adhere the feathers to my layout. I love how it´s so easy to create dimension by using them.


The sticker sheet called Love this life has the words best friends and it was perfect for my layout!


I used my typewriter for my journaling and cut it into strips. At first I had the strips all lined up, but it looked so wonky, so I went with it and adhered them a bit wonky ;) Make it work!


Then I did something that you might want to do first thing, I added paint splatter with my watercolors. I used some scrap paper to cover up the elements on my layout. This is why you should do this first thing ;) but it wasn´t until the layout was done that I saw that it needed something more.


And there you have it, my very last post as a Design team member. Thank you Studio Forty for having me and thank you for stopping by today!

Lisa

3 komentarze:

Zostaw komentarz, będzie nam miło.

Stay wild | Bligu

Hej! Dziś chciałabym Wam pokazać LO z moją najmłodszą siostrzenicą.
Jasia ma dopiero trzy latka i śmieszne miny to jej specjalność ;) 
Tę minkę uchwyciła moja starsza córka Zosia i to ona jest autorką zdjęcia :)


Wykorzystane materiały:

https://www.shop.studioforty.pl/pl/p/Patterns-4-stamp-set-61/465   https://www.shop.studioforty.pl/pl/p/Flowers-2-stamp-set40-/244   https://www.shop.studioforty.pl/pl/p/Happy-Memories-stamp-set50/386 

https://www.shop.studioforty.pl/pl/p/MOONCHILD-PL-cards/515  https://www.shop.studioforty.pl/pl/p/Round-Round-2-stickers-/211   https://www.shop.studioforty.pl/pl/p/Wild-Free-diecut-elements/501

https://www.shop.studioforty.pl/pl/p/Jest-Super-transparent-stickers-/463   https://www.shop.studioforty.pl/pl/p/Framed-Words-transparent-stickers/152  https://www.shop.studioforty.pl/pl/p/Cool-Words-transparent-stickers/96


Pozdrawiam serdecznie!

https://bligu.blogspot.com/

1 komentarze:

Zostaw komentarz, będzie nam miło.

Traveler's Notebook pages | Urlike Dold - guest Designer

Hello everyone,

Ulli here with you today with my second guest design post at the Studio Forty blog. Thank you so much for having me one more time Monika!

I am sharing two travelers notebook spreads with you today. I made them with the amazing new Studio Forty stamps and transparent stickers from the „Moon Child“ collection and some enamel dots and shapes from Studio Forty.


After my layout and my PL double page I decided to do two TN spreads in my travelers notebook. I love this easy way to document some special moments.


For the first one I used a photo from my pregnancy with our little son from 2016. I used it as a black and white picture and glued it on the left side above. Then I used a border sticker from the „Borders“ sticker set.


 I am so in love with the amazing feather stamps -"Spirit of Nature" from the „Moon Child“ collection and so I stamped them three times in different colors on white cardstock and cut out the feathers then. I used the same color scheme like I used for my layout „Magical“ which I have showed you some days before. Then I stitched the three feathers together with my sewing machine. I also stitched two sequins on the feather in the middle. I glued them on the bottom of the photo and added the title with gold glitter foam alphas on the feathers. 


For the right side of this layout I added a transparent sticker border on the top and stamped the little dream catcher in black at the middle of this page from the "I'm a dreamer" stamp set . I also used a flower stamp set from Studio Forty and added a pink flower with glue dots on the centre of the dream catcher.


 Then I stamped some arrows in coral, pink and yellow above and the word „Today“. I also added the date with a roller stamp. Then I decorated everything with more transparent stickers and some enamel dots, enamel hearts and a puffy heart sticker in pink from my stash.


For my 2nd TN spread I used a project life card from the „Moon Child“ collection. I love the color from this „ I´m a dreamer“ card so much and it matches perfectly to the photos from me and my son.


 I glued my photos on the top of the pages and the PL card on the left side. I also used the amazing feathers from the „Moon Child“ stamp set again. This time I stamped them in blue and green on white cardstock and cut them out.


 I glued one on the bottom of the PL card and the others on the right side under my photos. For this page I also used the gorgeous transparent circles in blue and green from the „Colors Of Memories“ sticker sheet. Over them I glued the transparent stickers „This View“ and „Memories“. 


I wrote a little journaling under the PL card. To finish off my page I added some enamel dots and shapes and woodies on the TN spread.


I hope you like my layouts in my travelers notebook with the „Moon Child“ collection from Studio Forty.

Thanks so much for joining me here today!

Ulli

2 komentarze:

Zostaw komentarz, będzie nam miło.

Jesienna sesja | Anna Komenda

Witajcie moi drodzy. Tegorocznej złotej jesieni na próżno wypatrywać, bo pogoda nas nie rozpieszcza. Musiałam więc sięgnąć po zeszłoroczne fotki z wizyty w Łazienkach. To był przepiękny, słoneczny dzień. Dziewczyny zbierały kasztany, rzucały liściami i karmiły ptaki i wiewiórki  ja i mąż mój lataliśmy obok nich z aparatem. Udało mi się taką chwilę uwiecznić telefonem. Mam również wersję tego zdjęcia z aparatu :)


W sklepie zagościły niedawno jesienne i zimowe nowości a ja nie mogłam się oprzeć papierom nowej marki Les ateliers des Karine. Jeden z nich pocięłam w całości wycinając mnóstwo liści, które posłużyły mi do zrobienia ramki mojego LO.


Bardzo mi się podoba minimalizm tej jesiennej kolekcji i zdecydowałam się na prawie monochromatyczny skrap. Biel i czerń przełamałam szczyptą koloru w postaci pomalowanego na pomarańczowo liska i szarego jeżyka. Oba te słodziaki pochodzą z sestawu stempli "Whoo loves you".


Odrobina drewna w postaci tytułu i słówka "today" świetnie komponuje się z taką prostą kolorystyką. Wokół ramki ponaklejałam również najrówniejsze jesienne napisy i żołędzie. Transparentne naklejki od Studio Forty są boskie. Idealnie cienkie, czarne - takie jak lubię.


Ostatnim etapem tworzenia było ponaklejanie kolorowych kropelek akrylowych w kolorach jesieni wokół kompozycji ze zdjęciem i pochlapanie ramki żółtą i złotą mgiełką. 
To wszystko na dzisiaj. mam nadzieję, że papiery Karine przypadną Wam do gustu tak bardzo jak mnie. W sklepie oprócz jesiennej, czeka na Was również zimowa kolekcja.

Dziękuję Wam za odwiedziny i zapraszam na mój kolejny post już w listopadzie.

Ania

Wykorzystane produkty:
Papiery Les ateliers de Karine - "Leaves", "Ampersands", "Triangles"


4 komentarze:

Zostaw komentarz, będzie nam miło.