advent calendar
Hello StudioForty friends!
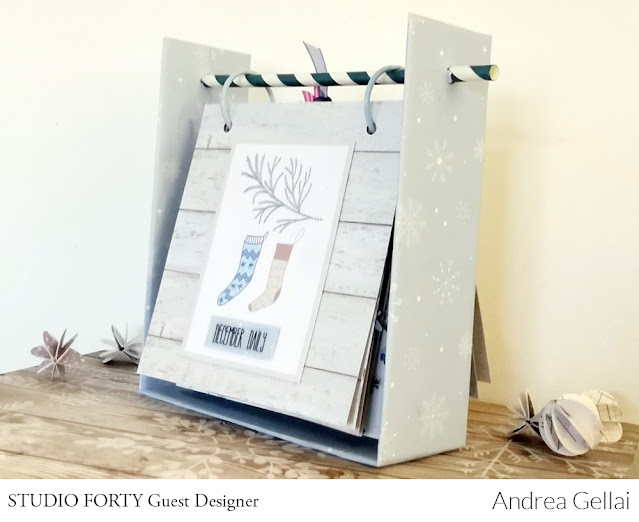
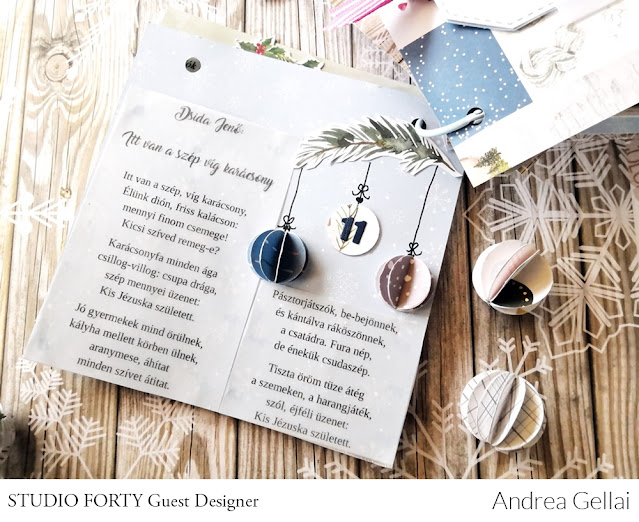
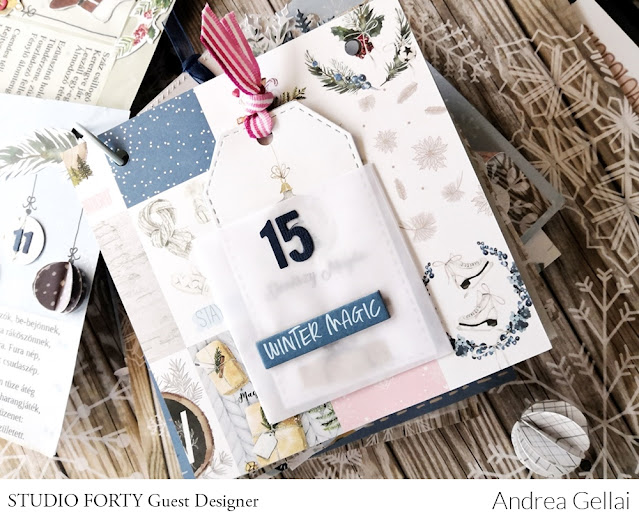
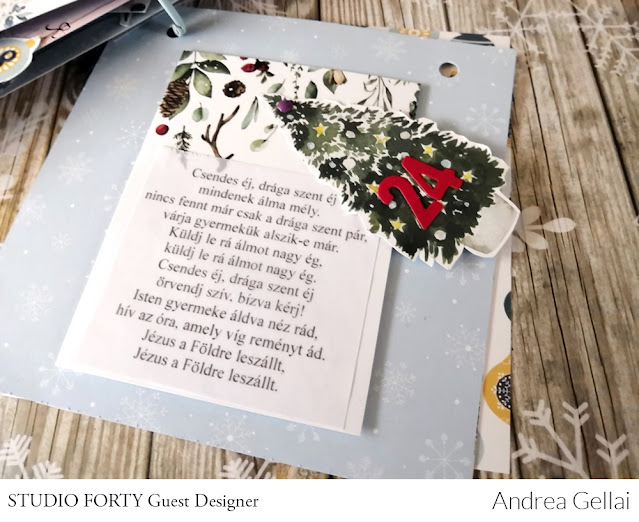
Today I show you a special Advent calendar from the Frosty Season collection.
First I made the base
from a 5 cm wide gray plate. The bottom is 15 cm and the two sides are 17 cm,
which I punched at the top and stiffened with a paper straw.
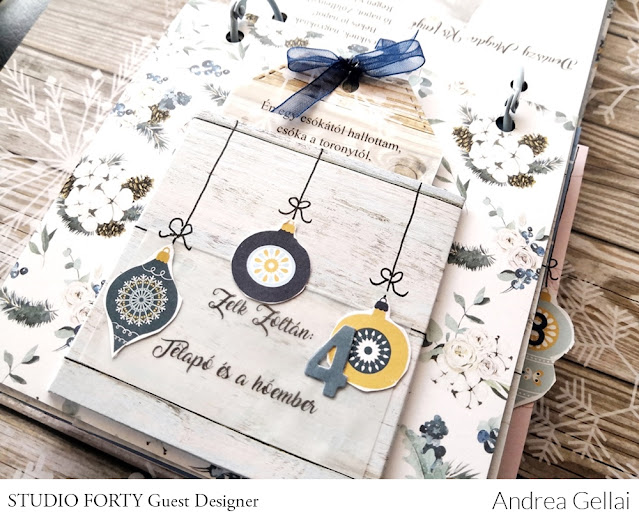
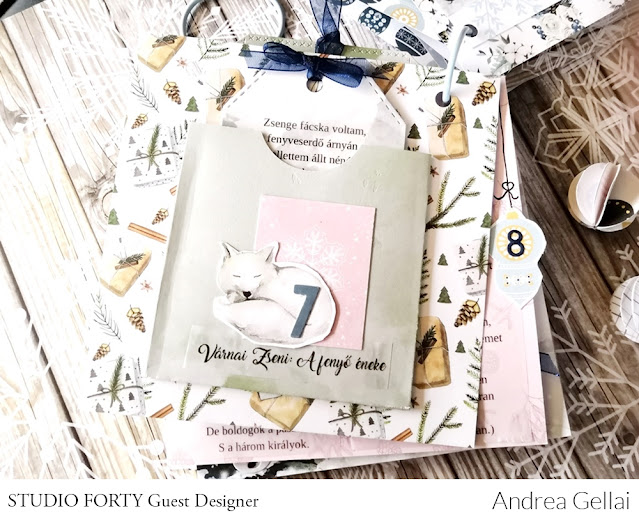
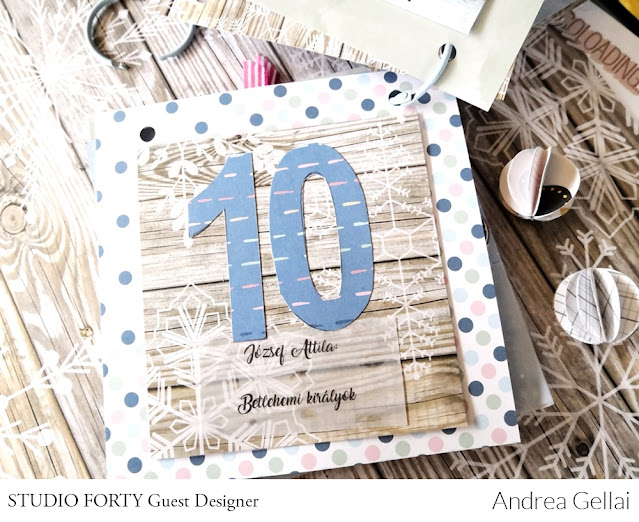
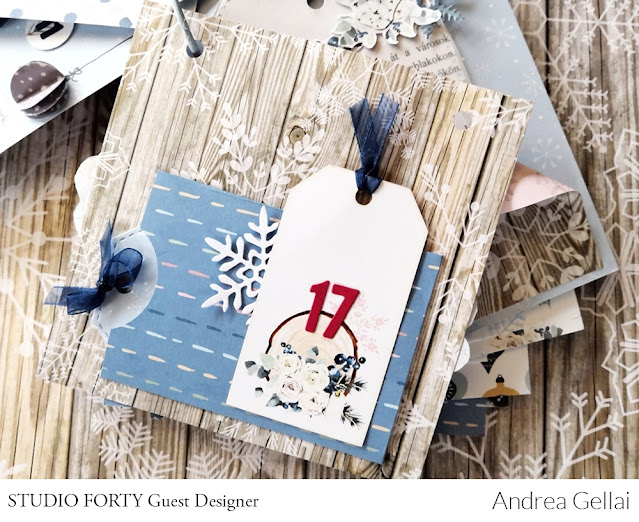
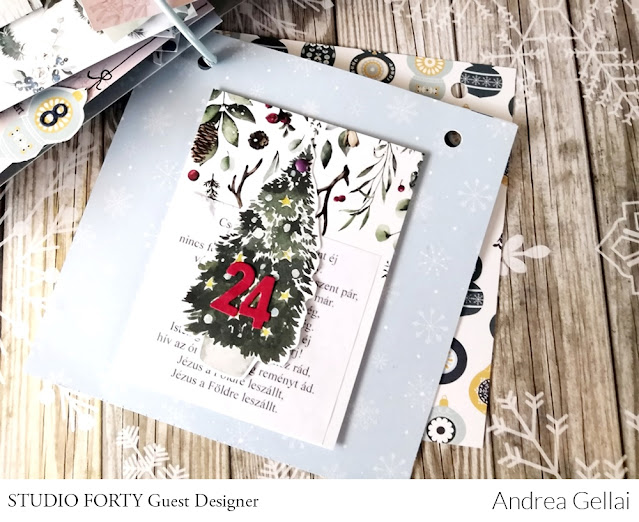
I cut 13 pieces of 13 * 13 cm sheets of patterned paper. The first one is the cover, the rest are decorated so, that you just have to turn them over at half-time and turn backwards. I made different pockets on several pages, in which the poems printed on the tags were inserted.
I decorated the pages with chipboard stickers, fussy cuts, diecuts, at some places with stamps.
I hope you enjoyed today's project.
Thanks for stopping by here today and happy crafting!
Andrea Gellai
Hello Studioforty friends!
Today I want to
show you my first winter inspiration of the year. I made a Christmas garland
from the amazing Frosty Season collection. Its colors and atmosphere are
beautiful, aren't they?
First I cut 5
bigger stars out of white cardboard 5 smaller stars out of the Frosty Seasonpaper pad and then glued them to each other. I punched and put ribbon in them.
I decorated it
with fussy cuts, die-cuts, chipboard stickers, and then sewed it all up on a
pom-pom ribbon completed with a few die-cuts.
I hope you
enjoyed today's project.
Thanks for stopping by here today and happy crafting!
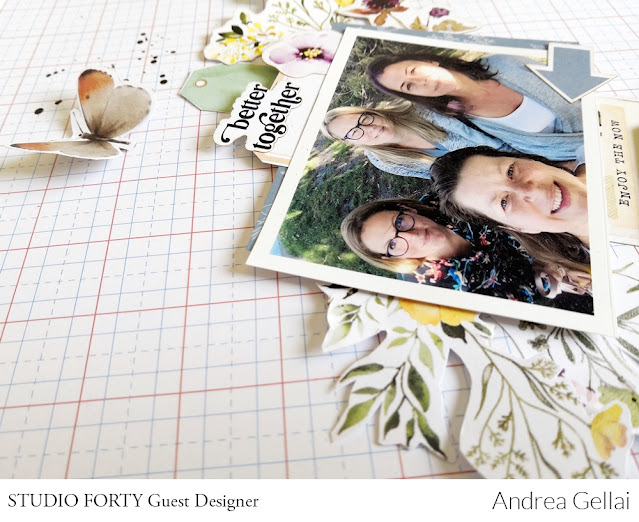
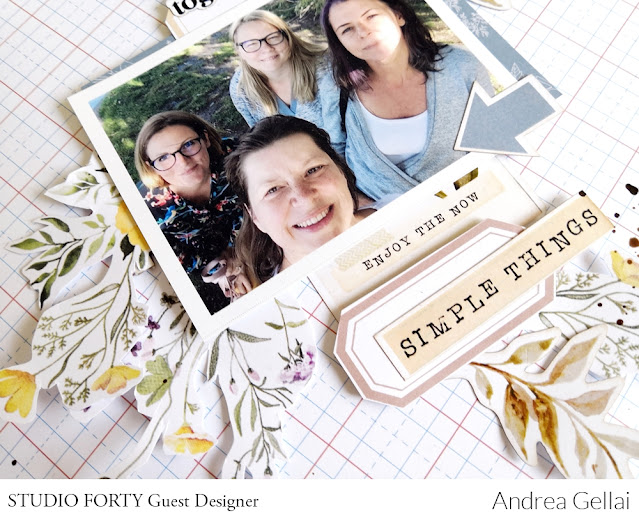
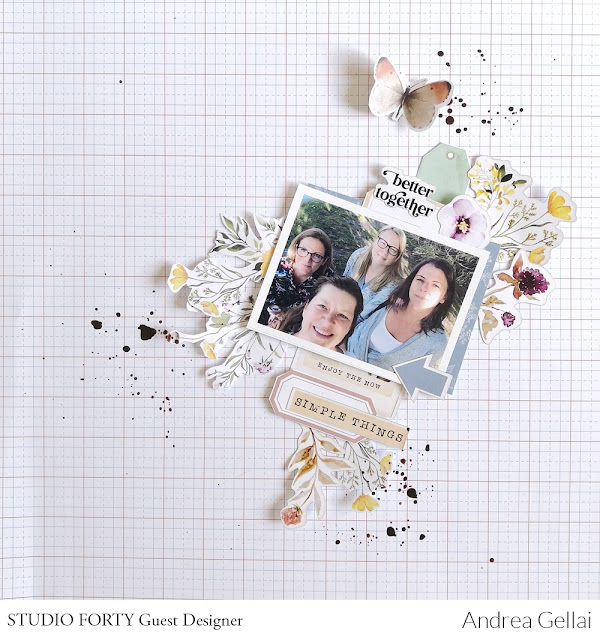
12x12 layout
Hello StudioForty friends!
After finishing the TN album (which you can look at here and
here) I could finally create something with Studioforty’s wonderful autumn kit
called Herbarium. This kit was so inspiring, I made two layouts straight off.
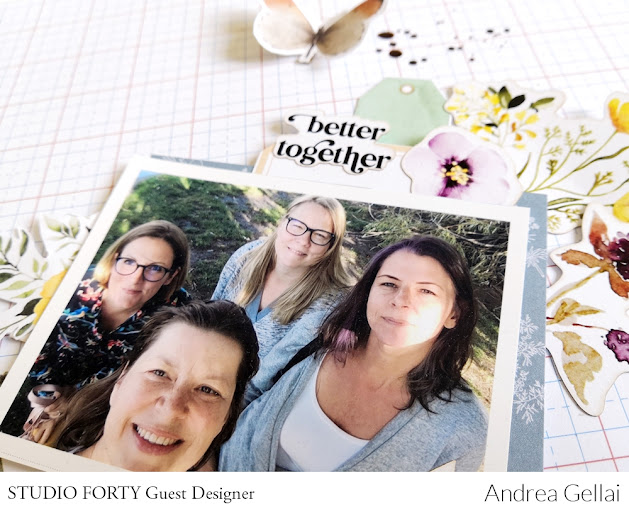
The photos were made at the autumn scrap camp.
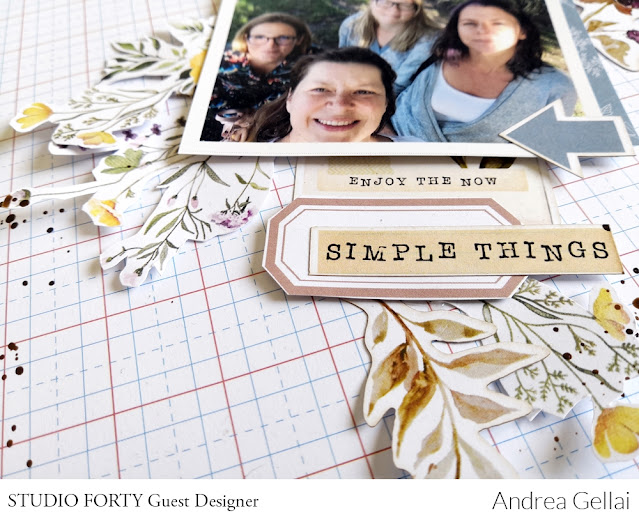
On the first layout I used a latticed paper for the
background. Under the photo I put a layer of TN paper to raise it.
I
applied almost all of the flower diecuts and decorated
further with fuzzy cuts. Finally I spattered brown ink on the page.
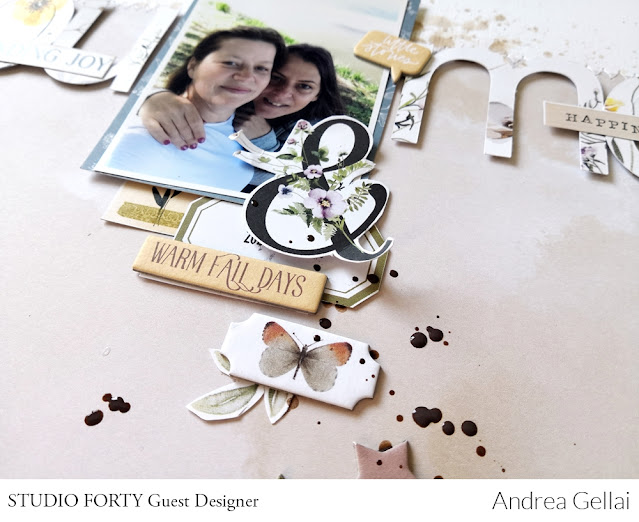
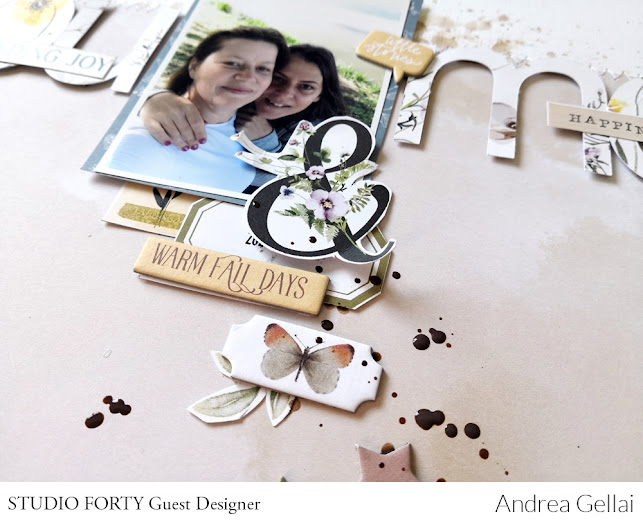
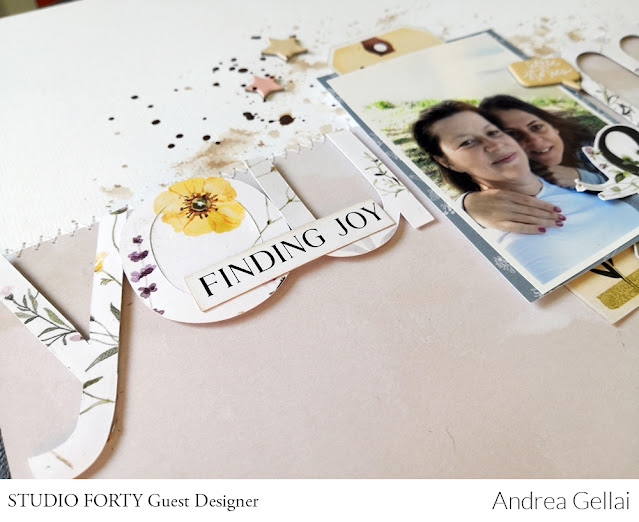
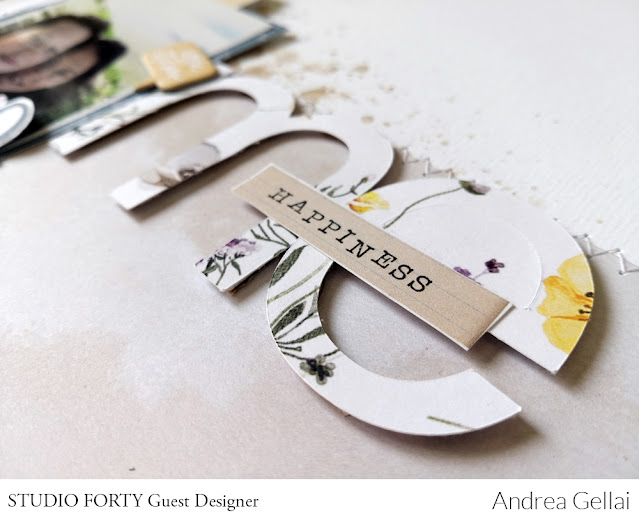
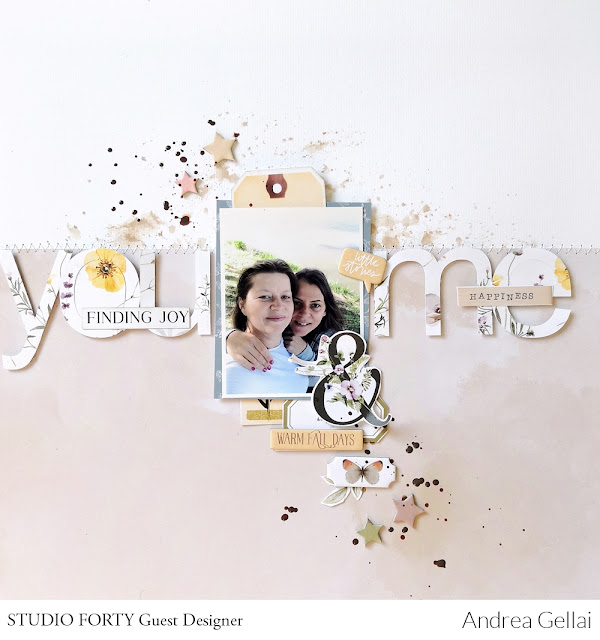
On the second layout I worked up a watercolor background on
a base cardboard and sewed a patterned paper on, covering the half of it. I cut
the title text out of my favourite flower-patterned paper with my Cameo. The
symbol ’&’ came from one of the PL cards. Finally I decorated it with
chipboards, diecuts and fuzzy cuts.
Thanks for stopping by here today and happy crafting!
Andrea Gellai
Hello Studioforty
friends!
As I promised, now
I would like to show you the second half of my album about my sailing on Lake
Balaton. You can watch the first day here.
I used two
collections for the creation, Bom Dia and Lazy Days. Both are good choices for
summer memories and complement each other perfectly.
The second day:
For the first
pair of pages I cut a strip of patterned paper, put the photos and the note on
it, then I decorated them with transparent stickers, word stickers and fussy
cuts.
On the right side
of the second pair of pages I stamped the word “Balaton” vertically several
times then I decorated it further with fussy cuts and stickers.
For the next pair
of pages I cut both a PL card and the photo into a circle shape. I decorated
them with fussy cuts and chipboards.
For the last two pairs
of pages I used tags, chipboards and stamps.
Thanks for stopping by here today and happy crafting!
Andrea Gellai
Hello Studioforty friends!
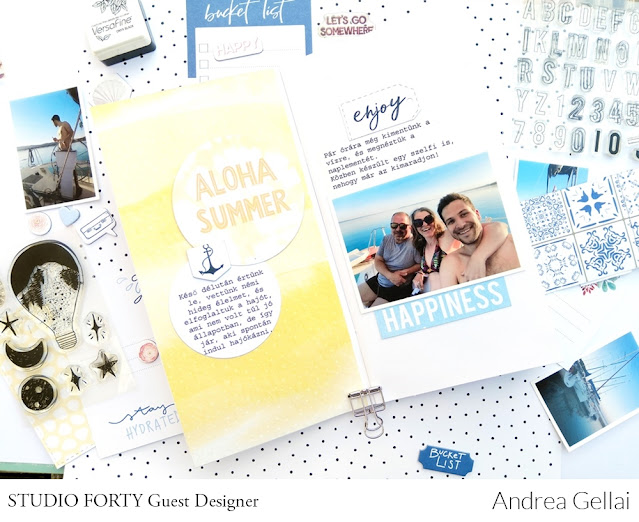
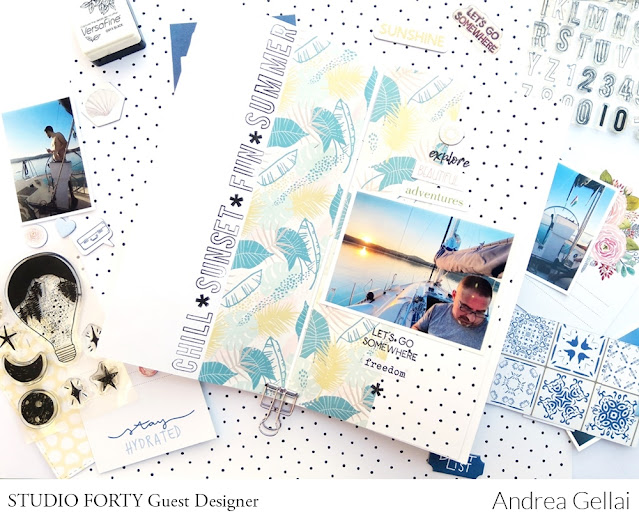
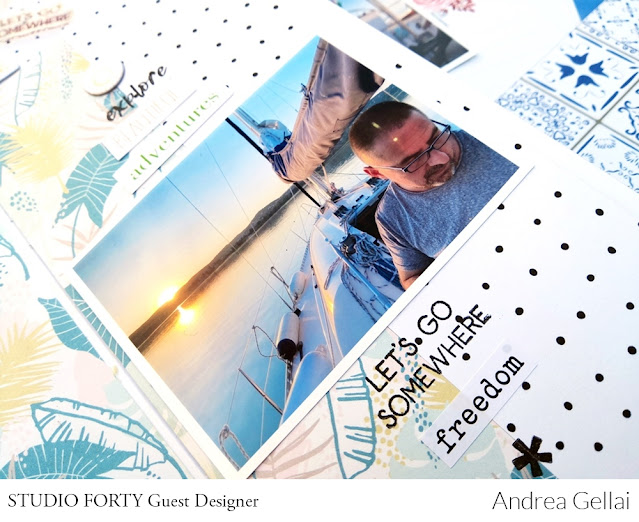
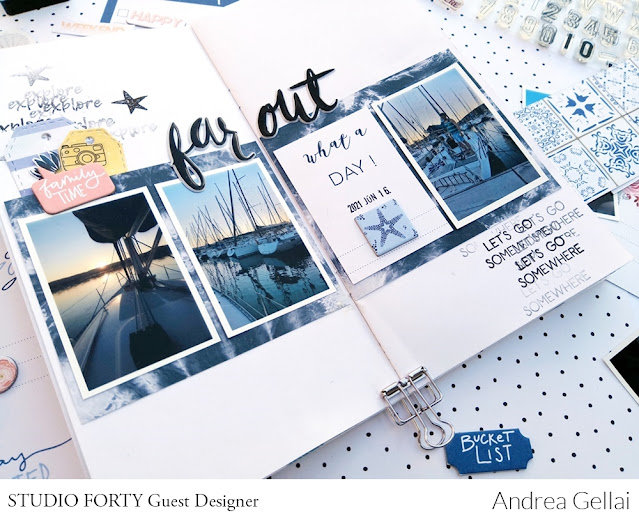
I hope you enjoyed the summer and shot a lot of nice photos! Today I would like to show you my first traveler’s notebook
on the blog, which I filled with photos of a sailing on Lake Balaton, where I was
in June with my brothers .I mixed two collections for the creation, Bom Dia and Lazy
Days. Both are a great fit for processing summer beach memories.
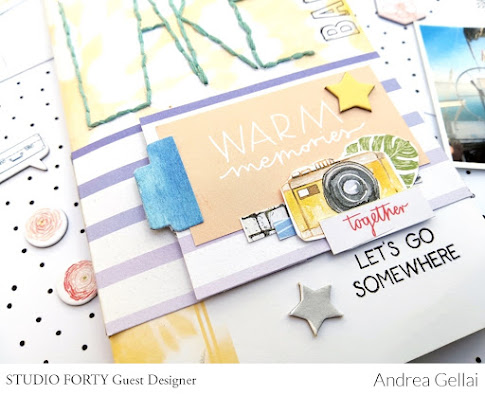
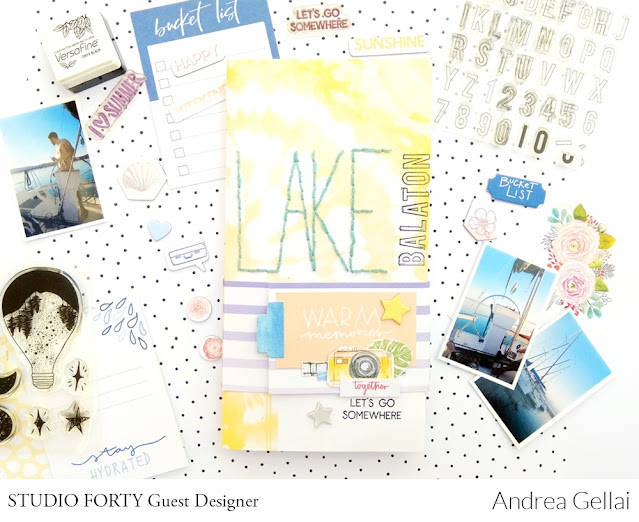
I embroidered the word "Lake" on the TN cover and
then decorated it with PL cards, chipboards, stickers and fussy cuts. I wrote the word "Balaton" with the
letter stamp. I closed the album with a
magnet.
First day:
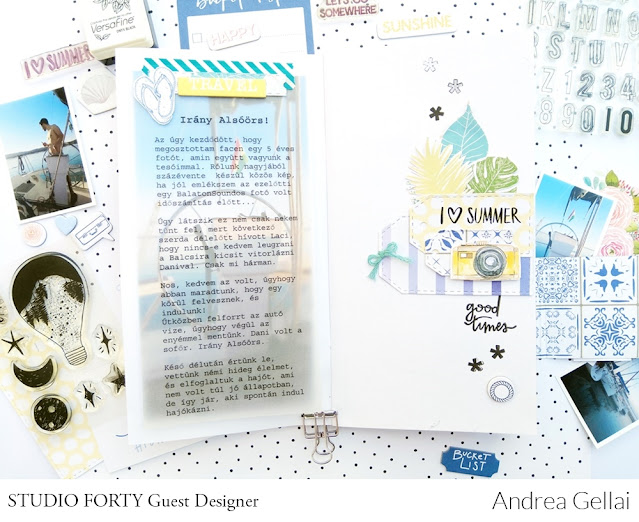
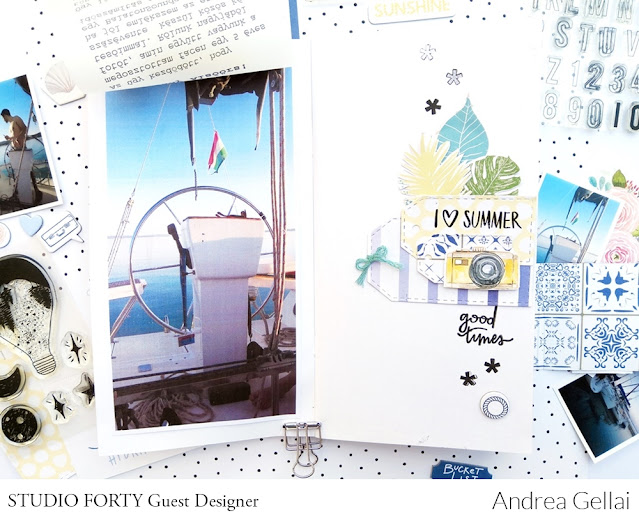
For the first pair of pages I used a full-page photo on the
left, on top of which I pasted the text printed on the vellum paper. On the
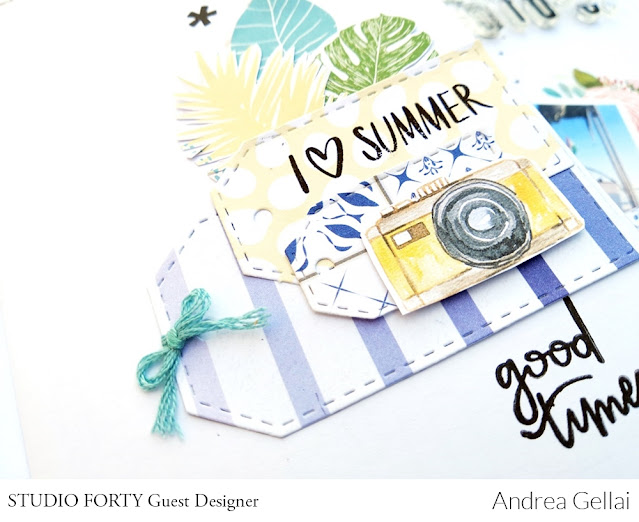
right, I cut tags from different patterned papers and stamped.
For the next pair of pages I cut a Pl card and the text to a
circle shape, placed the photo on the other side, and decorated it a little bit.
For the third pair of pages I cut one of the TN papers from
the Lazy Days collection lengthwise in the middle and decorated it with word
stickers and stamps.
For the last pair of pages of the day I also used tags, chipboards and stamps.
I'll show you the second day soon!
Thanks for stopping by here today and happy crafting!
.png "Menu")