HAPPY MOMENT LAYOUT I KERSTIN SCHEIDLER
Hello together! Kerstin here with a new inspiration with Embellishments from the "TOGETHER" collection. I wanted to make a layout with Chipboard Frames for a long time! Now it is so far!
To keep the Chipboard Frames from sticking directly to my cardstock (I never know how I want to arrange my layout in the beginning ...) I dust the back with some baby powder. This way the Chipboard Frames don't stick anymore! Then when I want to adhere them, I use some liquid glue or double-sided tape.
I placed the Chipboard Frames on my white cardstock and penciled in where I wanted to sew. Also, when I have placed my layout, I always take a photo. But I must confess that the layout never turns out the way I arranged it at the beginning - laugh!
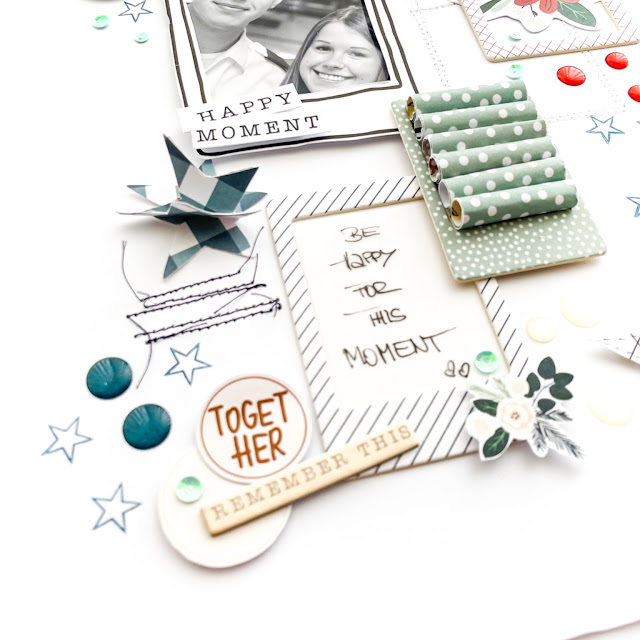
I always like a few eye-catchers in my layout too. I made small rolls by rolling a few pieces of TOGETHER Notebook Paper Set about 2 x 3 cm over a thin pencil. Before I did that, I put double-sided tape on the back of one end. I totally love this effect!
The frame of my photo is from one of the great Fall Journaling Cards. I cut it out, pasted my photo behind it and glued it on with double sided tape.
Dots 3D Stickers can not be missing on any project for me. I have a few shared on my layout and stamped stars from the Days Documented Stamp Set #99. Here and there a few Winter Ephemera Set, my journaling written on Vellum and stuck in a chipboard frame - finished is my layout!
I hope I can inspire you to make a project with the amazing "TOGETHER" Chipboard Frames next time! Thanks for stopping by! Have a great week!
Kerstin xx
.png)


.png)


0 komentarze:
Zostaw komentarz, będzie nam miło.