12x12 layout
Hi everyone! Kerstin here today with a new layout inspiration with the amazing
ESSENTIAL SUMMER 2023 collection.I had this layout idea in my head for a while. Finally I got around to realize it. A (for me) simple layout I must confess. But I love it!
Three strips of white cardstock decorated with Embellishments from the Essential Summer 2023 collection. And of course with the matching snapshot photo! Okay - a snapshot it was not really - laugh! My friend and I have already taken a little longer to make this photo happen. It was a lot of fun and I think - it worked!
On the middle strip I placed the photo - our snapshot! For my quote I have once again brought out my old typewriter. I should do that more often. It was so much fun to type! AND of course the
Essential 2 3D Sticker Dots can't be missing! As I always say - no project without 3D Sticker Dots!
I hope you like this layout inspiration with the
ESSENTIAL SUMMER 2023 collection. And I hope I can inspire you to scrap one of your snapshots!
See you soon!
Kerstin xx
12x12 scrapbook layout
Hello together! Kerstin here today with a new layout inspiration. Sometimes you "sneak" around a paper that you like so much that you actually don't want to use it. That's what happened with the
Lunare "Star Trails" paper. But for this layout, I finally used it! YAY! Let's get started!
Isn't this paper amazing? For this I cut out leaves from the Everyday Story "Make Art" paper. I also always need an eye catcher on my project and for that I used the Flowers Sticker Set.
A photo does not always have to be used in its entirety. It gives a nice effect when the photo is cut into different sized squares. I also cut the paper into different sized squares and arranged both on a white 12 x 12 cardstock before I taped it.
I glued these squares partly with 3D Foam or liquid glue. The flowers stickers I have first attached to copy paper and then cut out. They can be arranged (for me) so better on a project. I always do it that way with stickers!
I arranged the cut out leaves and
Flower Stickers on the opposite sides of my photo. I added them with the
Essentials Word Color Stickers Set, the
Phrases Sticker Set and the
Simple Life Color Stickers Set.
Something was still missing for me! From the scraps of paper I made small rolls by rolling the paper over a round pen and taped the end with double-sided tape. I find these little rolls complement the layout beautifully! And of course, Dots 3D Stickers can not be missing. Here I have used
Lazy Days 3D Sticker Set Dots.
I hope you like this inspiration and the next time you have the courage to cut up a photo! I am already excited about your project.
See you next time!
Kerstin xx
12x12 layout
Hello Lovelies,
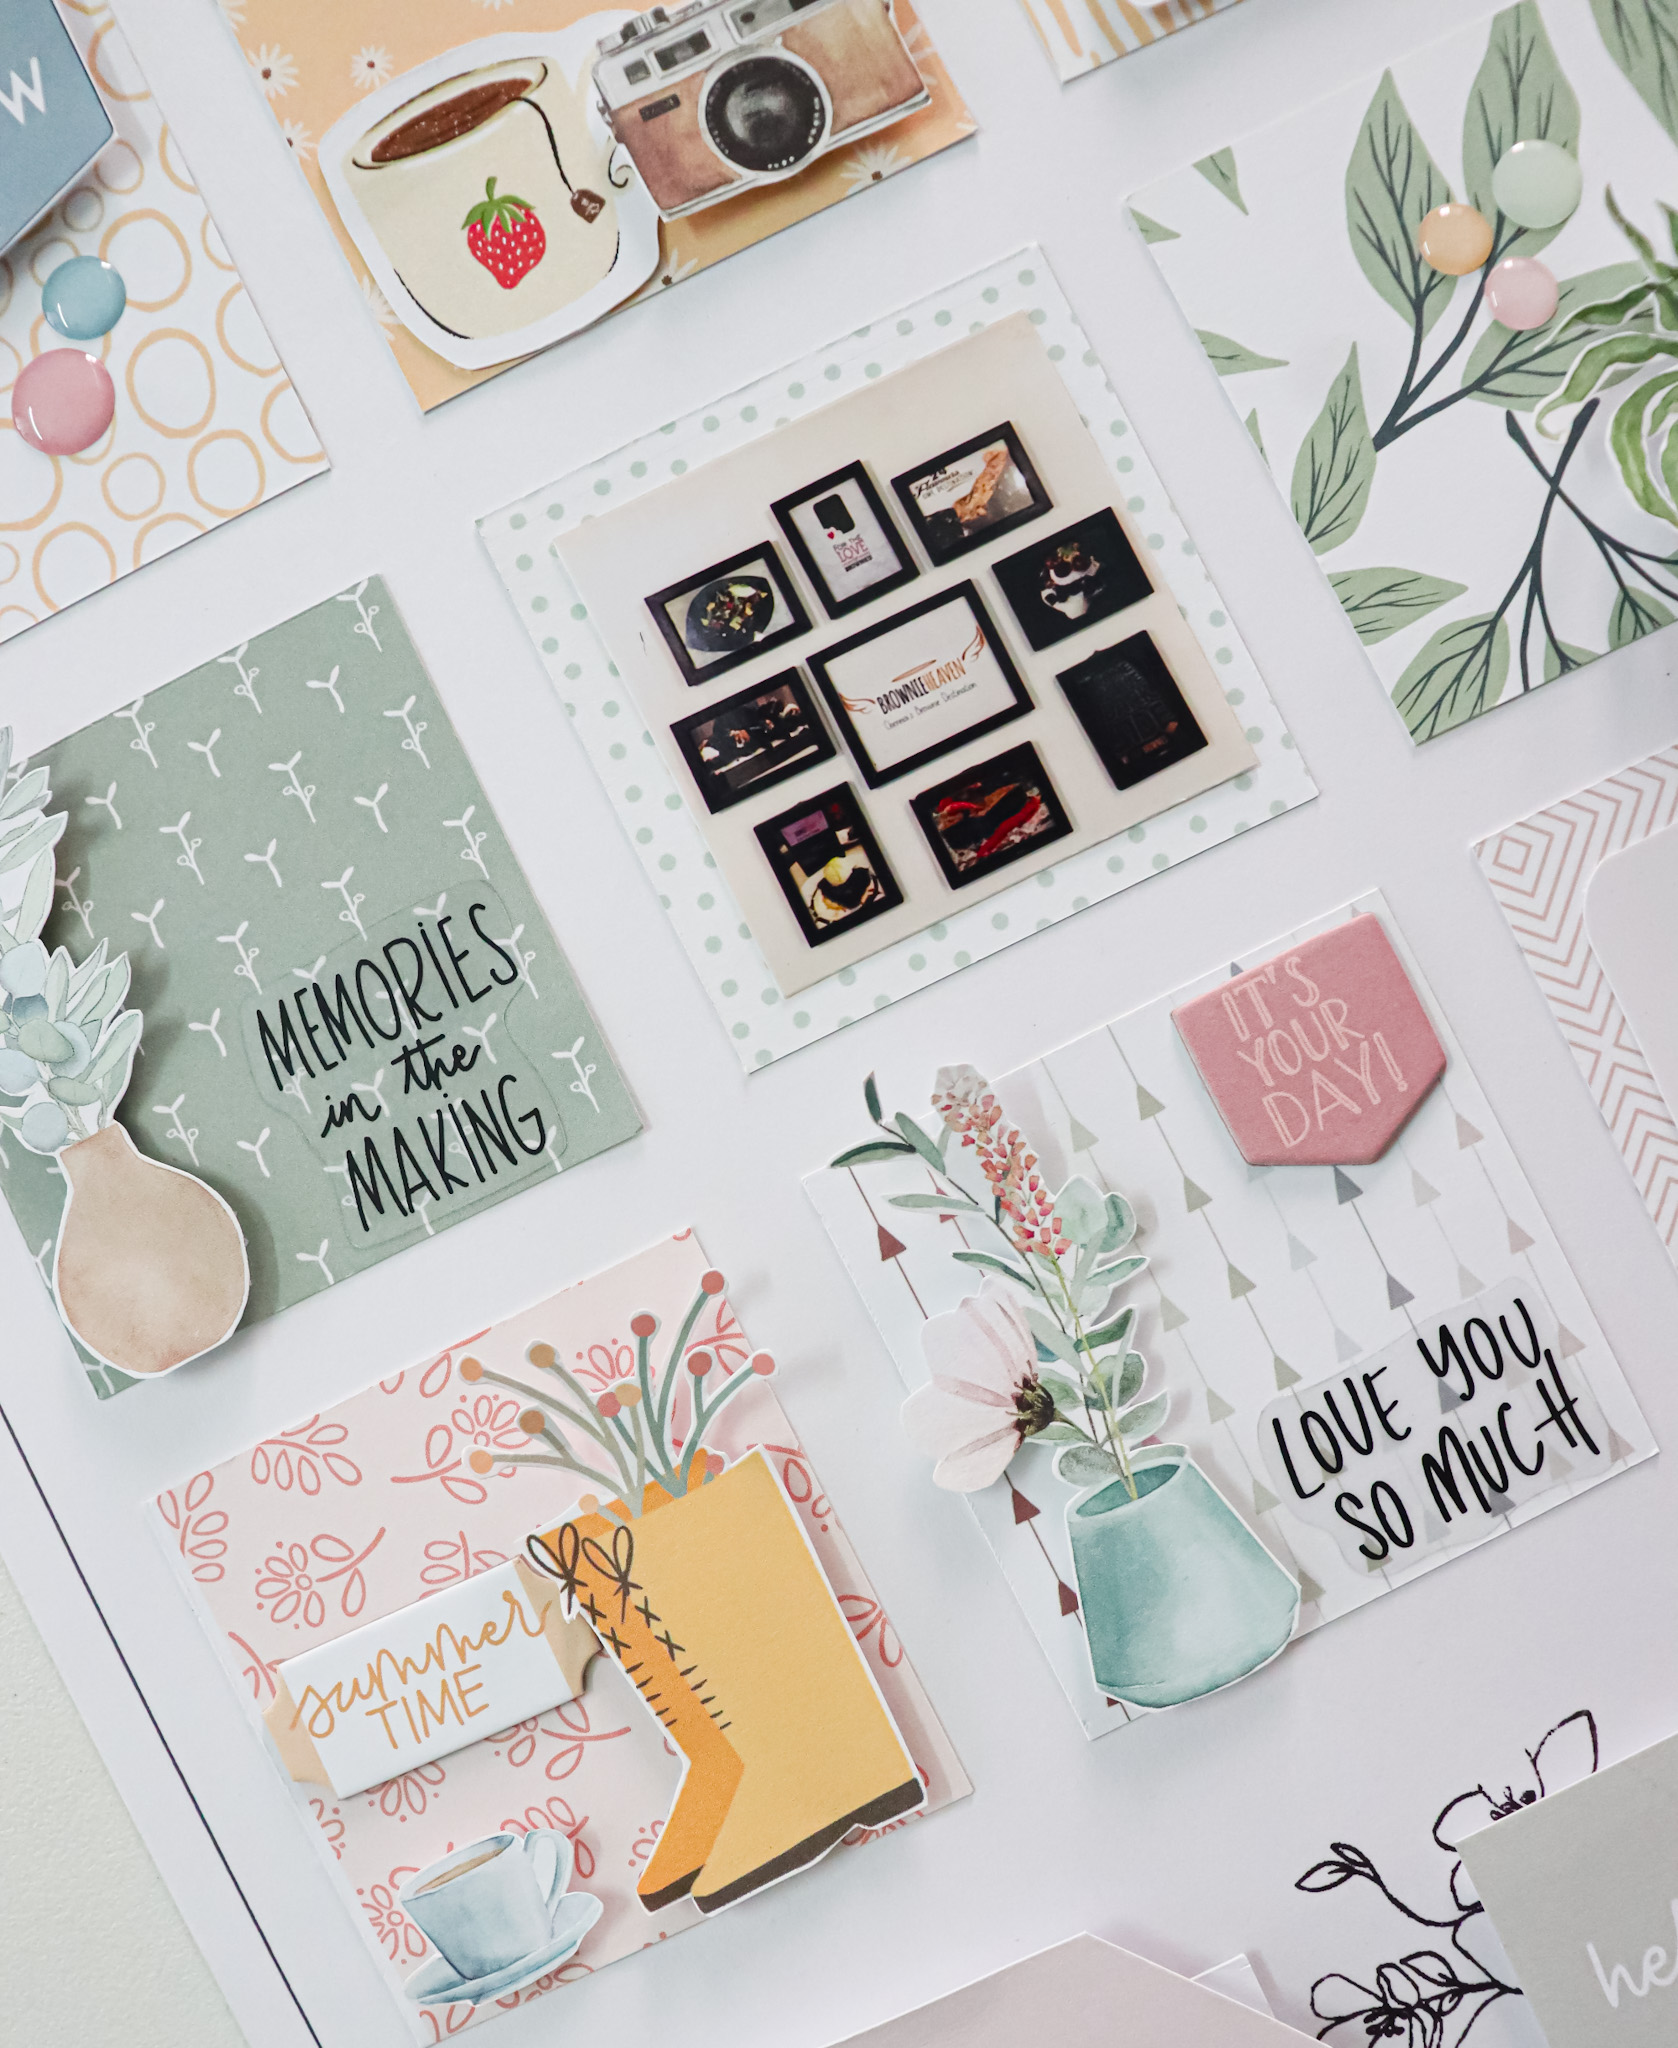
Good morning! Dhaara here with another layout I created using the Essentials Collection and mix match with matching colours pattern papers. Essentials collections has the beautiful sets of patterns. Using which with minimal add-ons we are going to create the grid layout.
Cut the pattern papers to 6*6cm - 12 cards. And arrange according to the colour palate.
Stick the cards on the 12*12” white card stock paper. And choose the photos you want to document.
Once added the cards and images choose, it’s time to add more beauties to layout through stamps, stickers, enamel dots etc.let’s have a close look on how these add ins gave absolute beauty to the layout.
Clear stickers are another favourite of mine, you can see the below images - how much value it is giving.
Products used:
link to get yoursEssentials collection
Chipboard stickers
Clear stickers
Stamps
Please do grab these beautiful products and try creating the grid layout and share your feedback.
Thank you for stopping by ❤️
Have a great day ❤️
Dhaara
cards
Hello Lovelies,
Good morning! Dhaara here with another quick layout I created using the Essentials Collection. Essentials collections has the beautiful sets of journal cards and pattern patterns. Using which with minimal add-ons we are going to create the layout.
The layout is split into 4 equal parts. By backing up with pattern papers on each section, journal cards are added. To provide additional texture to layout, stitches are added to each section. Enamel stickers and few stickers are added along with the quote.
On the below section to add a difference, couple of pattern paper strips are rolled and added. Jelly stickers and couple of stickers are added. Roll created using pattern strips are pasted and highlighted with chipboard stickers. Transparent stickers are really giving additional beauty to projects.
Enamel dots are my go to add on whenever I feel layering can be increased on layouts. Here also added few enamel dots and it taken layout next level.
And coming to my favourite stamp collection, stamps are used along with floral stickers.Do grab the essential collection ❤️
-Dhaara
layout
Today is my last post for Studio Forty, so these are my farewell projects, although I hope we continue to see each other on social networks, I'm sure we will.
Today two layouts, I have used the latest collection and I hope you like them.
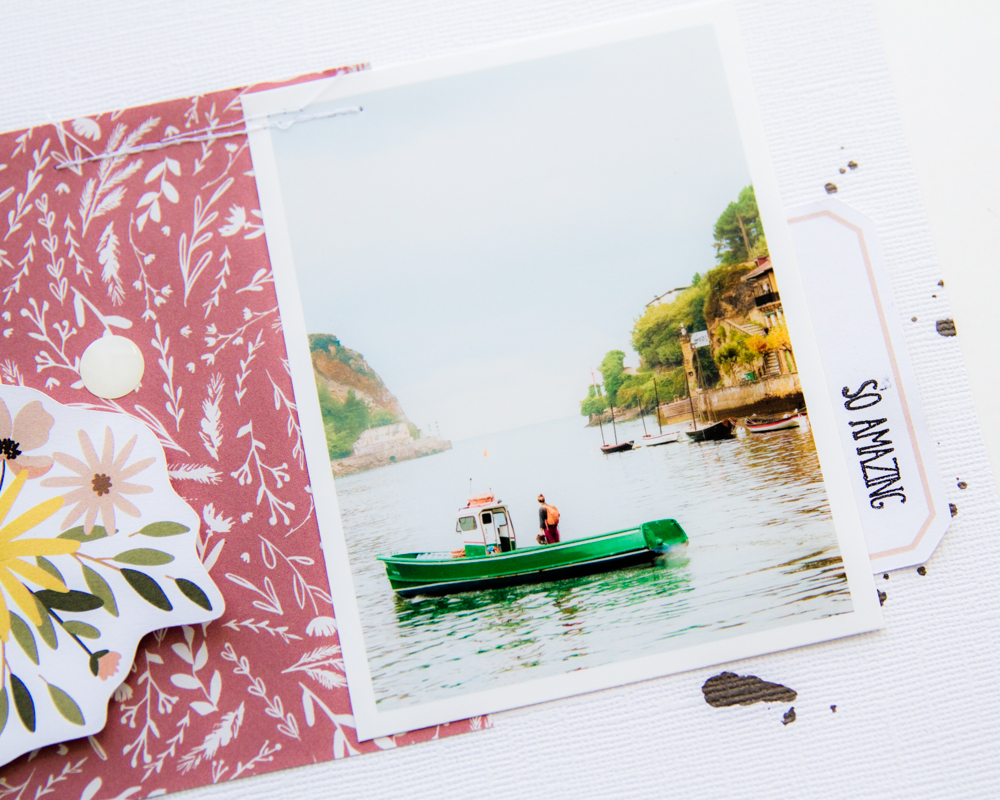
I have cut two strips of paper that I have sewn at the top and bottom.
In the center and on two papers I have pasted the photo and then I have been adding different ornaments.
I have written some sentences and with a stamp I have placed a sentence in relief.
Plus I've splattered with ink.
For the second one, the design is vertical. On the left I have cut a piece of paper into strips.
In the upper part I have pasted the photo and on the strips of paper I have stamped with a stamp.
With the sentences that I have written I have stamped other words with a seal.
I have also glued a couple of chipboards... and I have splashed this time in gold.
We keep seeing each other!👋
layoutdesing
Today I bring two layouts, in the first one I have placed the photo on top of papers cut in different sizes, both stand out and on them I have been placing the different ornaments.
In one corner I have placed a piece of paper, and below it a sticker with a phrase and I have stamped the word "time" in gold.
As decorations I have cut some strips of paper that I have glued on the background and also several chipboards, ephemera, enamel dots...
I've also dotted gold all over the page.
In the photo above you can see more details of the layout.
For the second I have created a background with two different papers.This time I have used two photos of the same moment.
On the right side is where I have concentrated the ornaments. A label and around different elements.
I have stamped a phrase on the label and at the bottom I have glued a label.
I hope you like them!
I take this opportunity to wish you a Happy New Year!
layout
I'm here again, with new projects, this time layouts, of course with
"Together"
Here I have placed a layer of paper under the photo and with various
ornaments I have decorated.
I have sewn a strip of paper on top of the
paper.
Before gluing everything, I splashed ink on the paper.
I have placed a label where I have stamped a phrase.
In layers I have decorated the left side and on them I have pasted another phrase that I have previously stamped on a piece of paper.
In the second I have used three frames, which I have placed adorning next to the photo.
In addition to splashing with ink I have added different small elements.
On a couple of papers I have placed the photo, and on one side I have glued some strips of paper.
I have also
stamped some stars in green and near them I have glued enamel dots.
I have finished with some handwritten sentences.
I hope you like them!
Happy All Saints Day or Halloween!
See you soon!