everyday story collection
Hello everyone! Happy Saturday! How are you around this world?
Just to tell you, we are fighting Covid from the middle of January and life is crazy at home. I'm running around, smart working, home schooling, kids at home, home, cleaning, and you know what I mean.
Creativity let me allow to stay healthy :P
What about you?
Today I am more than honored to show you what I have created with the new arrival in the Studio Forty family,
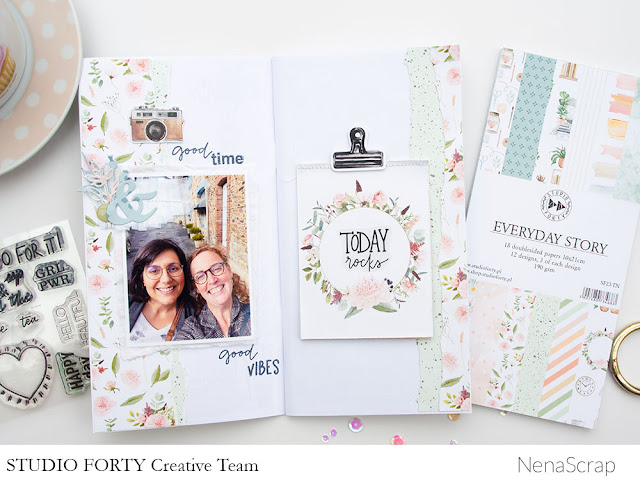
The Everyday Story collection, it's just mine for sure! I love all about it, from the color palette, the embellishments are super meaningful, the stamps, the papers are simply gorgeous!
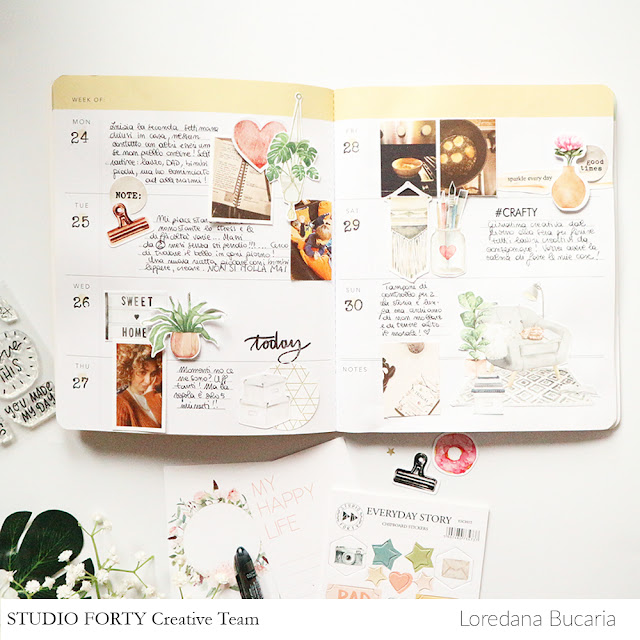
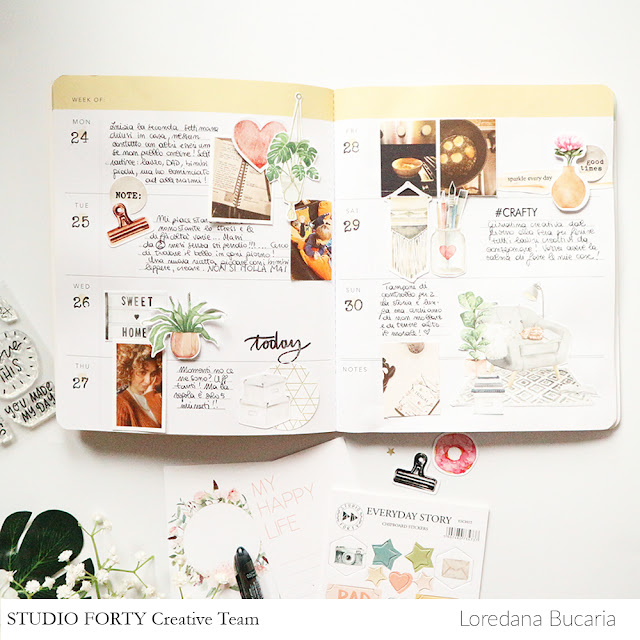
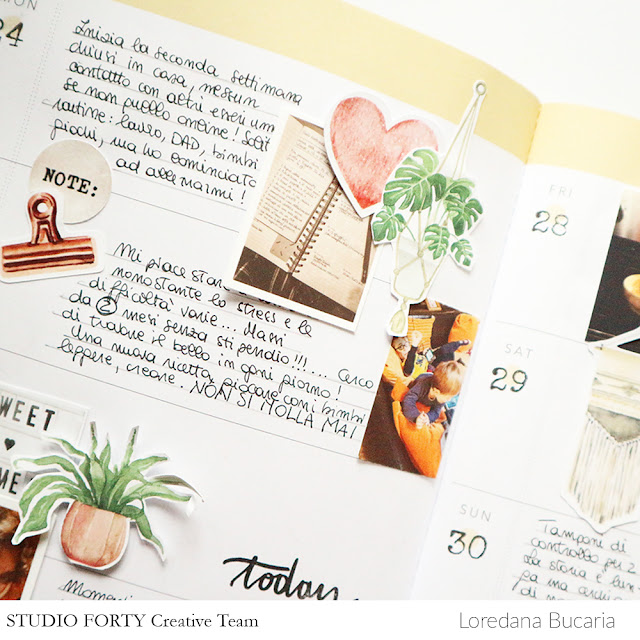
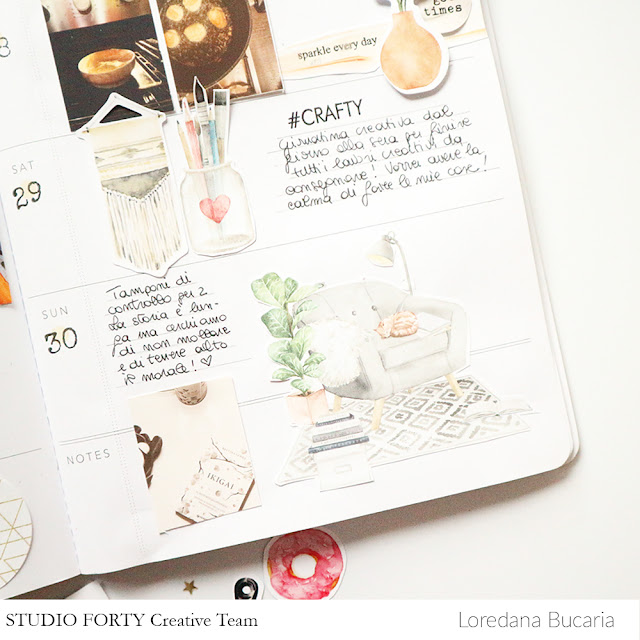
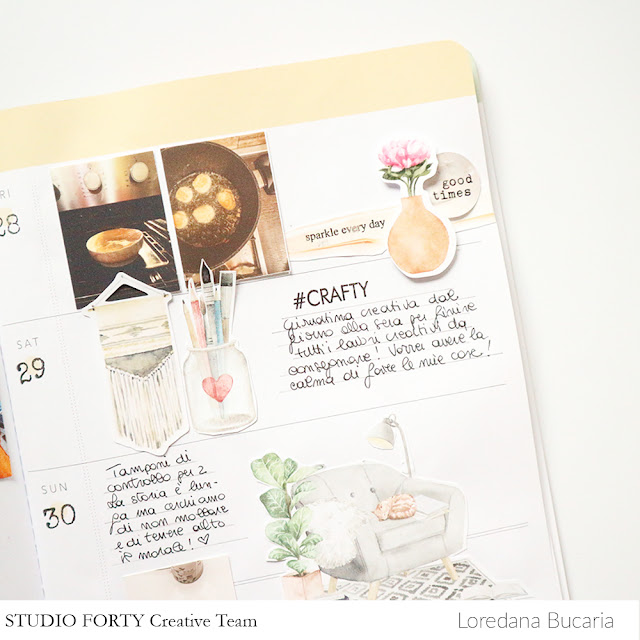
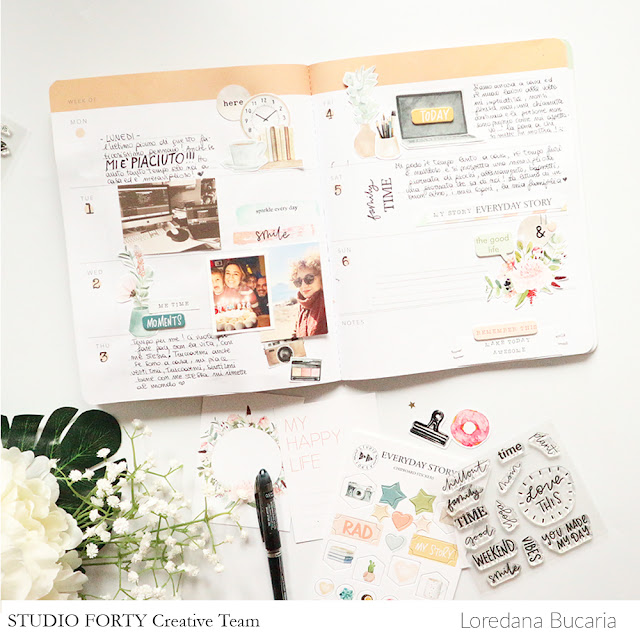
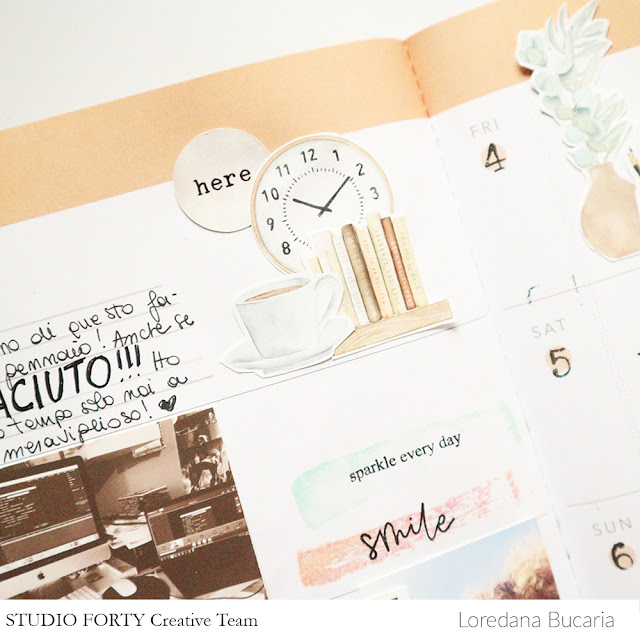
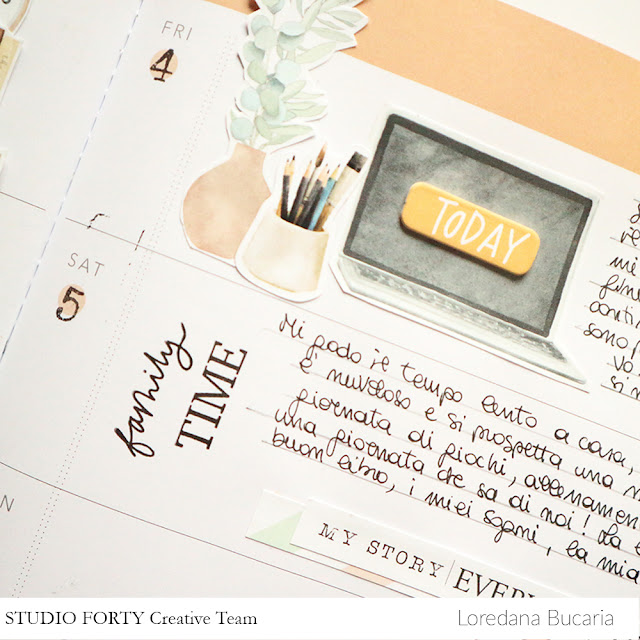
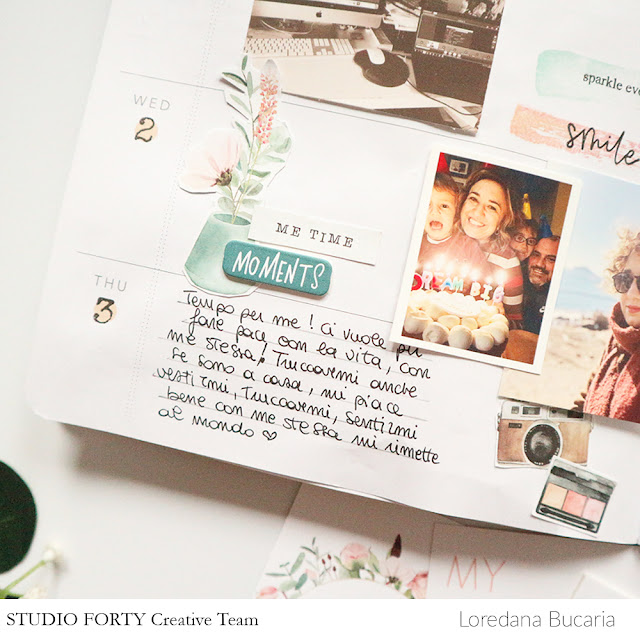
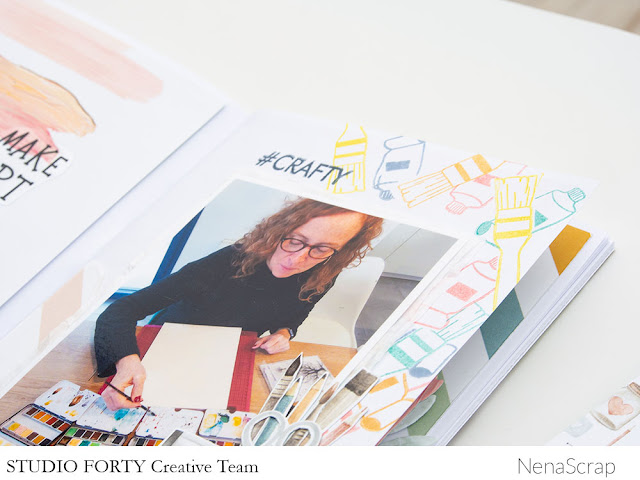
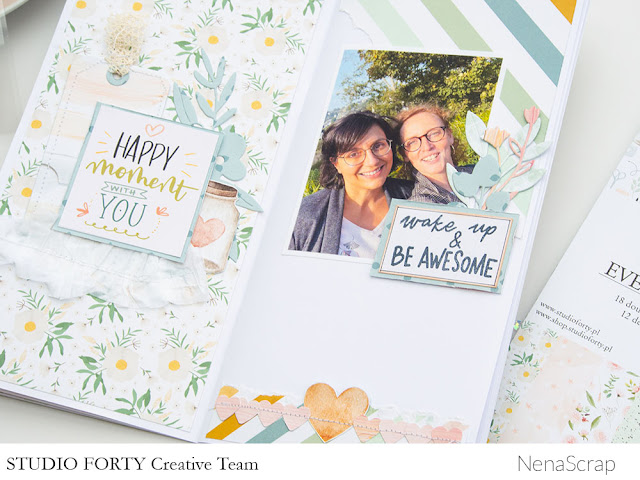
This time I wanted to play with it telling my everyday stories, using my handwriting and a lot of die cuts and little photos. Staying home stories told in a creative way is the perfect way to have the me time and stay happy!
Three steps to start with this kind od storytelling :
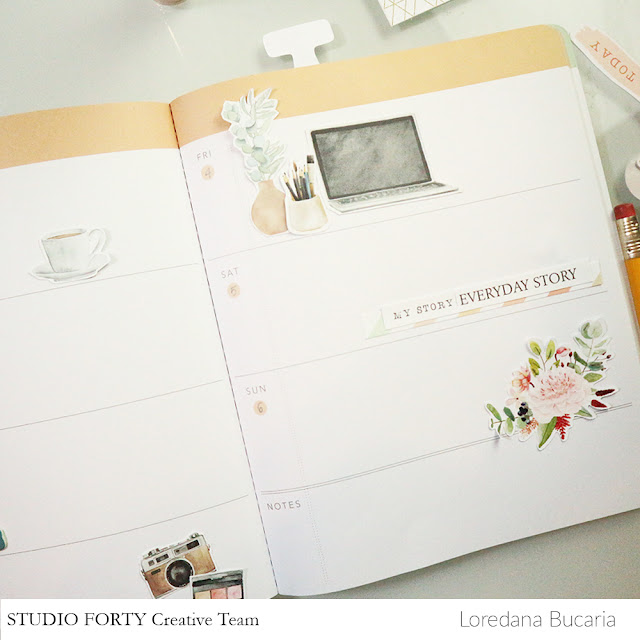
- Set your pages with the embellishments, playing them around the week.
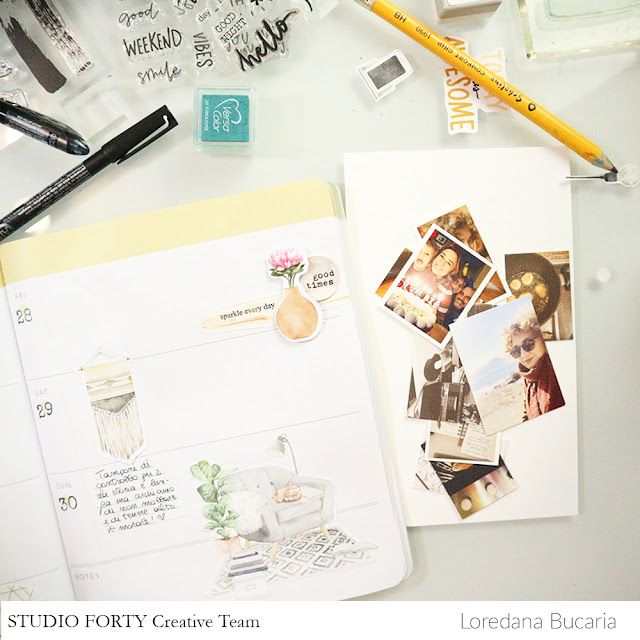
- Take a look at the pics you have taken during the week and start writing the journaling.
- Add your pics and the final touches.
Now it's time to play! Let me show you my spreads :)
I love the plants!
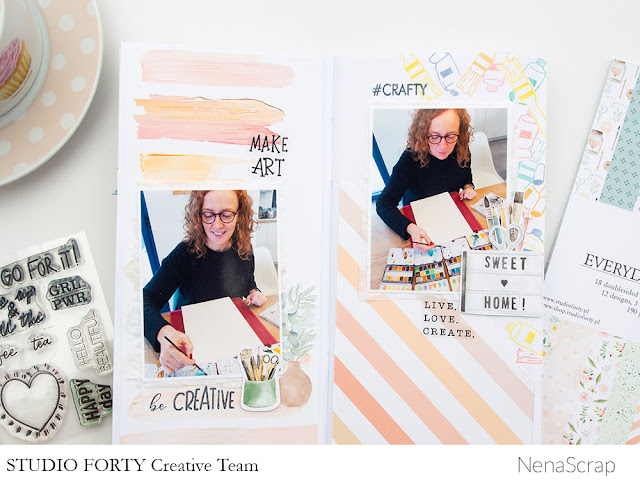
And here the second spread.
Tell your ordinare stories, there is nothing better to do creating. I love storytelling to the monna and back and you?
Love, Lory
12x12 layout
Heh, hej! Z tej strony Agnieszka i na dziś przygotowałam dwie prace na bazie fantastycznego arkusza MAKE ART.
Pierwszą pracą jest layout. Arkusz MAKE ART połączyłam tu z białą bazą, stemplami oraz serduszkami wyciętymi z arkusza CRAFTY DAY i kilkoma naklejkami. W ten sposób oprawiłam zdjęcia z zimowej sesji mojej córki.
Dzięki serduszkom, zarówno temu stemplowanemu (zestaw HELLO BEAUTIFUL) jak i tym wycinanym, praca ma fajny, walentynkowy klimat.
Podobnie jak w latach ubiegłych będę prowadziła projekt "jedno nasz zdjęcie na miesiąc" w notesie podróżnika.
Styczeń oprawiłam również arkuszem MAKE ART ale w wersji notesowej. Zdjęcie + stemple i dosłownie kilka dodatków w postaci naklejek i chipboardów to przepis na prosty, szybki i udany wpis :)
To wszystko na dziś. Trzymajcie się zdrowo!
Agnieszka
W pracach użyłam:


everyday story
Cześć!
Zapraszam Was dzisiaj do obejrzenia moich pierwszych wpisów w notesie z kolekcją
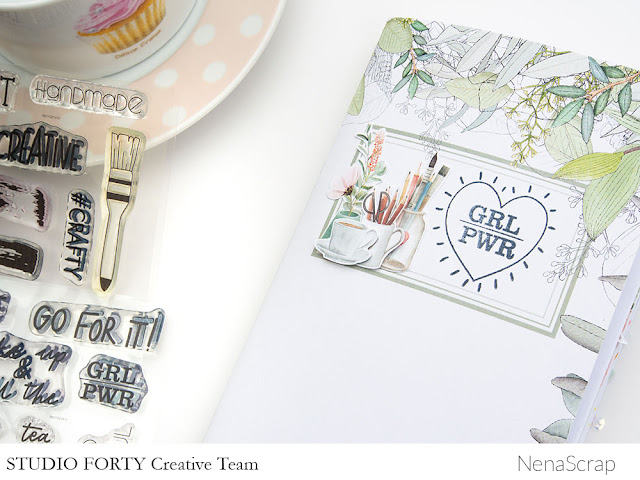
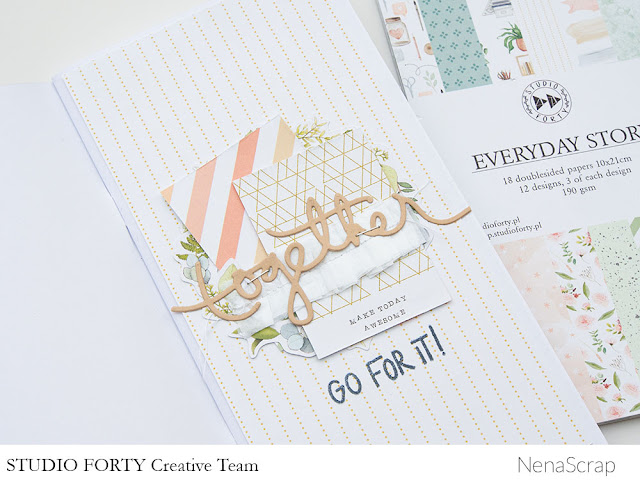
Everyday story Mój wybór padł na notes z okładką z obramowaniem w postaci zielonych liści i innych roślinek. Chyba tęsknię już za wiosną. Podobną kolorystykę zastosowałam w moich wpisach. Sami zobaczcie:

Nie jestem zwolenniczką pisania tekstów w notesie- najczęściej nie podoba mi się moje pismo i dlatego zaczęłam uczyć się kaligrafii, aby popracować nad jego jakością i móc dodawać ciekawe elementy do wpisów. W międzyczasie, korzystam ze stempli, z których w różny sposób można skomponować tematyczne hasła, a jeśli do tego wytniecie napis dookoła jego obrysu, to powstanie Wam naklejka, którą z powodzeniem można połączyć w hasło z naklejką z zestawu. Tak właśnie zrobiłam z napisem "love".
Często stempluję napis bezpośrednio na kartce. I tu nieocenionym kolorem tuszu jest czarny- po prostu taki napis będzie zawsze widoczny. Z drugiej strony, jeśli nie chcecie uzyskać zbyt mocnego kontrastu, to sięgnijcie po tusz kolorowy, tak jak na zdjęciu poniżej.

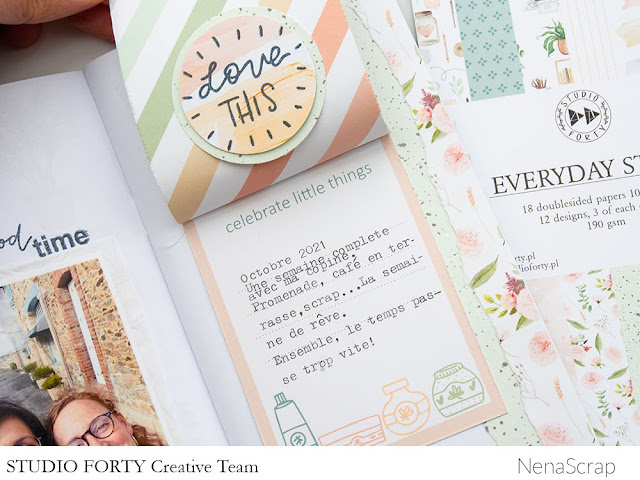
Stemple mogą też Wam posłużyć do stworzenia własnych die-cutsów. Wystarczy odbić stempel,a następnie wyciąć taki kształt, jaki pasuje Wam do pracy. W moich wpisach znajdziecie takie elementy w kształtach kół. Na jednym z nich połączyłam napisy z różną czcionką.

Jakiś czas temu odkryłam biały tusz do stemplowania i stałam się jego wielką fanką. Idealny do stemplowania na ciemnych powierzchniach, takich jak papier kraftowy. Czasem tylko poprawiam odbitkę białym, żelowym długopisem.

Mam nadzieję, że spodobały się Wam moje patenty. Są proste i nie wymagają wielkiego nakładu pracy, a jednak nadają wpisom ciekawe wykończenie.
Materiały: stemple zestaw 158 / stemple zestaw 159 / stemple zestaw 161/ die-cutsy / papiery-bloczek / notes
Pozdrawiam! I do następnego razu!
everyday story collection
We already have the new
collection and I was looking forward to showing you the first projects.
Today two layouts, both 11x8.5, I love this size and I always use it.
On a textured cardboard I have sewn the brushstrokes that I have cut from one of the
paper in the collection, one of my favorites.
I have placed the photo on the back of the same paper.
I have decorated it with a small
chipboard heart and I have stapled a label.
Cutting out one of the
stamps after having stamped it I have made a small ornament.
I have also glued another chipboard on the brushstroke, so that it seems that everything comes out of the paint tube.
I have added a
sticker that I have not glued, I have cut it and then sewed.To finish I have splashed ink and glued some enamel dots.
For this, on the textured paper I have glued a patterned
paper and from there I have been decorating with different ornaments.
With a couple of
stamps I have made this small ornament where you can read a word.
And as you can see with the stamps you can make different decorations by cutting and then gluing with foam.
I hope you like them...and see you soon!
.png "Menu")