frosty season collection
Hello everyone! How are you doing? It's Nuria @piruletasdepapel today and I am so excited to share my first projects as a guest designer for Studio Forty!
All of them are created with the Frosty Season Collection. I adore how versatile this collection is with all different formats!
I absolutely fell in love with the traveller notebook, so I decided to document my December using this format for the first time and...it is so easy going! I am going to show you the first 3 pages.
When documenting December I like to start with an introduction, commenting plans about to happen, concerns and hopes. In this case, I played with the different sizes of the paper sets: the journaling is hidden behind the beautiful notebook patterned paper. And in the next page I used 7,5*15cm patterned paper and a journaling card. I added dots and chipboard stickers as embellishments.
1st of December. I've used a large B/W photo on one page and, again, playing with notebook and 7,5*15cm patterned paper sizes on the other one. Some embellishments here and there (chipboard frames) and a journaling card with a clear sticker on for the journaling. Guess where is it?
One of my faves pages, and I repeat it all years, is the one showing the four of us (my family). It is so fun to see how we look like before! Today I have used pocket pages but cutting the ones I need for creating two interactive pieces. I've stamped the whole page with these beautiful clear stamps and added a flip-up journaling card hiding the journaling.
I also want to show you a layout. The story is about nature and fall: the beauty of trees and multicolored leaves on the ground.
Thanks for stopping by and... Merry Christmas!
Nuria
December Daily
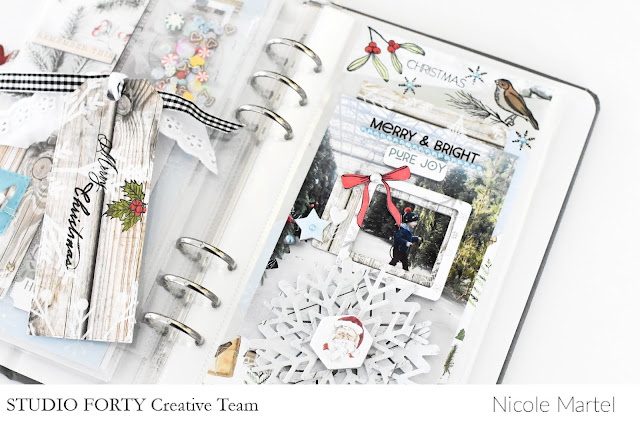
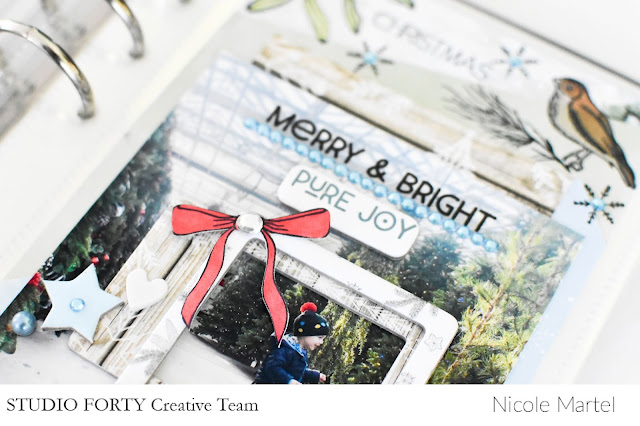
Good morning friends! I'm back with another layout and card I created for the holidays! The Frosty Season Collection is such a great collection and I really enjoyed using this collection for my December Daily this year. Just recently, my sister took Henry out to look for the perfect tree. The look on his face is pure joy!
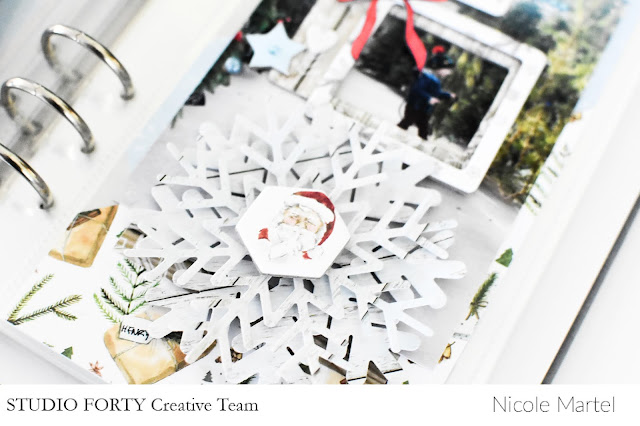
I cut a few giant snowflakes from patterned paper using my metal dies and Sizzix machine. Then I added the chipboard pieces.
I stamped the bow from the Holiday cheer stamp set onto white cardstock and then colored it in using a red alcohol marker. Then I fussy cut the image very carefully and glued it to the corner of the chipboard frame.
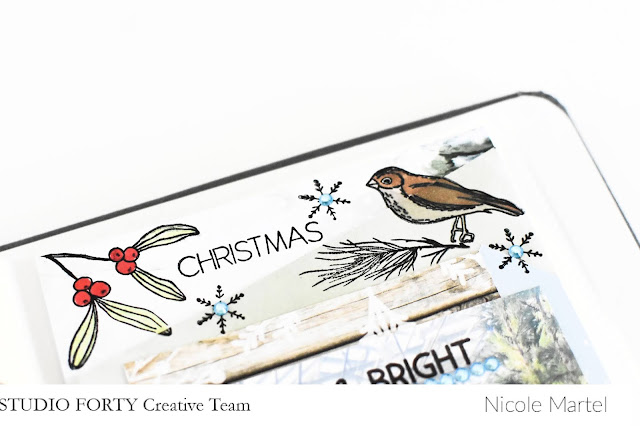
I used a variety of
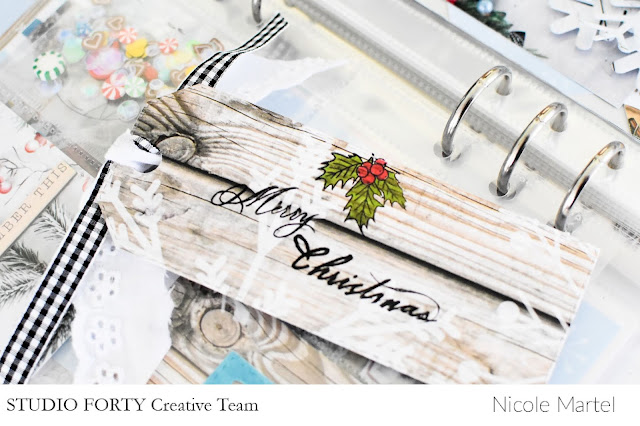
stamps and markers to create the holly branch, snowflakes and birdie at the top! Seriously, I just love how this turned out...it's so pretty. I glued the tiny blue gems to add a little sparkle to the snowflakes.
Here is another book marker I created using metal dies and
stamps and markers.
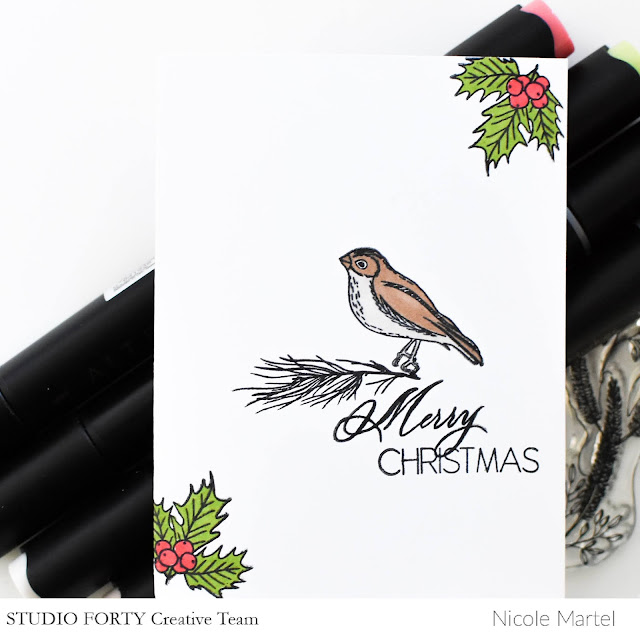
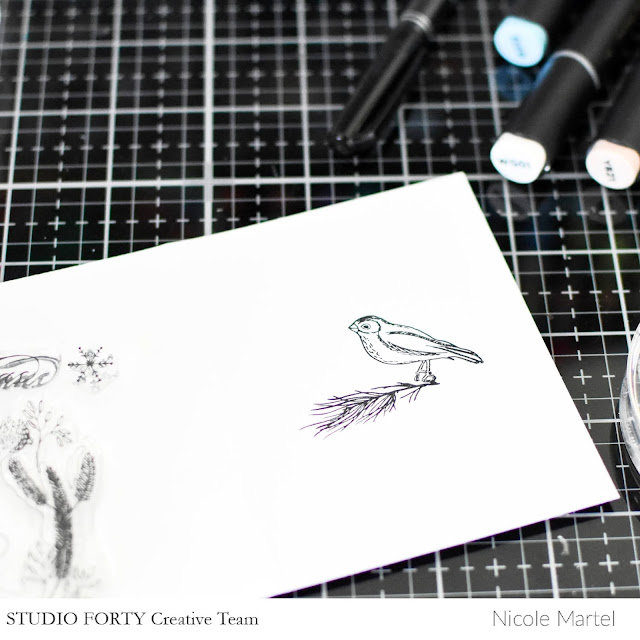
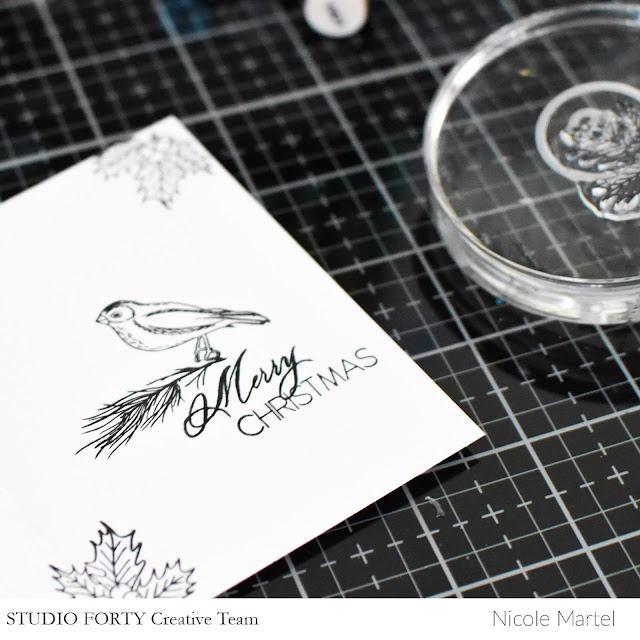
I'm thinking this year...for my special friends...I'm going to make cards. His a simple card I created using a few
stamps and markers. I love the simplicity of this card!
I think the next time I make this card, I'm going to stamp the Merry Christmas in red and green ink to make it pop a little more.
As you can see... this was super simple to make. This card is about 3 1/2x4. I love working on a smaller surface for cards.
What do you think? Are you ready to make something with this beautiful collection and start using stamps on your projects. Thank you so much for visiting today and Happy Holidays!
frosty season collection
To finish my posts for this month and this year, I've made a mini box out of a box, all from the Frodty Season collection.
The box has a cover, as if it were a matchbox, which I have decorated with a title and other small details.
With a ribbon I have made a handle to open the box.
Inside a mini, mini album with some small photos of a walk on one of the cold days of December.
I made the cover with a couple of PL cards from the collection, a chipboard and a cord served as a closure.
On each page I have adorned with some detail, stamps or stickers.
This double page photo with a stamped word and an ornament.
The pages have been stapled to the structure that I have made with the cards.
In the center of the mini I have glued this snowflake that I have cut out.
I have not wanted to reload ornaments, since it is so small, that with the little that I put it already costs me to close it.
Well, I say goodbye, just wish you a Merry Christmas and a Happy New Year, see you soon!
jak nie zostać w tyle z grudniownikiem?!
Dzień dobry! Jak Wasze grudniowe albumy? W użytku, czy jedynie w gotowości? Przychodzę dziś do Was z małymi podpowiedziami, jak na bieżąco prowadzić grudniownik :)
Przede wszystkim - robić zdjęcia ;) Choć i bez nich jesteśmy w stanie zrobić dobrą stronę, niewątpliwie to one są największą pamiątką i warto pamietać o ich tworzeniu. Uwiecznianie wspomnień na fotografiach nie musi być wyzwaniem - wystarczą proste ujęcia, ważne jest, by pozwalały zapamiętać daną, wesołą i piękną chwilę.
Jeżeli w telefonie mamy już wybrane zdjęcia, możemy działać z albumem jeszcze przed ich wywołaniem. Wymierzmy jakiego formatu zdjęcia zmieszczą się na stronie a następnie przygotujmy podkładki pod fotografie o ok. 0,5 cm większe na szerokość i długość - będą niejako zajmować miejsce w oczekiwaniu na wywołane fotki, a my będziemy mogli działać z ozdabianiem i opisami na bieżąco.
Ja do ozdabiania jako bazę wykorzystuję stemple. Mieszam je z papierem bazowym lub tworzę z nich tło strony. Na zdjęciach widzicie obie opcje. Dodaję jeszcze kilka ścinków, kartek PL, wycinanych elementów i (obowiązkowo) naklejek-kropek. Pamiętam też o naklejkach z napisami - są świetnym dopełnieniem.
Jest jeszcze jeden tajemny tip, jak zmotywować się do regularnego wypełniania albumu grudniowych wspomnień - warto motywować się wzajemnie. Na przykład na grupie facebookowej, do której dostęp otrzymujecie po zakupie zestawów grudniownikowych (
notebookowego i
scrapowego).
Trzymajcie się!
Scrapczak
christmas
Hello everyone! It’s the most wonderful time od the year … literaly! I love christmas and I always want everything to be perfect and prepared. And that's my curse. So this year I created a christmas organizer … well more like a notebook to be precised. I used FROSTY SEASON collection and let’s see how it all turned out.
The cover page is simple. I added few die cuts and transparent stickers and cut the title out of one of the 6 x 6 papers. To fix the whole notebook I added rubber string to the back.
First page is prepared to plan our christmass dinner. Well we eat pretty the same meal every year, but still I like to write everything down. Who knows - maybe I come up with something new to eat (maybe some starter or desert). Next page is a shopping list. As I need my husband to do some shopping too, I always make a separate shopping list for him. Besides the food I also plan drinks and snacks.
Do you send christmas cards? I do and I prepared a special page to track people and adresses to whom I want to send a christmas card. I came up with an idea to use one of the stamps (the christmas ball), stamp it on a white cardstock, cut it out and fix it to the page with a velcro. Well it turned out like a great idea. And I added some string too.
Next page is dedicated to christmas baking. I bake just a few types of christmas confection, but year after year I always find a bit better recipe. So let's write that down. Because to be honest - I don't remember where I put my last year's recipes.
Last but not least ... presents of course. As the Christmas Day is around the corner I need to sum all the presents up and find out, whether to buy something more. And more important - whether I need to DIY some present myself.
Very merry Christmas to everyone and I'm looking forward the next year with you here at Studio Forty blog.