12x12 layout
Hello Studio Forty lovers! Kerstin here and I have a new 12 x 12 layout inspiraton for you! I'm in love with the black and white papers from the Essentials Paper Set Notebook! I'll show you what I made with and from these papers! Let's get started!
I chose the triangle and plaid paper as base. In the center I rolled 2 rolls each from a 2 inch wide strip with a thin pencil, taped them together with double sided tape. I glued the rolls with double sided tape as well.
At the top of my layout, I used various ephemera from the Essentials Paper Ephemera Set. I stapled my photo to a paper scrap, with vellum in between, and added a ribbon scrap.
I cut my title "This+That" from an Essentials Journaling card. Of course, flowers can not be missing. The Essentials Flower Stickers set is just gorgeous!
Here I used one of the cute Essential Seals. In addition, Essentials 3D Stickers Dots may not be missing.
I hope you like this inspiration! Thanks for stopping by!
See you soon!
Kerstin xx
SUPPLIES: Essentials Paper Set Notebook I Essentials Journaling Cards Pad I Essentials Just Lovely Color Stickers I Essentials Flower Color Stickers Set I Essentials Words Color Stickers Set I Essentials Tabs Yellow Color Stickers Set I Essentials Tabs Pink Color Stickers Set I Essentials Tabs Mint Color Stickers Set I Essentials Paper Ephemera Set I Essentials Seals I Essentials Envelopes and Tabs Elements I Essentials Dots 3D Stickers I To Do Labels Stamp Set #168
clustering
Hello crafty friends, it's Janna. After last month's
scrapbooking layout with round photos, I am back with a cluster page. Before I share my thoughts on today's layout, I'd like to remind you to use the
code janna10 in the
Studio 40 shop for a
10% discount! Now, let's take a look at the scrapbooking page.
Usually, I lay out the cluster design before glueing the items onto the page. The design of the clusters may change during the process of adhering everything. If you want the arrangement to be exactly the same as the draft you made, you might want to take a picture of the design before adhering.
There are many ways of designing a cluster, I decided to go for a blurred one: sometimes it's hard to tell if a page includes one, two, or more clusters as the different areas on the page correspond or maybe overlap.
This is what I like to call the "blurred cluster" design.
I did this with the bottom cluster on the left and right as well as with the mini cluster below the photo. Each is a seperate cluster, but as they are so close to each other, they become a blurred arrangement.
Do you like clustering? Or do you prefer clean and/or non-dimensional pages? If you haven't tried working with clusters, I challenge you to do so! :-) Make sure to tag
Studio 40 and me (
@jannawerner) on Instagram and Facebook when sharing your creations.
Have fun,
Janna
supplies used (discount code janna10)
Aka
Hej, tu Ania!
Mam dziś dla Was trzy inspiracje kartkowe,
do zrobienia których użyłam naprawdę niewiele przedmiotów.

Użyłam baz do kartek w rozmiarze DL, które docięłam na długości do 18 cm,
a odcięte elementy - pasek przecięty na pół w miejscu bigowania kartki -
zostawiłam, bo znajdą się na każdej kartce.

Do pokolorowania stempli użyłam czterech kolorów kredek,
dwóch pisaków akwarelowych, białego i złotego żelopisu.
A do stemplowania wykorzystałam cztery kolory tuszy.

Wszystkie stemple, które użyłam, pochodzą
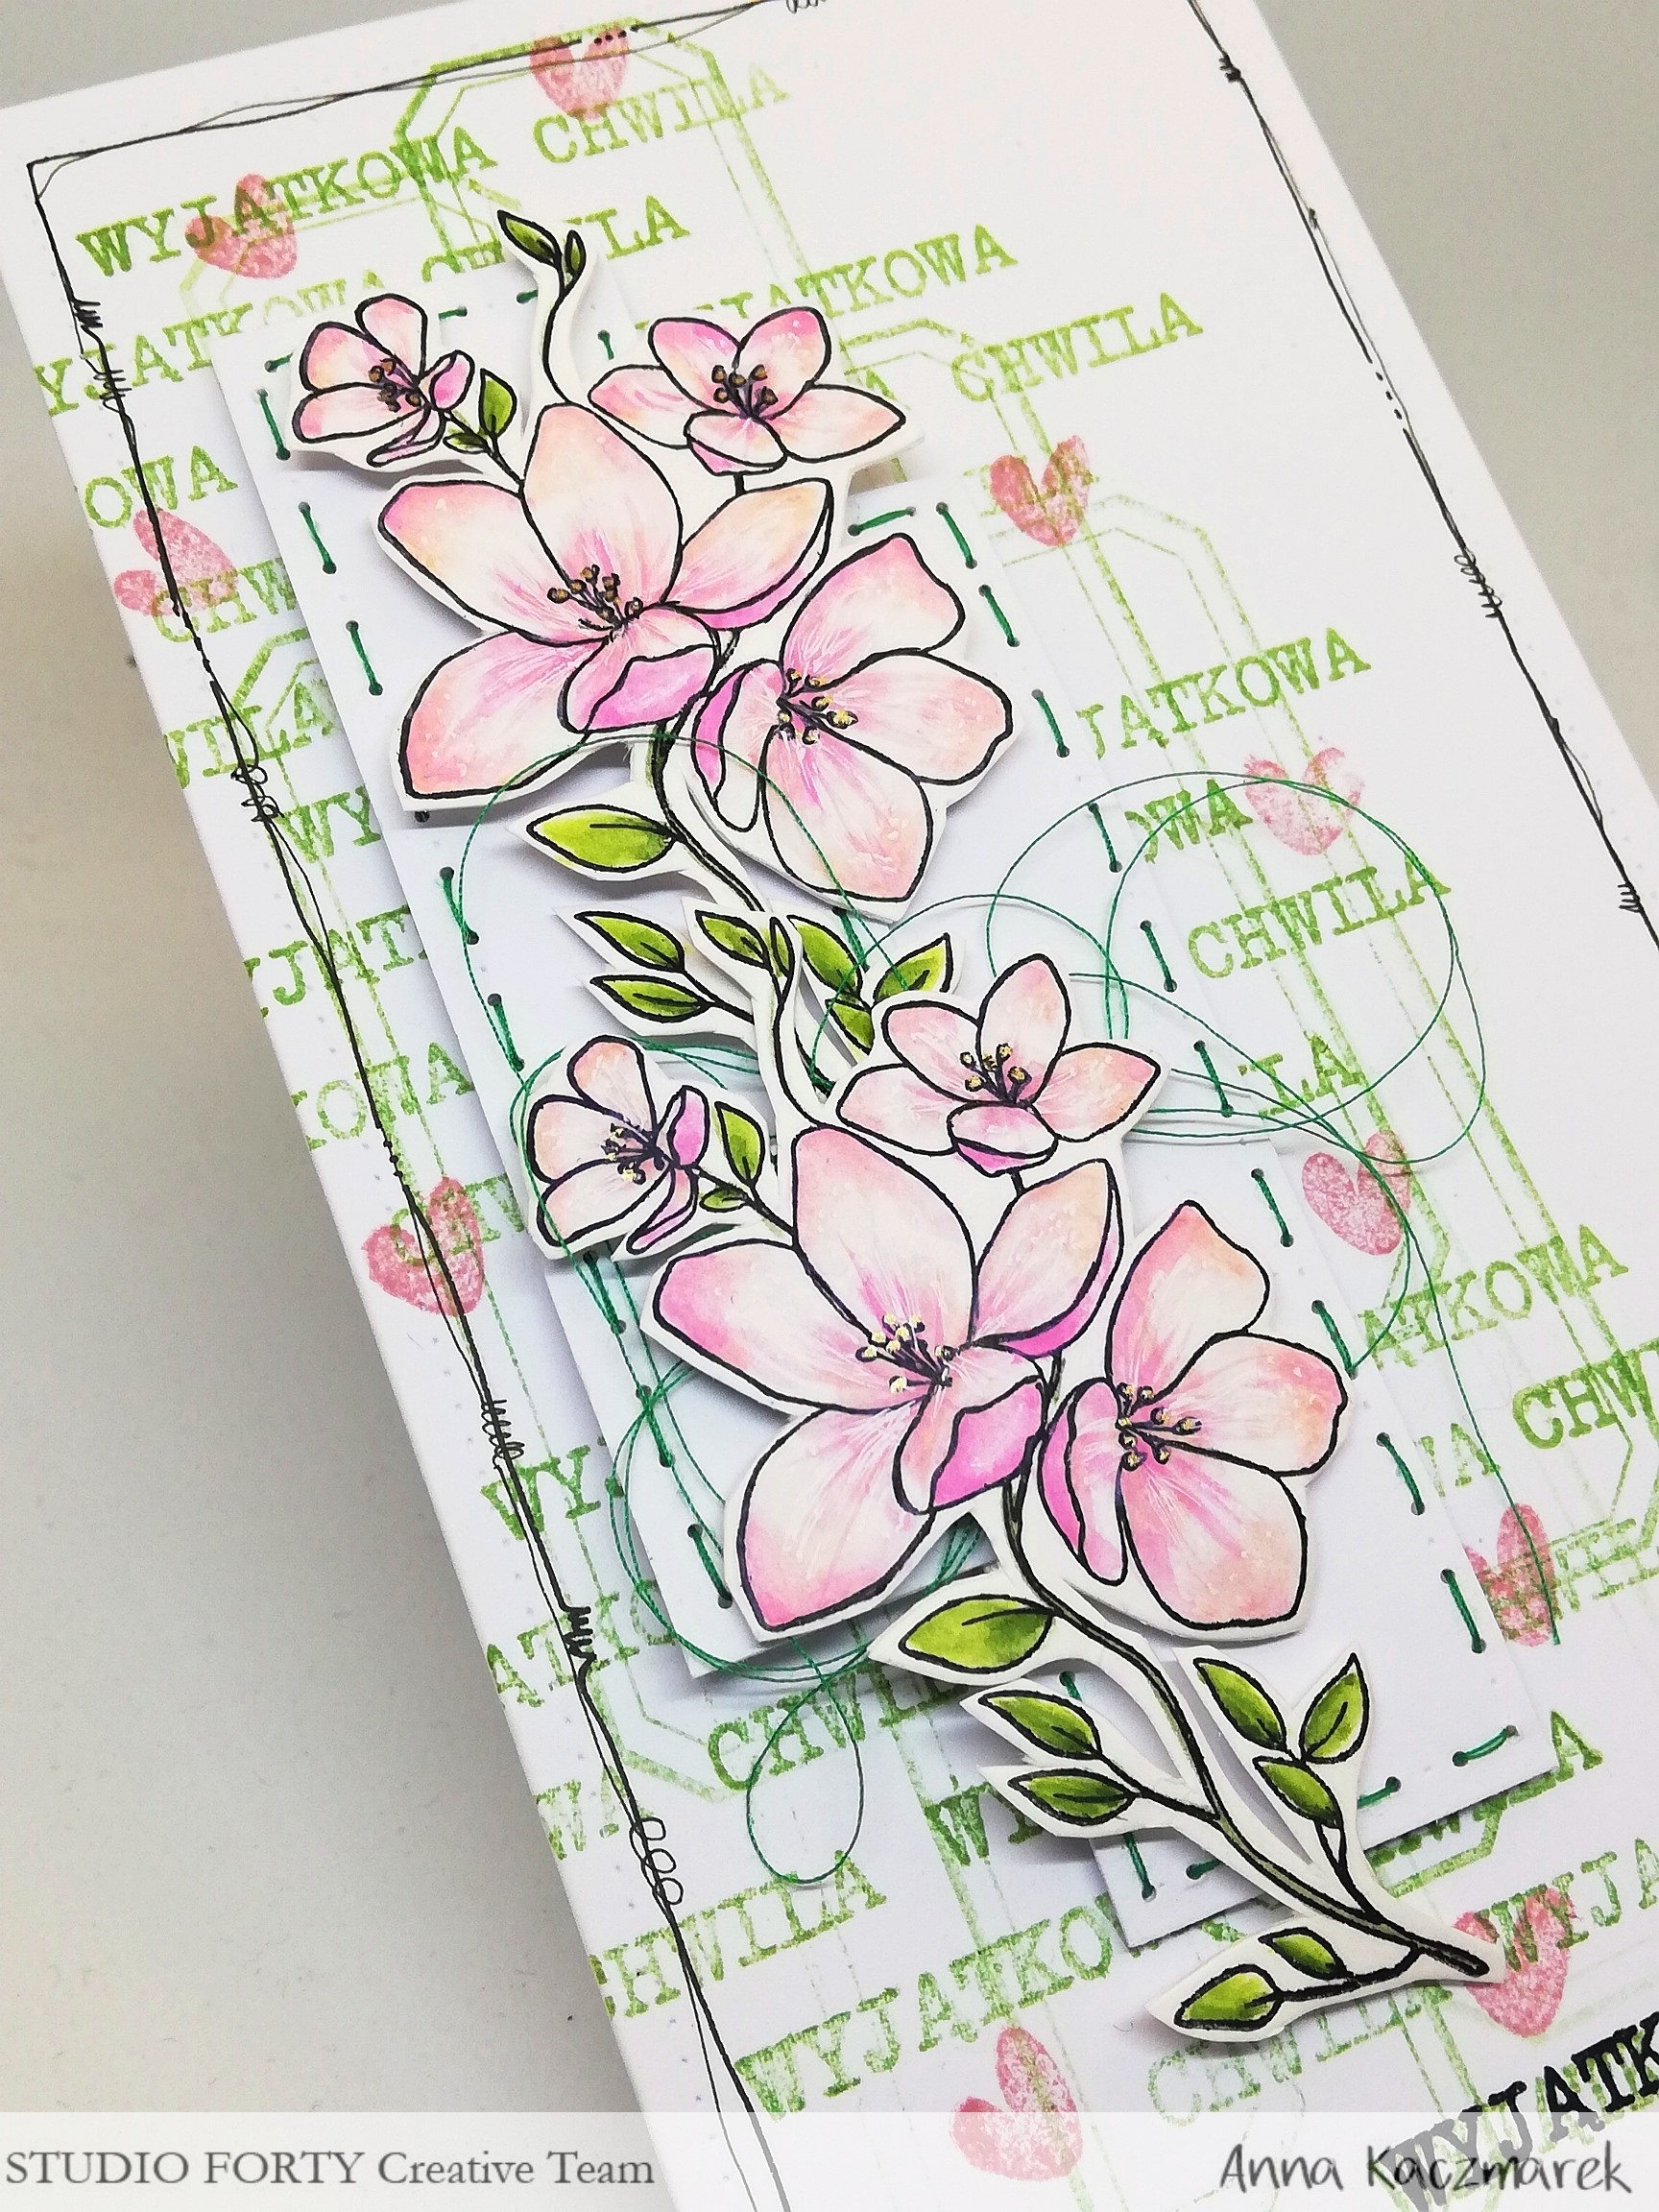
Na wszystkich kartkach użyłam stempli kwiatów wiśni,
W tle kwiatów i pasków papierów, zrobiłam na każdej kartce odbitki słówek
w nim jest też stempel etykietki, którą tutaj odbiłam w tle zielonym tuszem.
Na ostatniej kartce dodatkowo użyłam jedną etykietkę,
Idealnie pasował do mojego odcienia niebieskiego tuszu.
Mam nadzieję, że zachęciłam Was do tworzenia na białym papierze :)
essentials collection
Hi!
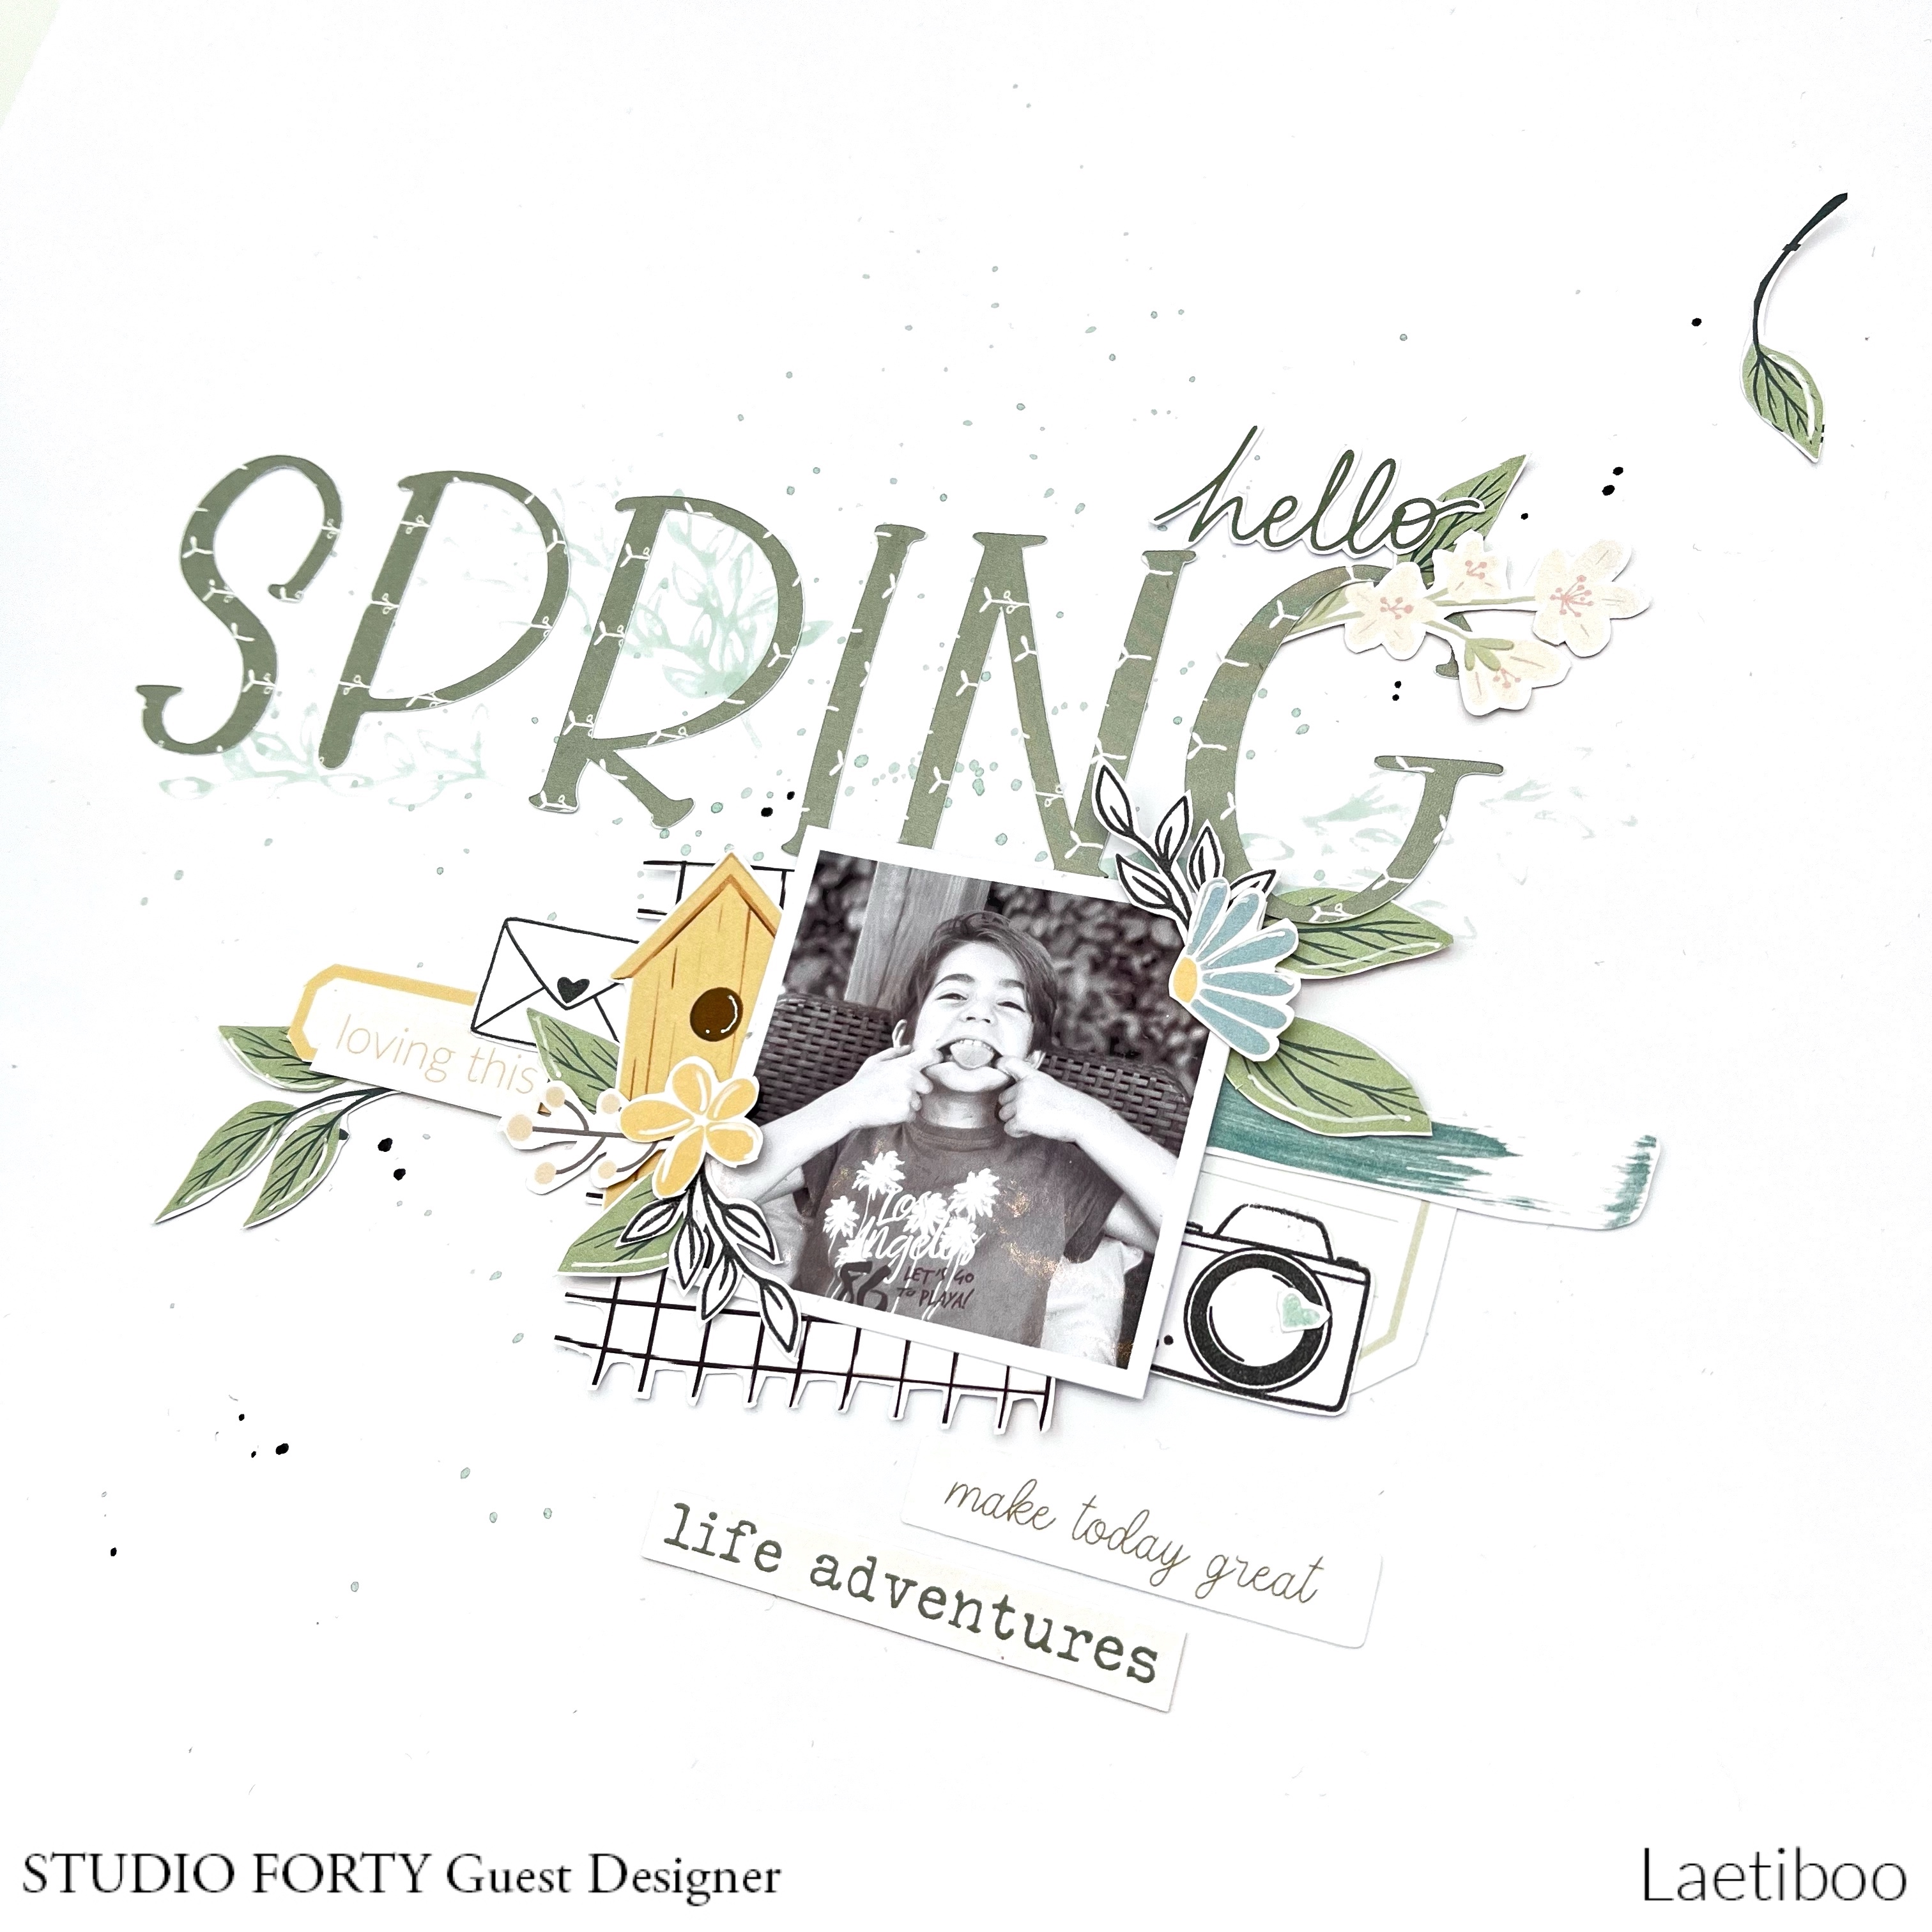
I am delighted and extremely touched to represent Studio Forty with the new "Essentials" collection. This collection is a real pleasure to scrap and it allowed me to create a spring and funny layout.
I especially love its light colors and its really adorable patterns, it's beautiful, don't you think?
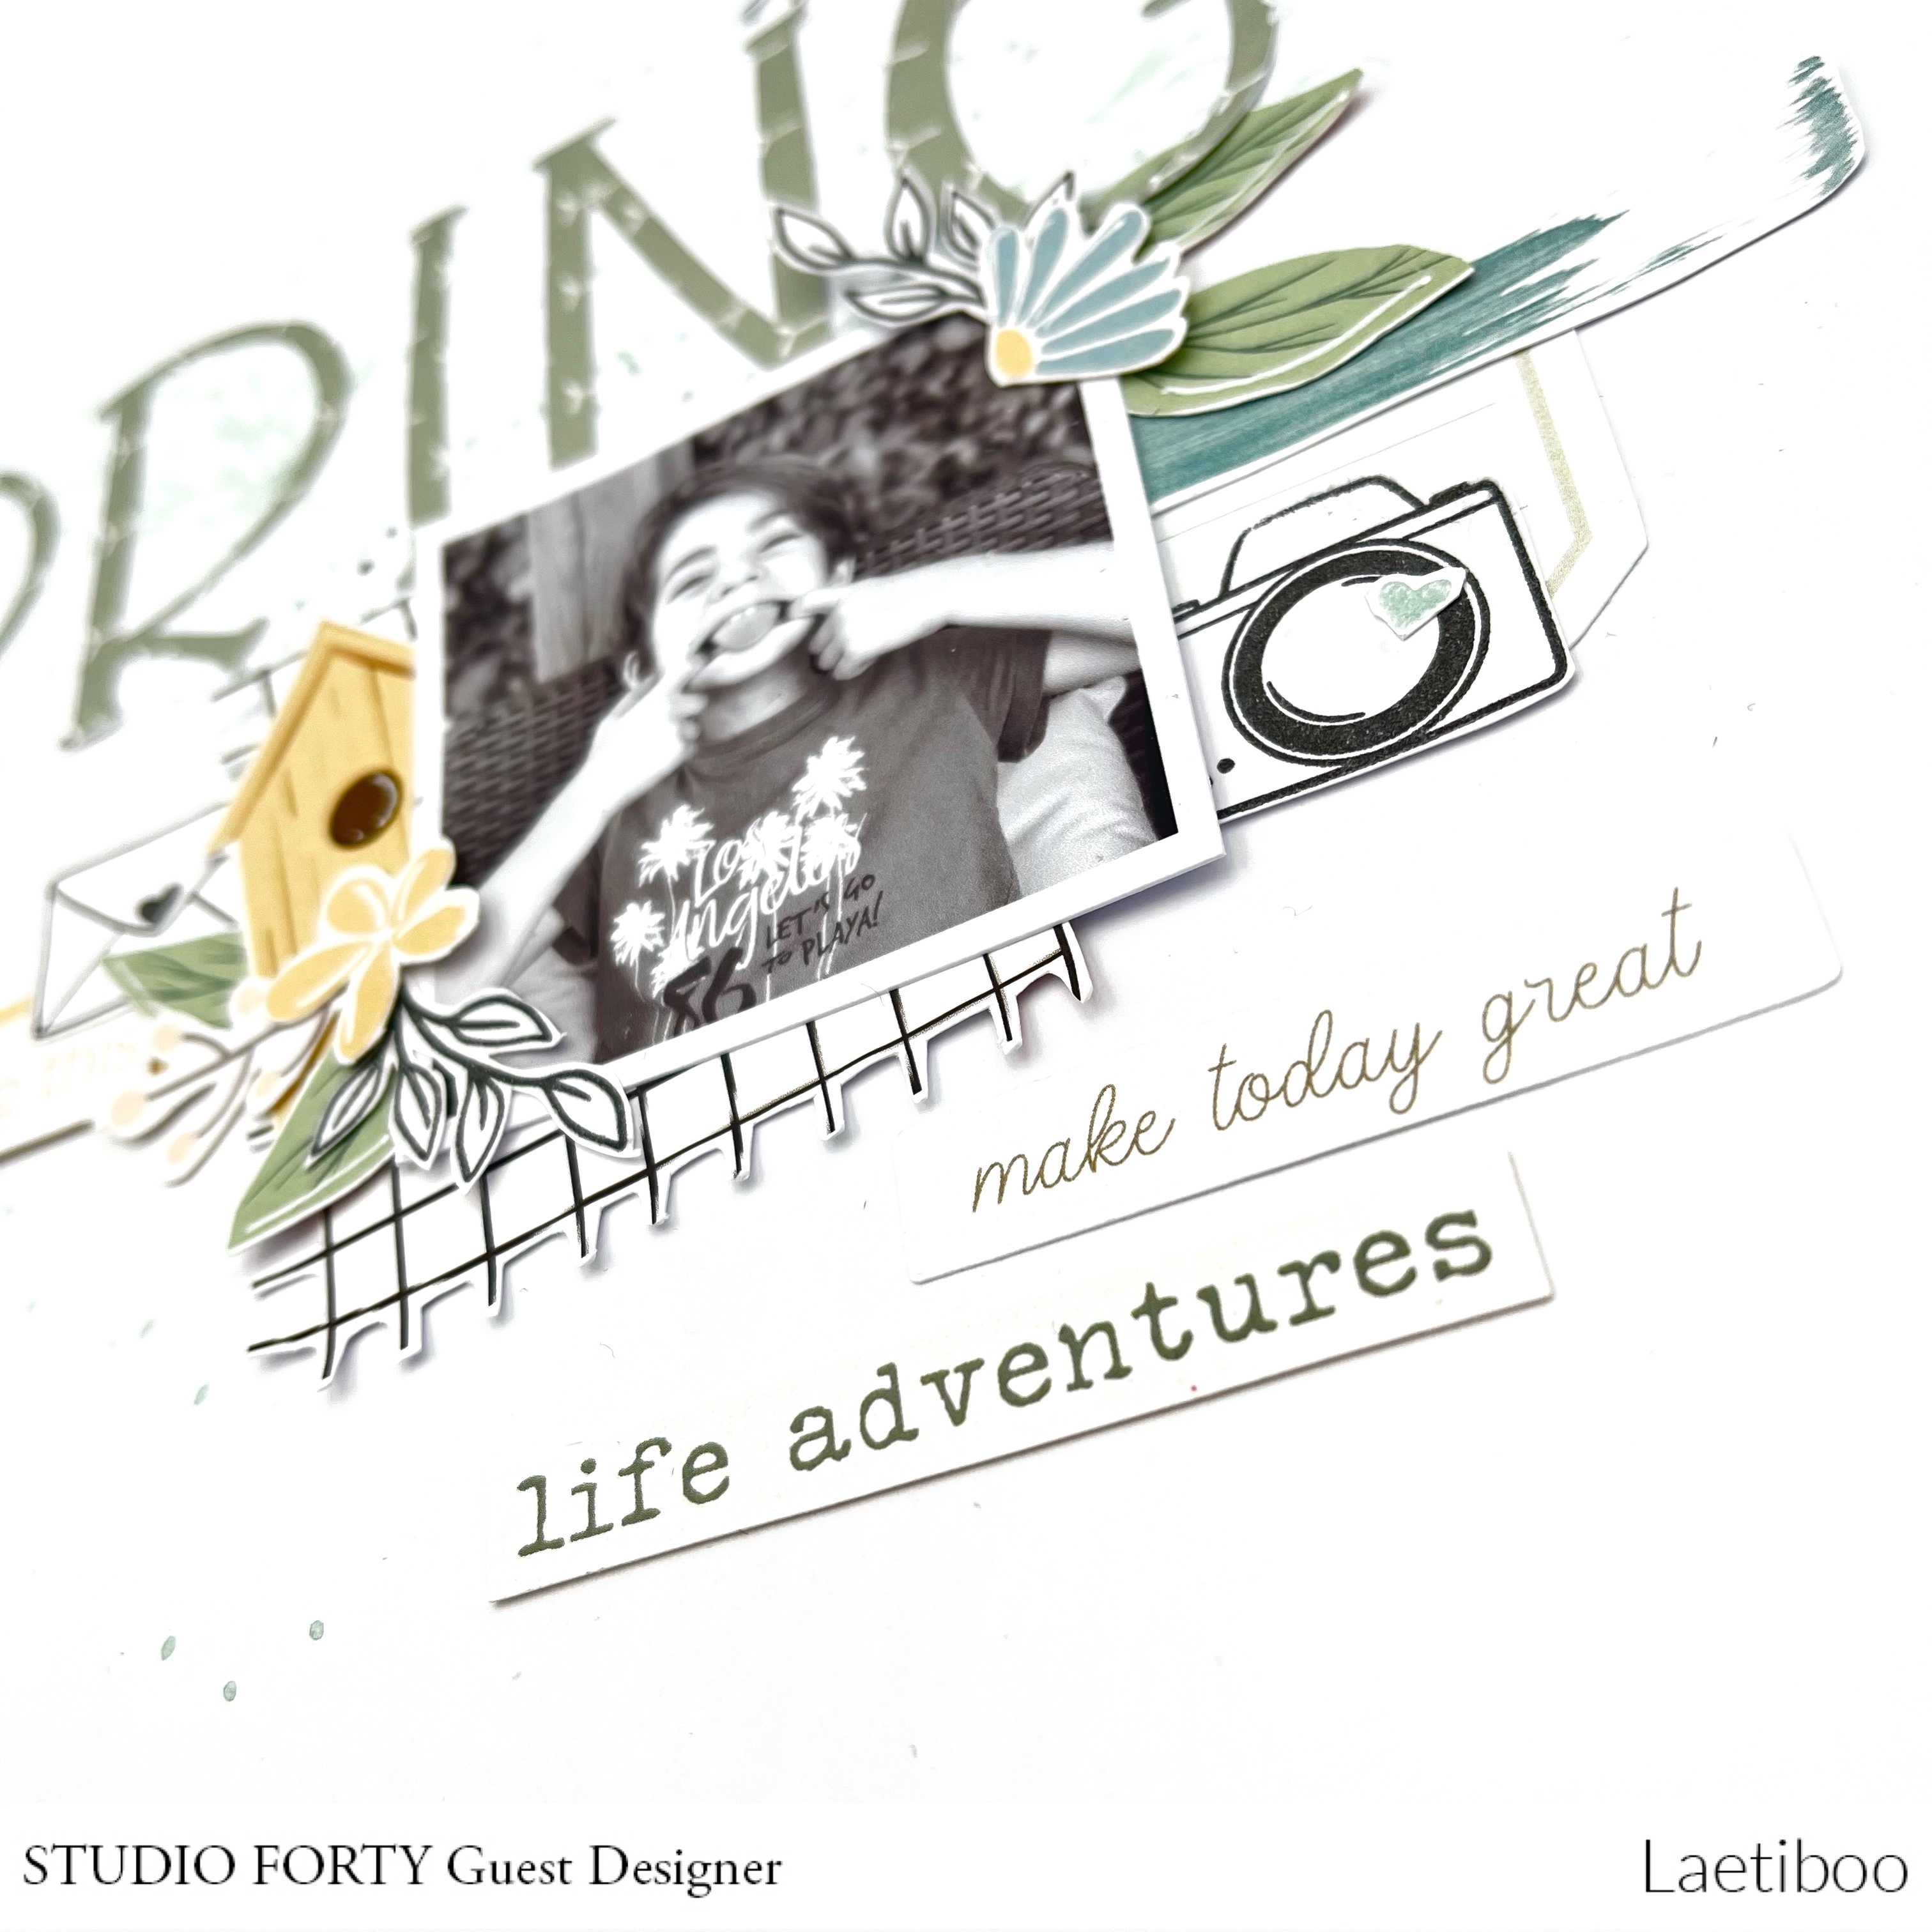
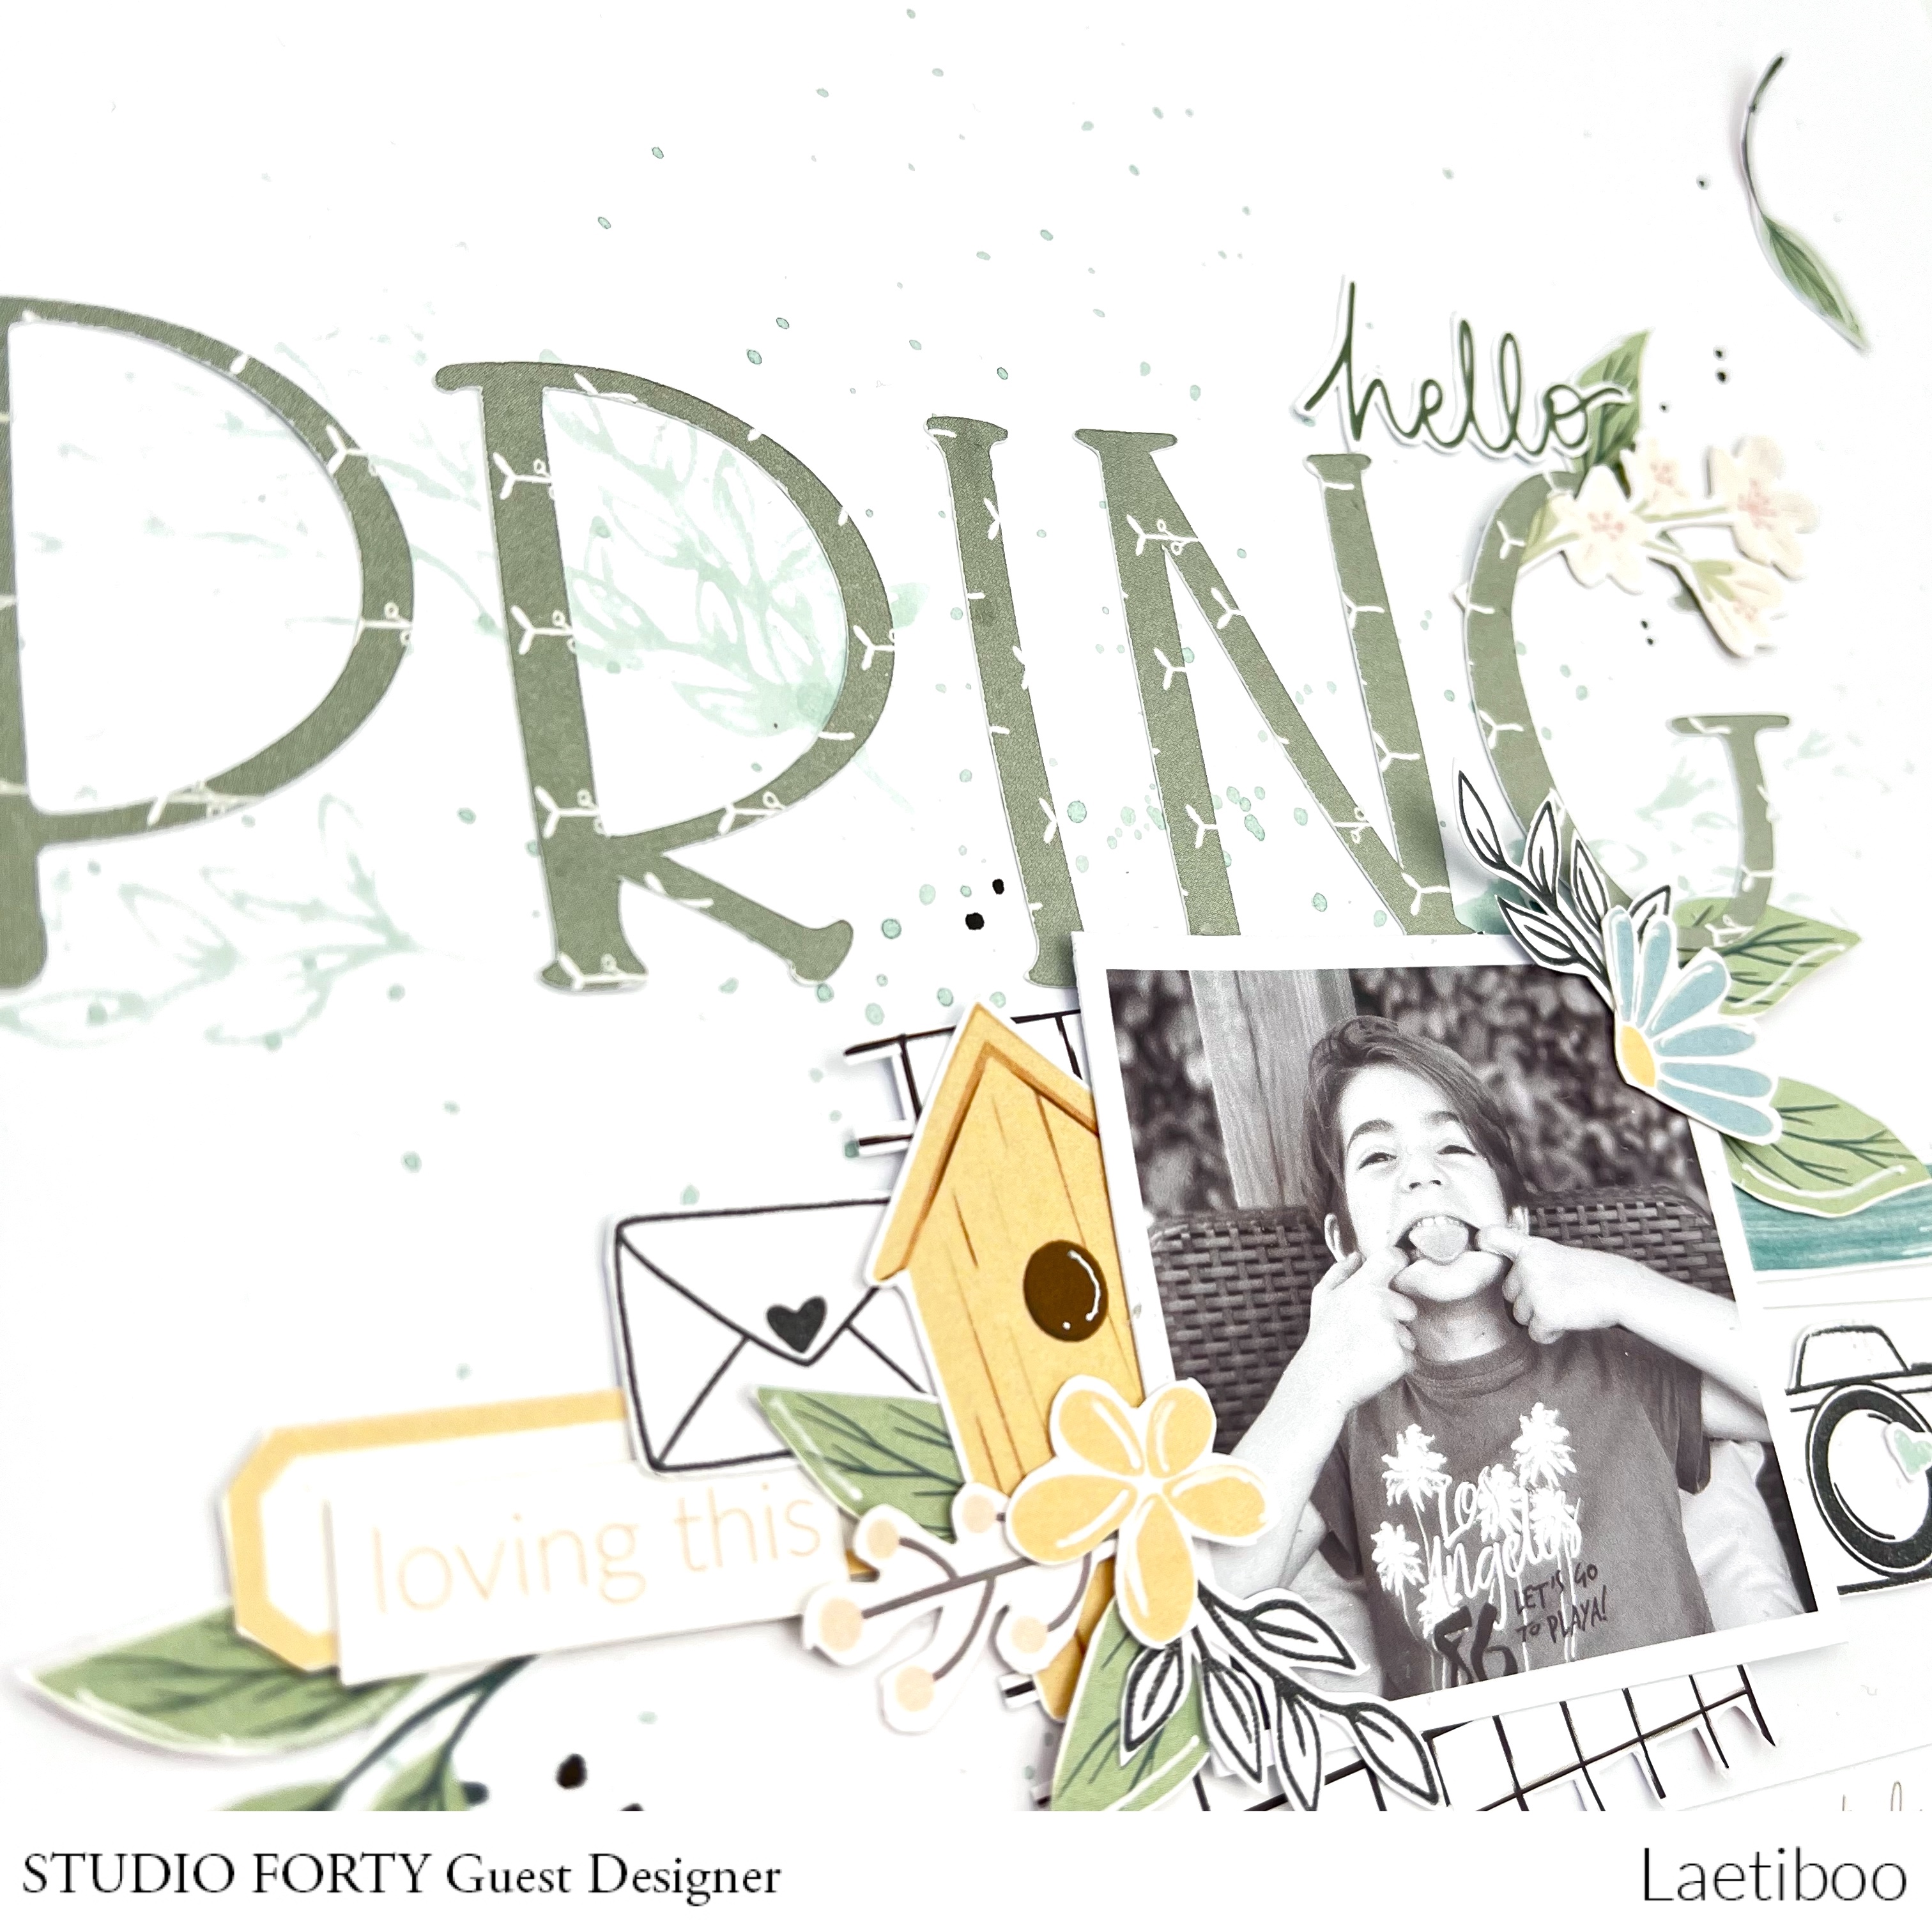
I used Cricut to cut out the word 《Spring》 from one of the "Essential" papers and added embellishments and stamps left in black and white to match the pretty colors of the collection.
The stickers can be stuck on thicker paper and cut to give them a little die cut effect.
I can't wait to show you some more…
See you soon !
Laeti
agnieszka damska
Hej! Z tej strony Agnieszka, dawno nie było na blogu stron z albumu PL, więc zapraszam na moją lutową rozkładówkę :)
Kilka tygodni temu wybraliśmy się na spacer do Łazienek Królewskich i zrobiłam tam kilka zdjęć. Postanowiłam zachować
je używając kolekcji "Essentials" - kart do journalingu, stempli z etykietami i słówkami oraz naklejek.
Aby udekorować rozkładówkę i dodać trochę koloru stemplując etykiety użyłam tuszy w pasujących do zdjęć kolorach. Fajnie się tu też sprawdziły kolorowe naklejki FLOWERS i CAMERAS oraz moje ulubione TABS - mint i blue.
Jeśli chcecie zachować swoje wspomnienia w piękny i zorganizowany
sposób, to prowadzenie albumu Project Life jest idealnym
rozwiązaniem. Wystarczy wybrać odpowiednią kolekcję kart i dodatków, a
następnie zacząć tworzyć. Pamiętajcie, że każda
chwila jest wyjątkowa i warto ją zachować na zawsze!
W projekcie użyłam:
.png "Menu")







%20aga.jpg)


