.png "Menu")

Scrapbooking Layout Tutorial with Janna Werner
12x12 scrapbook layoutHello crafty friends, it's Janna. I have a fun scrapbooking layout tutorial for you today. Before I share my thoughts on today's page, I'd like to remind you to use the code janna10 in the Studio 40 shop for a 10% discount! Now, let's take a look at the scrapbooking page first before diving into the tutorial.

On the photo is a sign that stood in front of a little shop in Cuxhaven, Germany. It says: "Ich bin gerade etwas neben der Spur. Ist schön da." which means "I am a little off track, it's nice there." My initial thought was, to create an asymmetrical layout, but in the end I decided against it. Instead, I went for an organized, clean look, as this is how I feel sometimes: organized on the outside and chaotic on the inside. Do you know what I mean?!
Now, let me show you how I create the page.
Now, let me show you how I create the page.


With a circle cutter, I cut a circle (10 cm diameter) into the middle of the cardstock. Then I cut the cardstock in half and trim it to fit onto the patterned background paper.


With the Big Shot and an embossing folder I create a dimensional arrow pattern on the lower half of the cardstock pieces. The pattern fits the Studio Forty stamp I am using later perfectly.

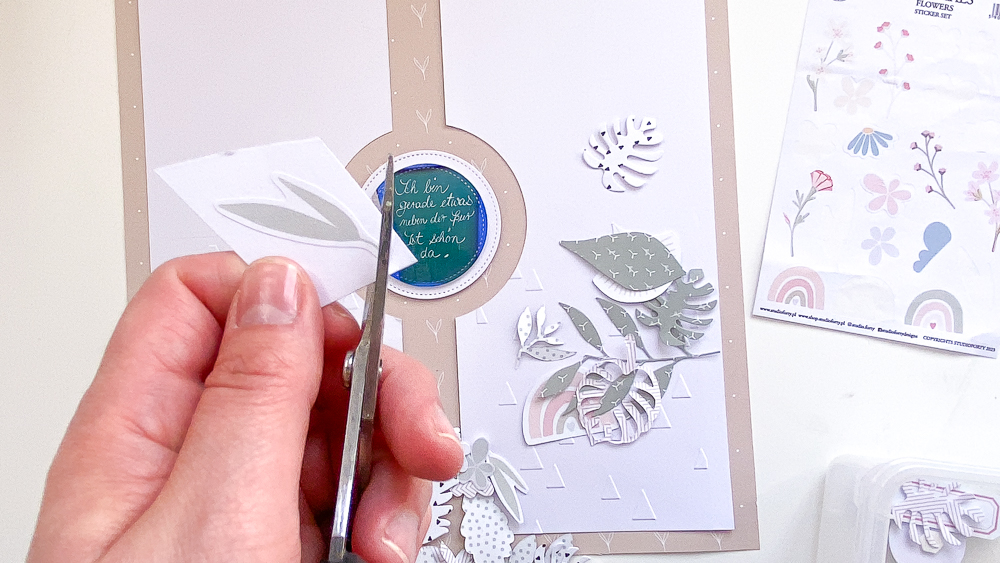
The Essentials doublesided patterned papers are beautiful, but also the floral stickers. I use both to embellish the page. I adhere the stickers onto cardstock and cut them out with scissors. Like this, I can easily add dimensionals beneath the stickers. This will add more depth when applied to the layout.


As you can see on a previous photo, I use double sided adhesive to glue the white cardstock pieces onto the background and dimensionals to adhere the photo. In the next step, I am creating a little cluster on the bottom right, using a black marker to draw little dots onto the paper. I bend the leaves with my fingers for more depth.


I cut out hearts from the Essential mint and pink tabs and decorate the left side of the photo with leaves, flowers, enamel dots, hearts and die cuts.


Here you can see the arrow stamp from the stamp set To Do Labels which fits the embossed pattern so well. I am finishing the page off with a little bit of journaling, stamping and liquid pearls around the photo.
Here are two more detail shots of the scrapbooking layout where you can see the different layers and textures.


How do you like the outcome? If you have any questions regarding the tutorial, just let me know in the comment section below. You can also find me on Instagram and Youtube.

Please check out my other Studio 40 posts for more ideas and inspiration.
Have fun,
Janna
Here are two more detail shots of the scrapbooking layout where you can see the different layers and textures.

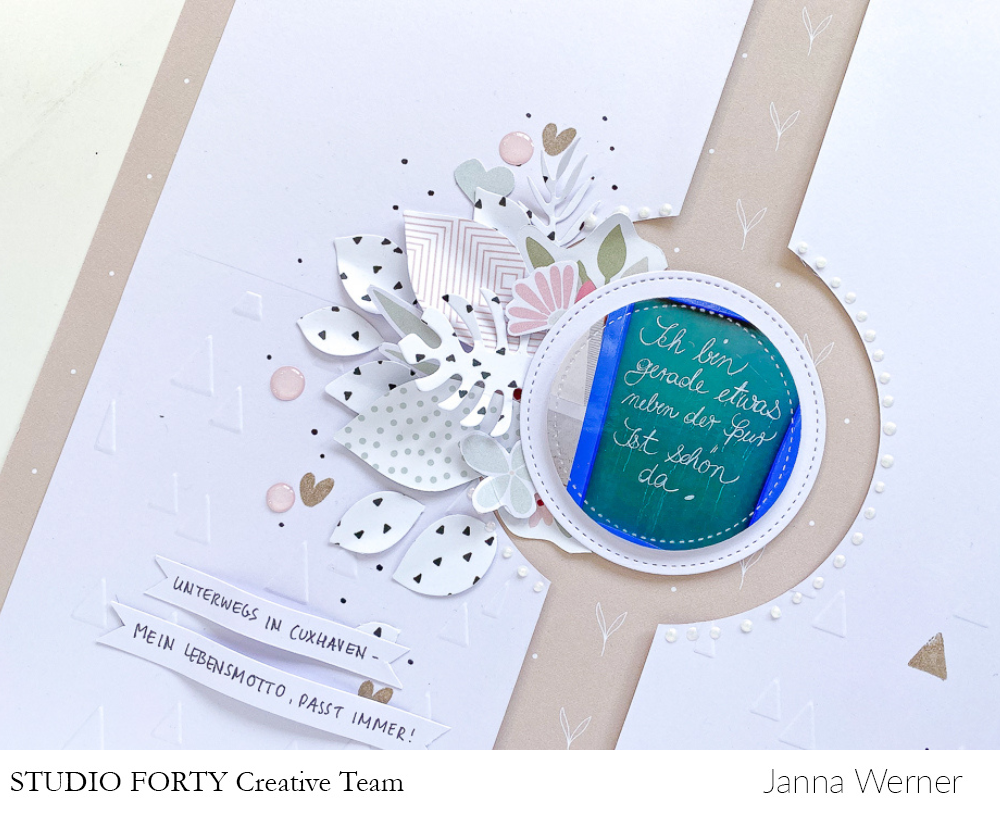
How do you like the outcome? If you have any questions regarding the tutorial, just let me know in the comment section below. You can also find me on Instagram and Youtube.

Have fun,
Janna
supplies used (discount code janna10)
Essential Collection: enamel dots, stamp set Noteworthy, doublesided patterned paper (10x21cm), phrases transparent stickers, flowers stickers, stamp set To Do Labels, tabs mint, tabs pink, ephemera set // Don't grow up Collection: Patterned Paper // treasures stamp set
Essential Collection: enamel dots, stamp set Noteworthy, doublesided patterned paper (10x21cm), phrases transparent stickers, flowers stickers, stamp set To Do Labels, tabs mint, tabs pink, ephemera set // Don't grow up Collection: Patterned Paper // treasures stamp set


