12x12 layout
Hello everyone, happy Sunday!
It's Lory here to share with you a page that I love so much because of the picture, because of the story behind it, because of the softness I created for the design.
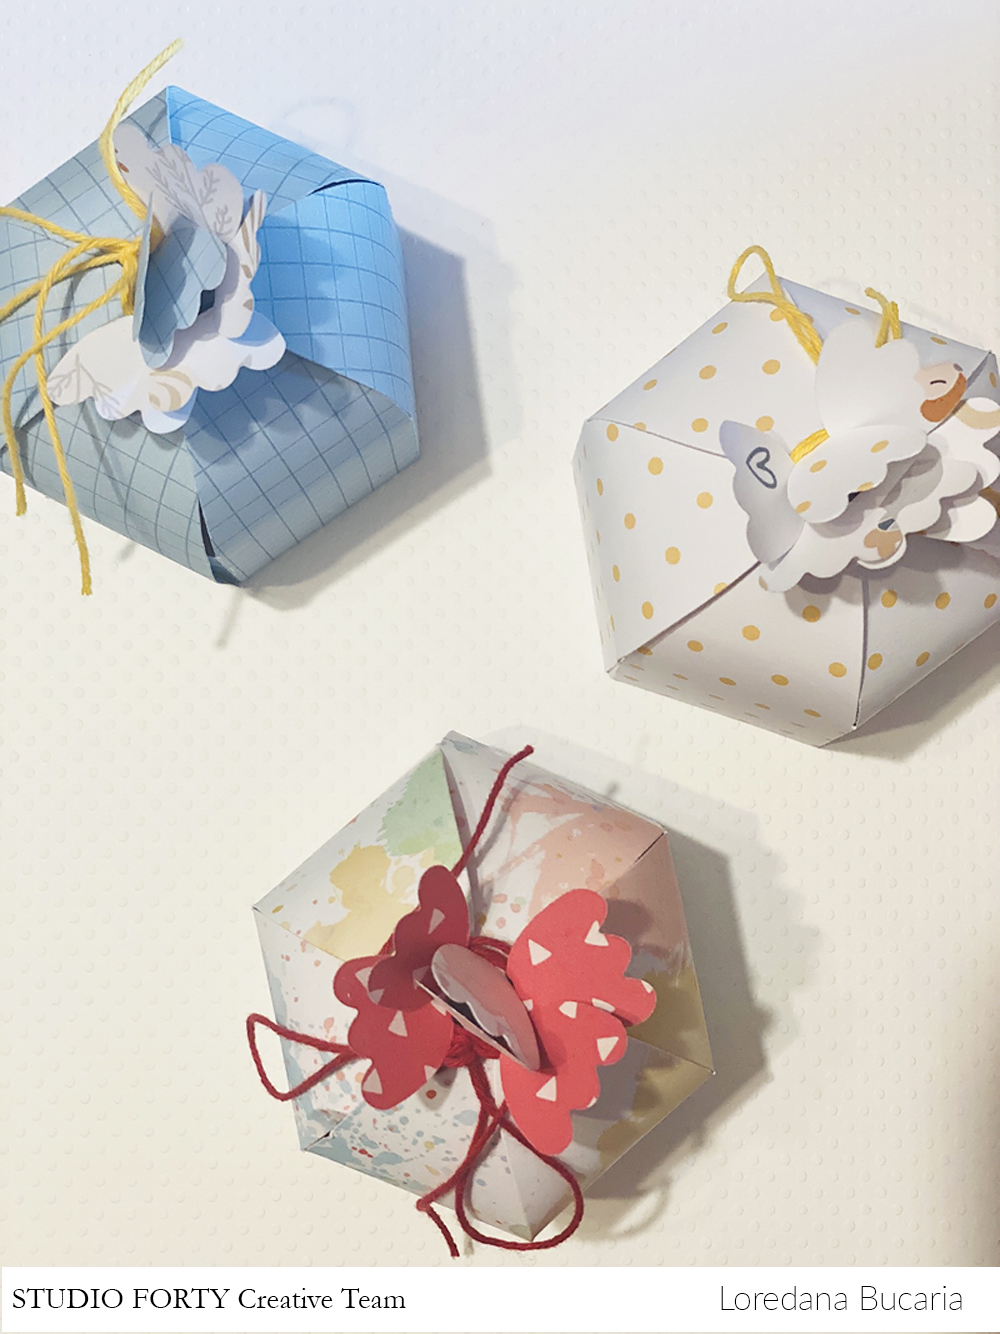
I have created also some little cupcakes boxes to hold some candies for my boy's friends.
With a right cut die and a cut machine you can create super cute boxes to donate.
This is a perfect way to use your papers leftovers.
This is a very simple version but you can add little tags with a message or ribbons or little embellishments like the transparent phrase stickers or stamps.
I think I'll create more of these.
I have loved them so much!
Hope you like the inspirations and you start your week in a beautiful creative way!
Love, Lory
clear stickers
Witajcie.
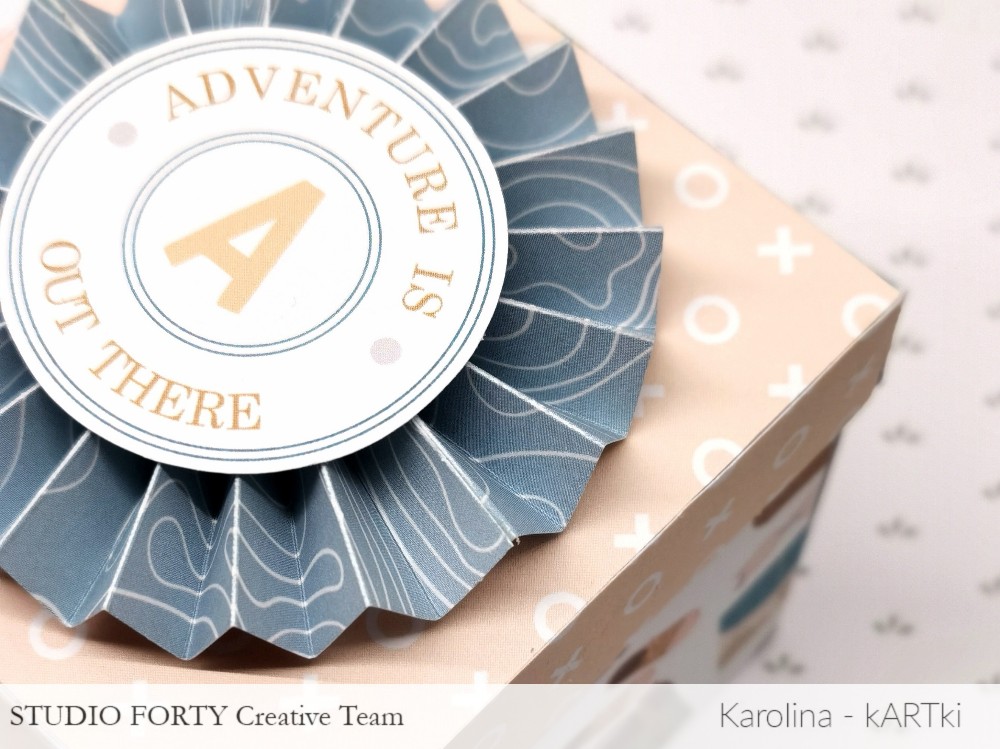
Zauważyłam ostatnio, że ludzie coraz częściej, z różnych okazji obdarowują się wycieczkami, a konkretnie biletami lotniczymi. Pomyślałam więc, że dla takiego wyjątkowego podarunku przyda się wyjątkowe opakowanie. Stąd też pojawił się pomysł na ten podróżniczy exploding-box, a przy jego realizacji świetnie sprawdziła się kolekcja HERE&THERE.
Ozdabiając pudełko z zewnątrz skorzystałam z obu stron arkusza 03 oraz z arkusza XOXO z bloczka 10x21 cm. Rozetkę zdobi element wycięty z karty do journalingu.
W środku jako bazy użyłam arkusza 06 i ponownie niebieskiego ON THE TRAIL oraz arkusz XOXO (tym razem w rozmiarze 30x30 cm). Na dwóch bokach zrobiłam kieszonki - jedną na bilet, a drugą na życzenia.
Pozostałe dwa boki ozdobiłam elementami z zestawu, a także samodzielnie wyciętymi z arkuszy oraz naklejkami - tekturowymi i przeźroczystymi (te z odręcznym pismem to moje ulubione).
A na środku walizka :) Element, który jednoznacznie kojarzy się z podróżowaniem.
To już wszystko tym razem. Zachęcam Was oczywiście do kreatywnego spędzenia czasu wolnego i dzielenia się swoją twórczością.
Pozdrawiam serdecznie.
clear stamps
Hi Studio Forty friends,
It's NenaScrap with you today, thanks for joining me here !
Do you like to challenge yourself sometimes ?
When I create my layouts, I systematically choose a photo often in 3 x 4 inch format. For my creations today, I decided to use 2 photos and to vary from my favorite format.
For this first layout, I cut out my photos in the shape of a circle using a die and I completed with circles cut out of the papers #4 and #5 from Here & There.
After placing my circles diagonally across my background, I stamped a text with the All Time Fave stamp set mixing words and colors.
I cut my title out of black 3D foam and black cardstock to bring contrast to my page.
Using 2 photos and circles took me out of my comfort zone but I love the way this diagonal layout turned out.
For this 2nd layout, I chose to place 2 photos in a Polaroid cutout on the #1 paper as a background.
In paper #1, I cut a row of tickets with a die and placed it horizontally under the photo to figure an unfolded map.
To finish, I splashed some Distress Black Soot ink to bring contrast to my page while in the same time reminding the black title.
I hope you enjoyed these layouts. How about taking the challenge of using 2 photos on your next creation ?
Feel free to post your pages on the Studio Forty Everyone Is Creative Facebook Group, I'd love to see them.
Have a happy crafty day.
Hugs & kisses from France.
12x12 layout

Hej, z tej strony Agnieszka i wpadam dziś do Was z dwoma layoutami stworzonymi z nowej kolekcji HERE&THERE.
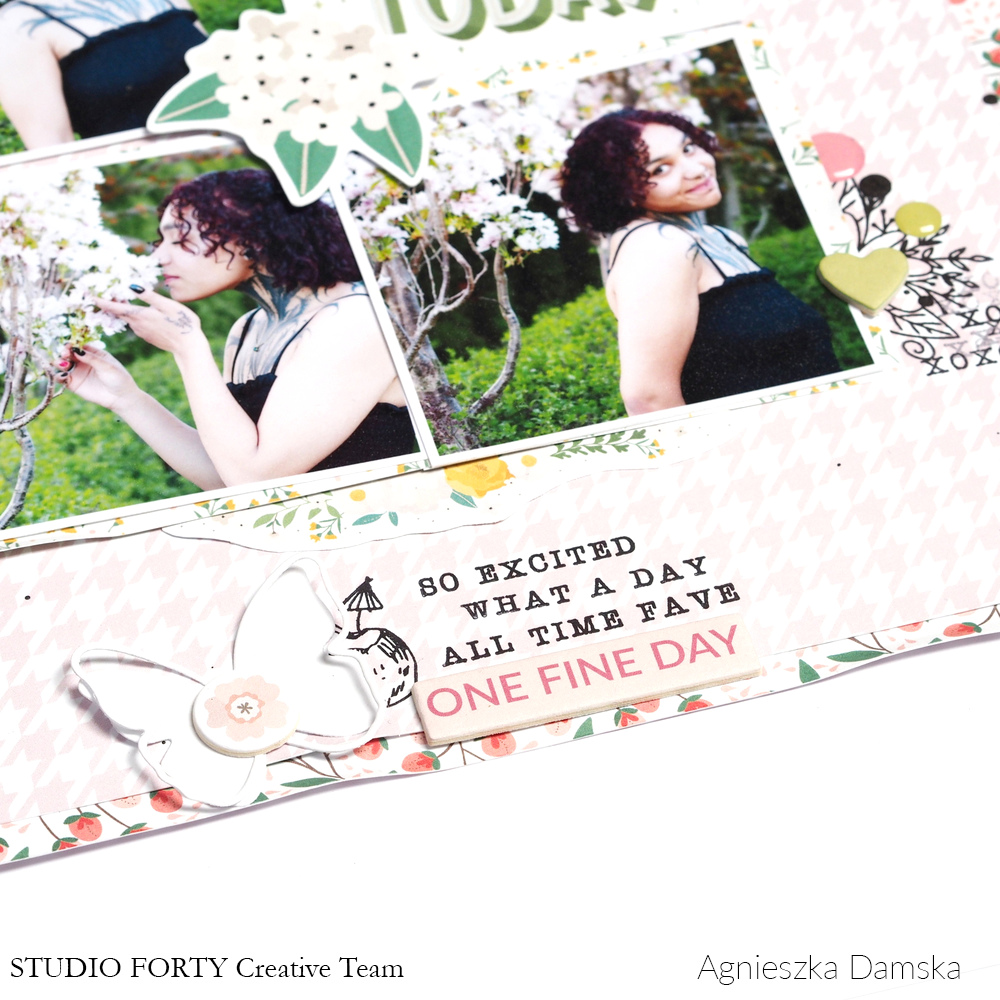
Nie wiem, czy też tak macie? Jak mam nowe, fajne fotki to od razu muszę je oscrapować! Z tą sesją planuję również mini album, ale póki co, na szybko, mam layout :)
Kolekcja HERE&THERE mimo, że stworzona jest do tematów podróżniczych, to ma w sobie wzory pasujące na "wszystkie okazje" i tak u mnie na scrapie towarzyszy kobiecej, wiosennej sesji zdjęciowej. Wykorzystałam tu obydwie strony arkusza 04 czyli SUMMER VIBES i PICNIC TIME oraz oczywiście stemple i dodatki.
Jestem fanką stempli z napisami, słówkami itp., a zestaw ALL TIME FAVE idealnie wpasowuje się w moje potrzeby! Takie małe, uniwersalne zwroty świetnie sprawdzą się zarówno w dużych jak i w małych formach. Całości dopełniają stemple z zestawu TOGETHER FOREVER, chipboardy, die-cutsy i kropki 3D.
Druga praca to pamiątka krótkiej, wczesnowiosennej wycieczki. Na białej bazie nakleiłam zdjęcia i paski papierów, dodałam stemplowania i naklejki.
Tu oprócz słówek z zestawu ALL TIME FAVE do wypełnienia i ożywienia tła użyłam zestawu DOTTED FRAMES stemplując dość niedbale i przypadkowo.
To wszystko na dziś, miłego scrapowania!
AgnieszkaD
W pracach korzystałam z:
clear stamps
Hello everyone! Today, I'm sharing two layouts I created using the Here and There collection. This collection is perfect for scrapbooking summer layouts, but also those special moments! For the past few years, I have been wanting to watch the Blue Angels fly from the water and I finally got to see them and it was sooooo cool!! I let Edward skip school and we had a blast...we also got burnt... we should know better to not apply sunscreen on cloudy days! But...it was worth it.
I feel like these patterned papers were made for these photos! I love when I have the perfect photos for the perfect collections.
I used the Here and There journaling cards to mat the photo and then cut one of the cards from the cut-apart sheet to add some stamping and sticker dots! So fun.
I cut the "love this place" sentiment from a journaling card and used it for a fun photo corner. I also cut the "Adventure is out there" sentiment from a journaling card and added the sticker to the center using a foam square.
This is such a simple layout with lots of fun embellishments and stamping. I just love how the colors and photo works so well together.
Here is another layout I created using some pictures from this weekend of Edward playing in the sand. I was truly amazed that he didn't tell me he was bored...and that he actually enjoyed the beach for a change.
I played with lots of patterns and journaling cards for this layout, pulling out the blue and greens from the photos.
I layered a few die cuts with foam squares and added a few chipboard pieces here and there. I stamped the hand image onto the tag and added a ribbon at the top for dimension.
Loving the color scheme of this layout! What do you think?
Thank you for visiting today!
.png "Menu")











%20aga.jpg)


