2021 in review - memories mini album | Loredana Bucaria

Loredana Bucaria


Hey there guys, happy December! I am super excited about this month , I feel the December magic in the air! My idea for today post is about creating a little 2021 memories collector using some tricks.

First of all I used a 6x8 cardboard cover and I cut the year 2021 with a die on the same cardboard to have a tone on tone kind of effect. At the end of the album I'll decide what kind of binding system I'll use.

I have mixed papers of different S40 collections, stamps, the Christmas kit, the Frosty collection, the chipboards, the clear stickers. Each month is documento using a collage of photos and a page.


For the introduction I have used a 4x6 journaling card and a 6x8 page with just a little title.


For January a page with a mix of chipboard frames from the Frosty Collection and a photo template with 4 pictures.


For February the same design on the left a scrapbook page with different things and on the right he photos.


March has two pictures, its stories and I have played with stickers and chipboard words. The houses are clear stickers that I have sticked on the white cardstock and cut out.


For April I played with the embellishments just on the photos.


What do you think? Did you think about a project like this before the 2021 will come to an end?Share with us your creazione! 

At the second round to see the complete album together.

Have a wonderful week

Love, Lory


Embroidery frames for christmas | Jenn


Good morning! How are you?


Have you already made the tree? have you done some Handmade decoration?

For my post today, I create these little embroidery hoops.

You need some littles frames. (7cm diameter), some patterned paper and embellishments and some fabric.
For paper embroidery hoops, just draw the hoop, cut it out with scissors, and glue it to the wooden hoop.


For embroidery hoops with fabric, you need to cut a piece of fabric and pin it between the two circles.


Embellish with die cuts, chipboards and any embellishments you have.
You can also glue an acetate on top and insert beads or sequins inside the embroidery hoop


Thanks and Merry Christmas to all

Xoxo

Jenn 

Three types of Frosty Season projects with Guest designer Mandy

Hello everyone. 

 I am happy to be a guest designer for Studio Forty, so exciting!

I am Mandy from Germany. And I would say my biggest passion is my love for papercraft projects & colours! All these things have accompanied me all my daily life. In August 2014, I started my discovery & adventure of the whole world of scrapbooking, project life, mixed-media, art journaling etc. – so all creative things with papers, punching & stamping. I love to try different materials & techniques, and I like it if the colours are bright and the items have a fresh look. My style is ever-evolving, but I would currently describe it primarily as clean, layered & full of colours. And I have a weakness for gold highlights.

Thank you, Studio Forty, for having me as your guest designer!


For my first project, two little gift boxes, I used pre-made packages out of my stash, decorated with patterned paper, chipboard frames and stickers.


For the cubic one, I used stitched star dies in four different sizes to cut several stars from the light green patterned paper to create some kind of tree for my decoration. To hold them in place, I used some gold wire and fixed it on the top of the box. The clear sticker fit just perfectly to have a small sentiment on the box.


A simple way to decorate a pre-made package is to use a banderole for the more giant box. Easy to make from 12 x 12-inch patterned paper. I stitched some clear pearls to have a small highlight using the little white snowflakes as my template.


Inside the box, I placed some kind of waterfall card to include a small envelope for a gift card and my Christmas greeting.


If you don’t do project life or memory keeping in a memory notebook, you can also use project life cards for your cardmaking. As my second project, I made three little Christmas cards as a card set from the beautiful project life cards and the patterned paper with the cards to be cut out.


I used some stamps that I embossed in gold or black, respective, and clear stickers combined with twine, wood veneers, bells and pearls from my stash for decoration.


As my last project, I prepared our December Winter album. It is not a traditional December Daily album; it is more some kind of memory keeping of the best December and Winter moments of this year, not following the days of the month. Some pages are already finished; others are only prepared. And the album has enough place to add more and more pages. I love to add additional pages through the December days.


On the pages, I tried to include some interactive elements like flaps or journaling spots that can be taken out of the album because they are fixed by mini magnets.


I hope you like my projects and will like the gorgeous Frosty Season collection. I had a lot of fun creating with it.


Enjoy it!

Mandy


Poetic fabulous advent calendar

advent calendar

Hello StudioForty friends!

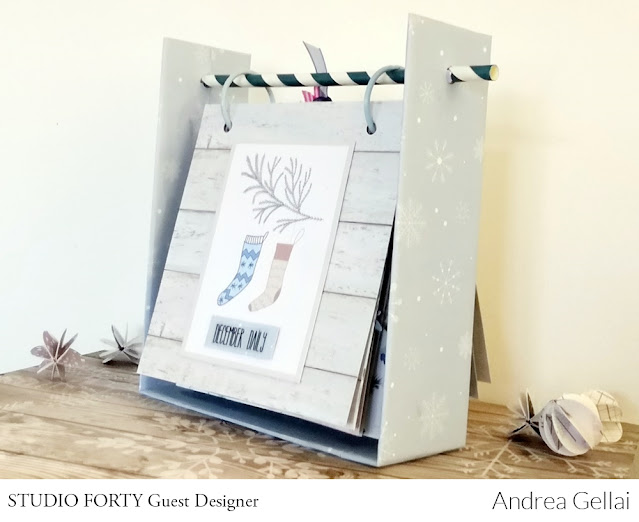
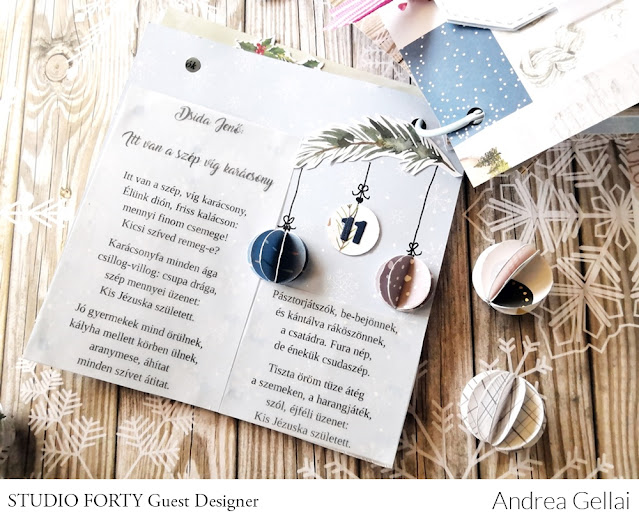
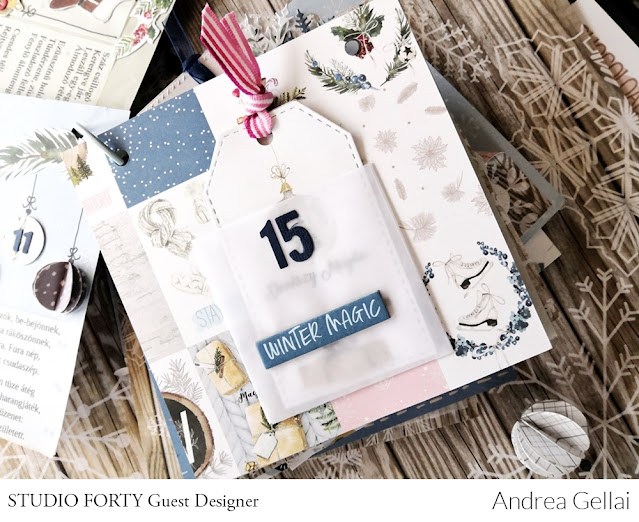
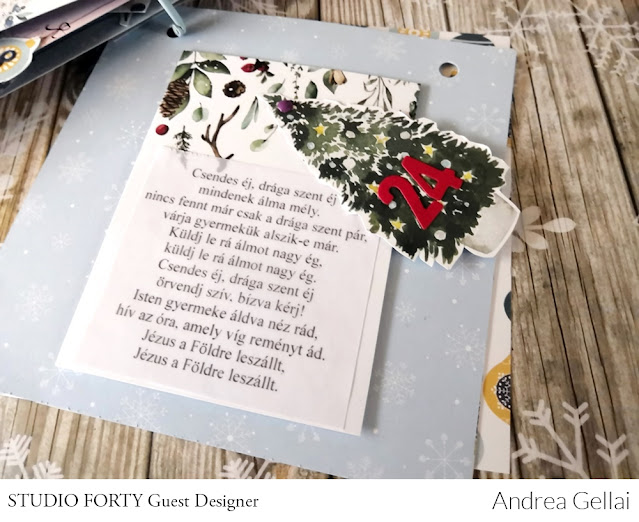
Today I show you a special Advent calendar from the Frosty Season collection.

First  I made the base from a 5 cm wide gray plate. The bottom is 15 cm and the two sides are 17 cm, which I punched at the top and stiffened with a paper straw.


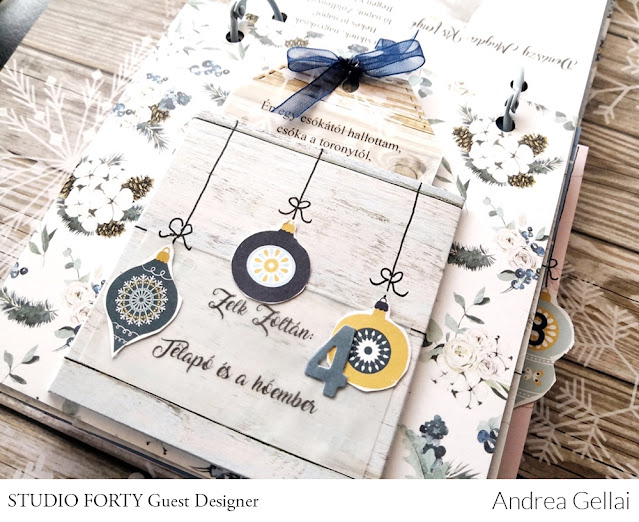
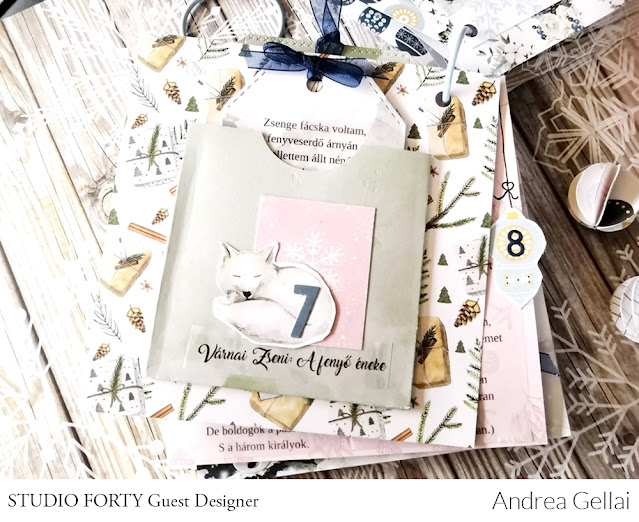
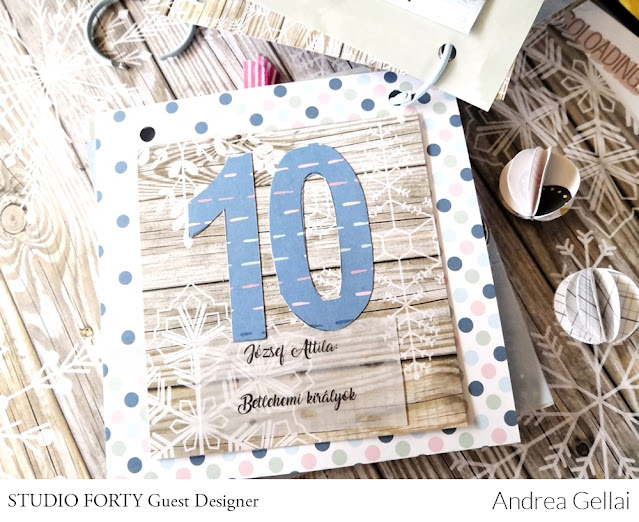
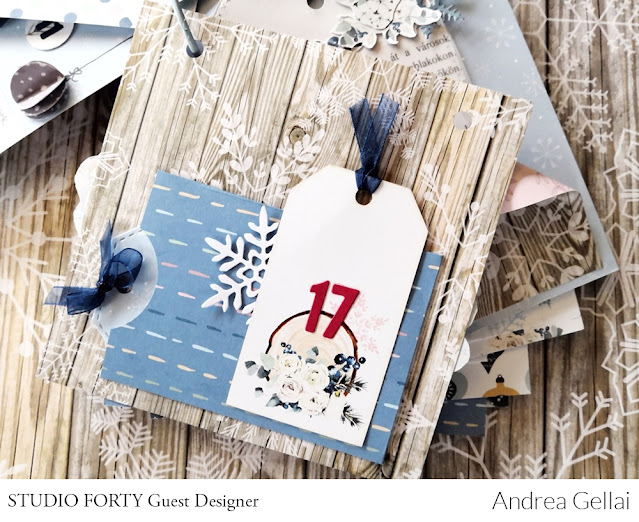
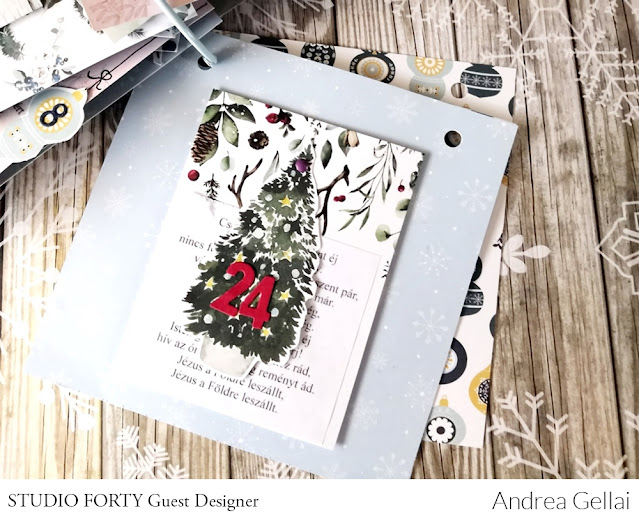
I cut 13 pieces of 13 * 13 cm sheets of patterned paper. The first one is the cover,  the rest are decorated so, that you just have to turn them over at half-time and turn backwards. I made different pockets on several pages, in which the poems printed on the tags were inserted.


I decorated the pages with chipboard stickers, fussy cuts, diecuts, at some places with stamps.


I hope you enjoyed today's project.

 Thanks for stopping by here today and happy crafting!