December Daily
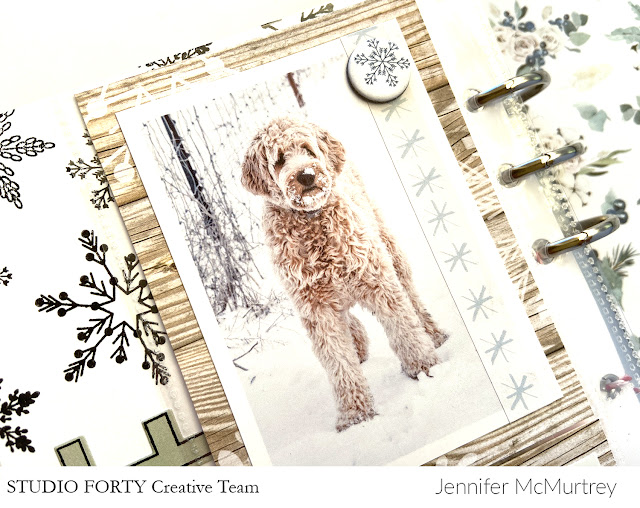
Hello friends! It's Jen today with a spread from my 2020 December album, which I have working on finishing for the past month or so. Last Christmas was not as I had hoped due to the pandemic, and I have been slow to get the album finished. With only a few more stories to record, I am using the Studio Forty Frosty Season Collection to get it done.
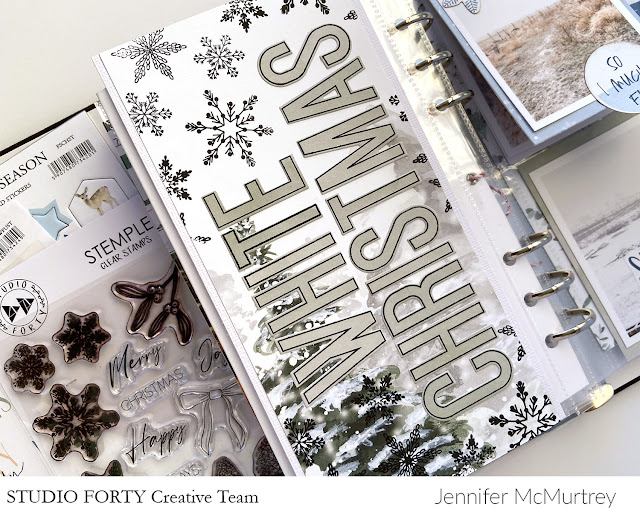
To begin, I stamped snowflakes onto patterned paper with the Holiday Cheer Stamp Set and created a title using stamps and die cuts from my stash.
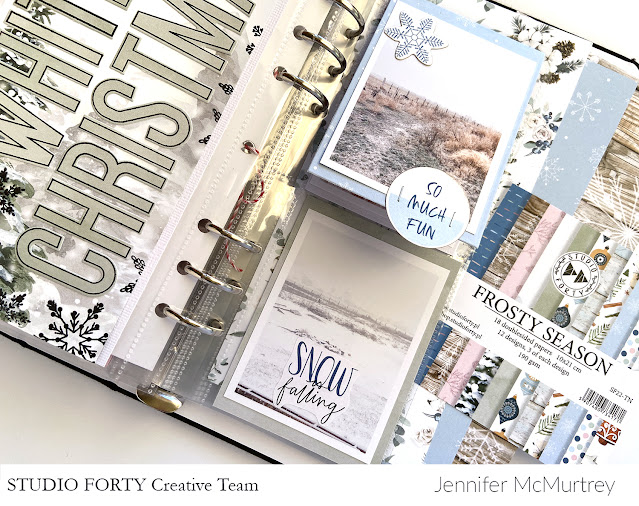
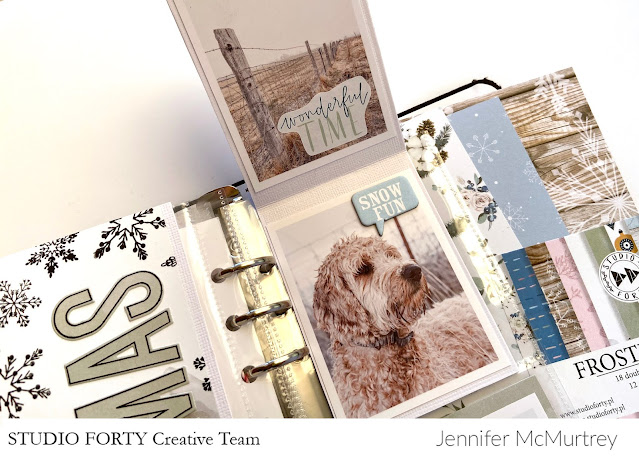
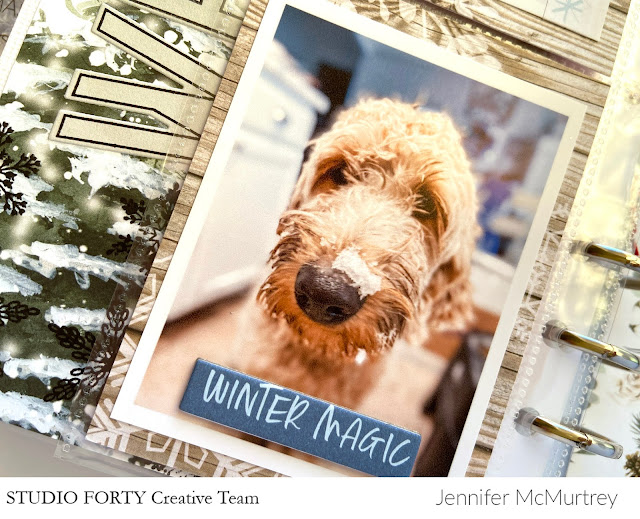
On the following page, I used more patterned papers to create a flip-up to hold several photos. I kept the embellishments simple using
Oh What Fun Stickers and
die cuts.
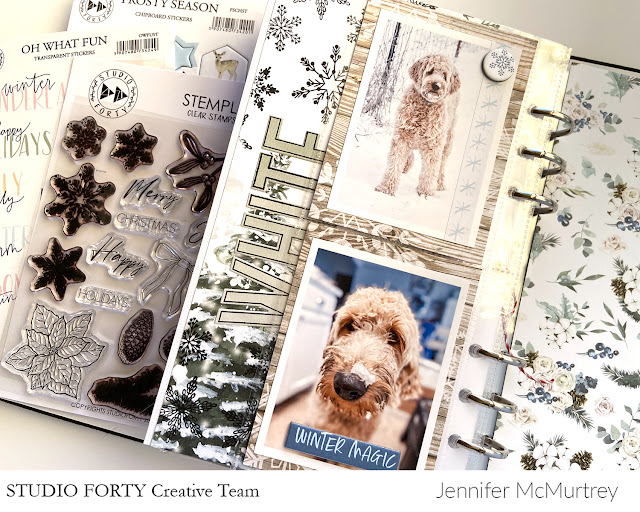
Last year was the first time we'd had a white Christmas in many years, and I spent quite a bit of time outside with our dogs that afternoon. My kids are all big now and don't like having their picture taken, so I'm left with the pups.
We had quite a good time playing outside in the snow!
Who can resist that cute face?!
Thank you for stopping by today, and I hope you've been inspired to finish your holiday projects! Remember, when shopping the Studio Forty Site, use code JENNIFER10 at checkout to receive 10 percent off of your order. Have a great day!
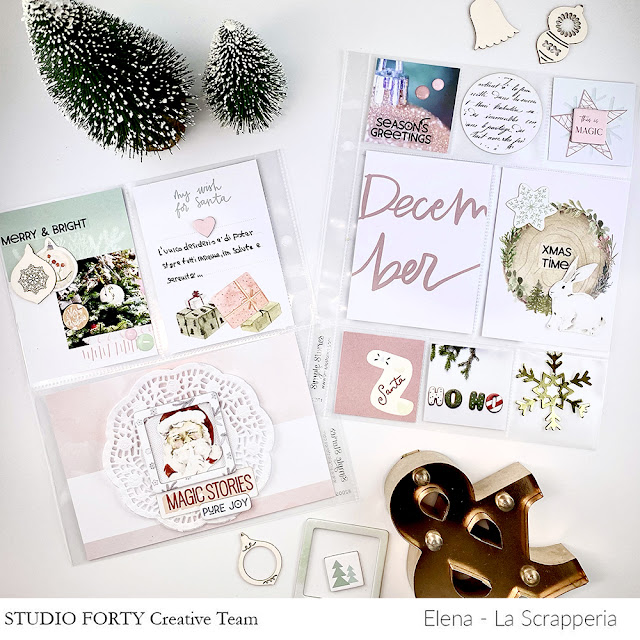
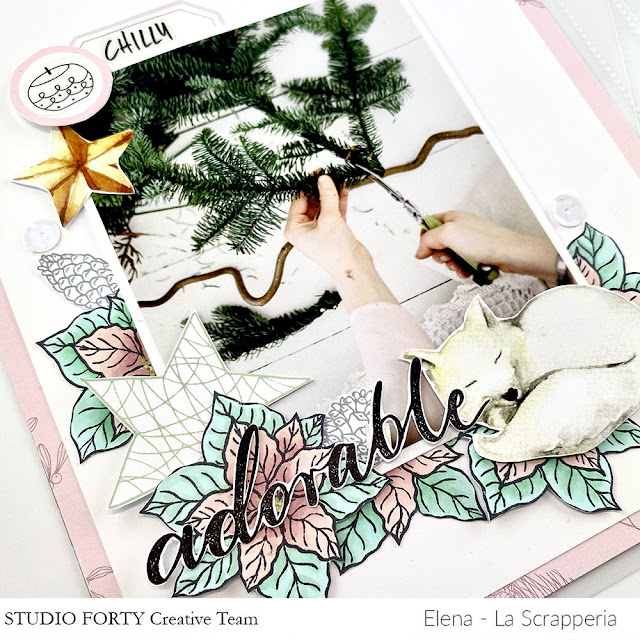
Hello :) It's me, Elena! How are you? Today I'm waiting for you on December Memory Kit Facebook group to talk about PL and how to color our clear stamp.
Coloring is not difficult, if you have the right support and good colors. On the private group I have prepared a small video to explain how to do it. See you soon friends and the next projectElena
frosty season collection
Hi Studio Forty friends,
Here we are, December is here !
For crafty people, there are plenty of ways to preserve the memories of this special month of the year.
Today, I propose you to discover how each of my 3 children will keep their memories of December.
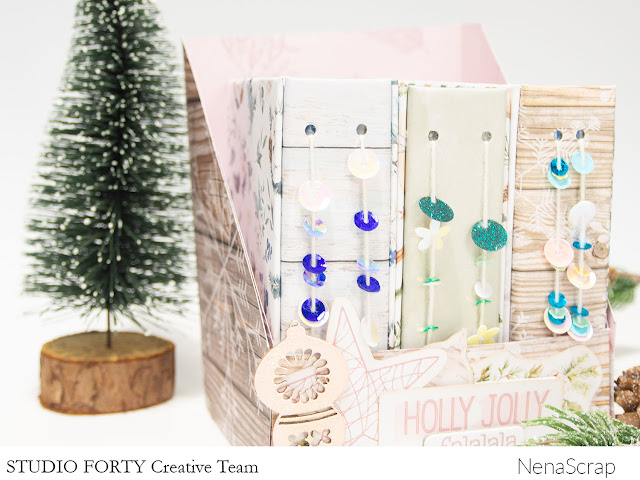
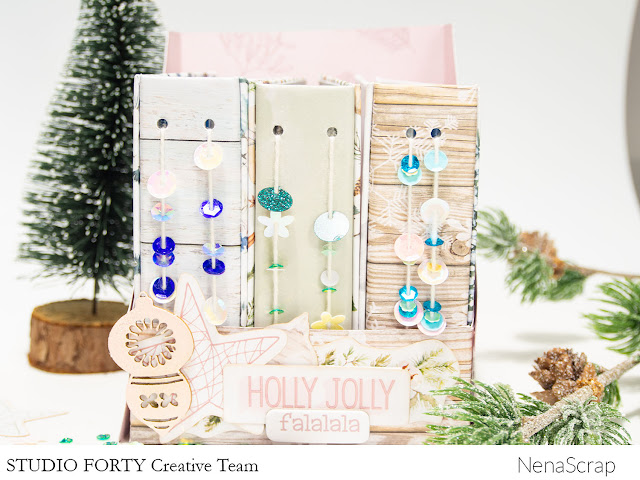
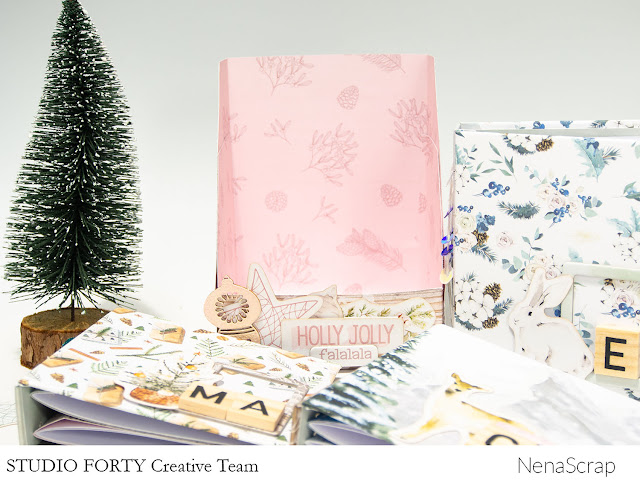
I have made a little 3D bookcase that holds 3 mini-albums in which they can record all their memories, each in their own way.
You will simply need to remove the excess paper on the sides once the bookcase is folded and glued.
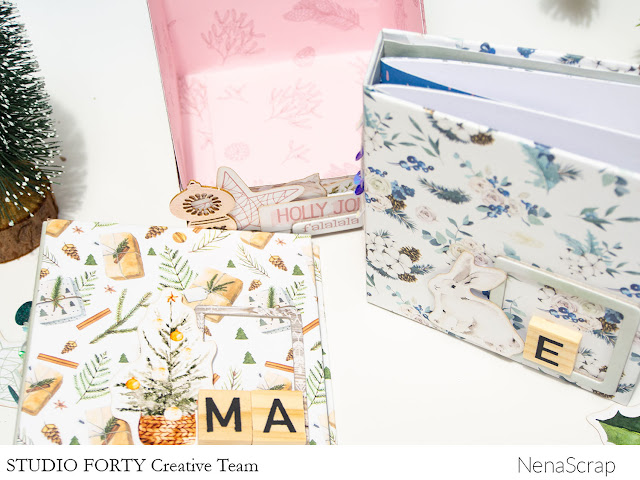
Then you create your mini-albums to insert in your bookcase. Each mini-album measures 4x4 inches with a 1 inch binding.
For each mini-album, I made 2 booklets with 3 pieces of 3,5 x 7 inch white paper that I folded in half.Then, I folded one 3,5x7 inch piece of paper in 2 to make the booklet cover. I bound the booklets and mini-album with a piece of wool.
I added sequins to bring a festive touch to the mini-album edges.
I hope you enjoy this project and that it will inspire you to document your December memories.
Have a happy crafty December.
Hugs & Kisses from France.
december memories 2021
Happy Holidays, friends! I spent some time preparing my book for December memory keeping using the Frosty Season Collection. Normally, I do not document the holidays. It's not my strong suit. However, I thought I'd give it a try this year! I sat down and jotted some things down that I want to document throughout the month. Feel free to use this as inspiration for your memory keeping!
My first page includes one of my most favorite holiday photo. We went on a cruise for Christmas in 2019 before Covid-19 happened. We had such a great time together...just the three of us.
I stamped the bow image onto plain cardstock in red ink and then fussy cut it to use as an embellishment over the holly and bell. I just love this cluster of embellishments. It's super adorable!
I really love that shade of red ink with the black lining.
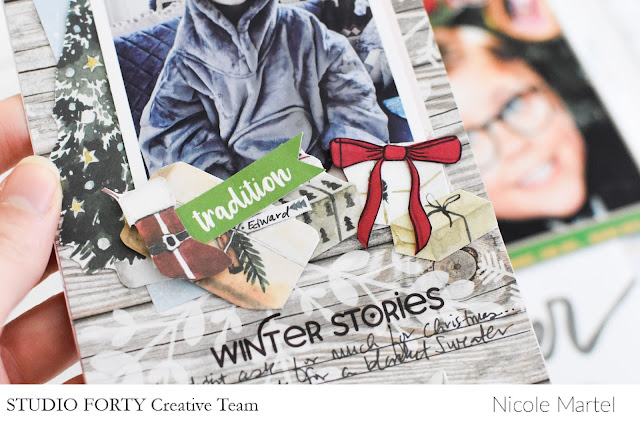
For the inside of the book itself, I added the clear wreath sticker and then glued down the green rhinestones and added the red heart from my stash. I added another stamped bow onto one of the presents below the adorable picture of my son wearing his blanket sweater. He was so excited when he opened his gifts. I printed an image of the "A Christmas Story" poster to use inside my book. Love it. :)
I created a fun bookmark using a few metal dies and patterned paper. I haven't figured out how I am going to put it in the book...maybe I'll just tuck it between two pages.
For the "December" journaling card, I used a dark green marker to trace over the initial pink color... I love the card and really wanted to use it...just not in pink.
I used a few journaling cards to create this fun spread horizontally! Love this with the layers... so fun and festive.
I layered some dies and chipboard over the ornaments to add dimension and some shimmer. LOVE IT.
I almost forgot. I added some stamps on a piece of paper to add to the side of the book. This is a great way to add descriptions to your albums so you know what's inside the album.
I hope you've found this post inspiring. Who knows, maybe you'll start your album, too! Thank you so much for visiting today.
marivipazos
We are already in December, there is little left for winter, although here it has already arrived, so what better collection for these days than
Frosty Season .
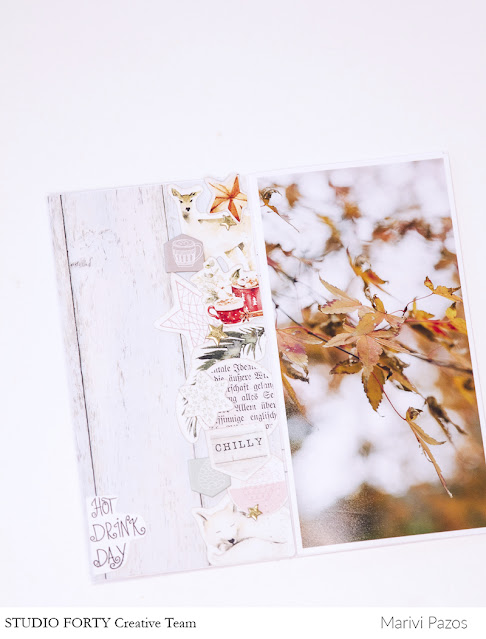
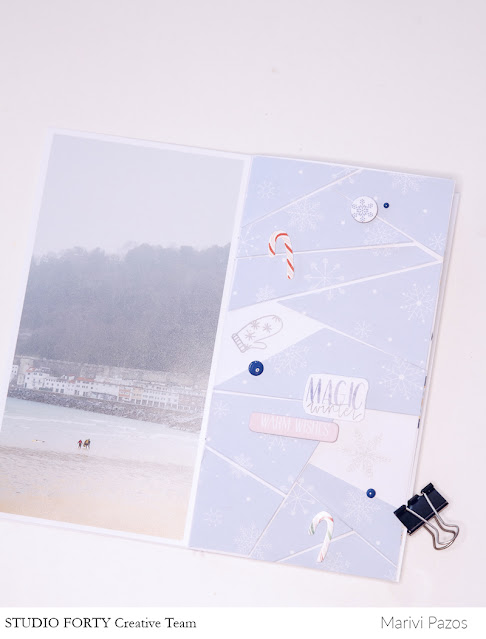
For these TN pages I have printed the photos full size of the notebook with the decoration on the other.
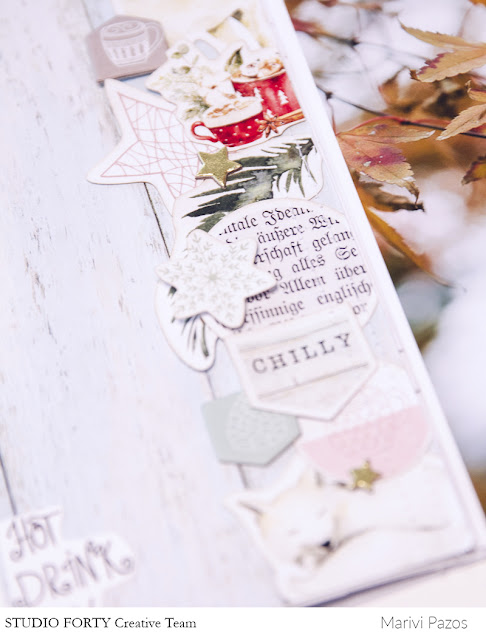
Here I have used one of the papers as a background and I have glued and sewn a lot of ornaments on the right side, next to the photo.
The title I have stamped on a paper and then I have pasted it.
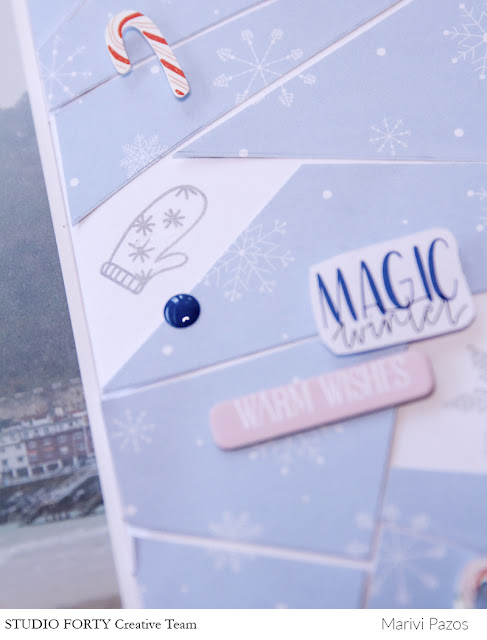
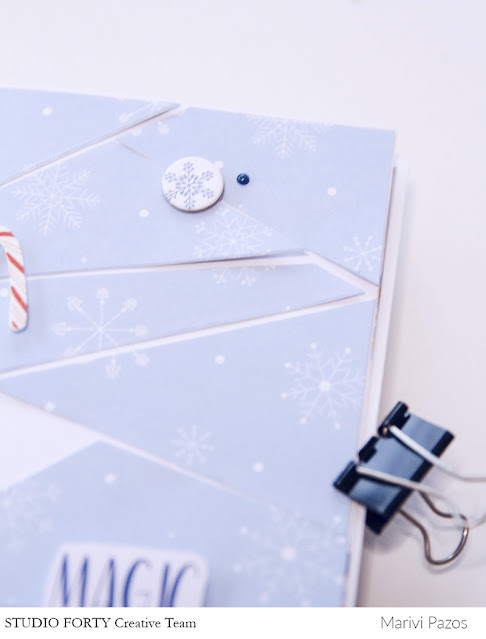
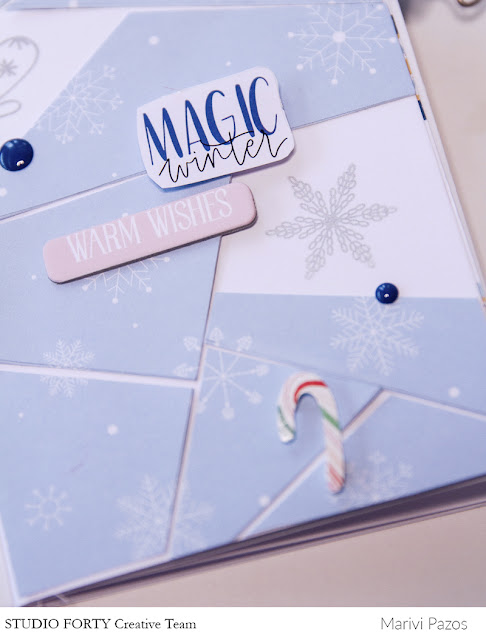
Here, the background paper I have cut and then I have pasted it simulating a puzzle. I have removed a couple of pieces, where I have stamped some winter details.
I have also pasted several ornaments, to complete.
You can see in more detail the stickers and chipboard ...
I hope you like it and see you soon.


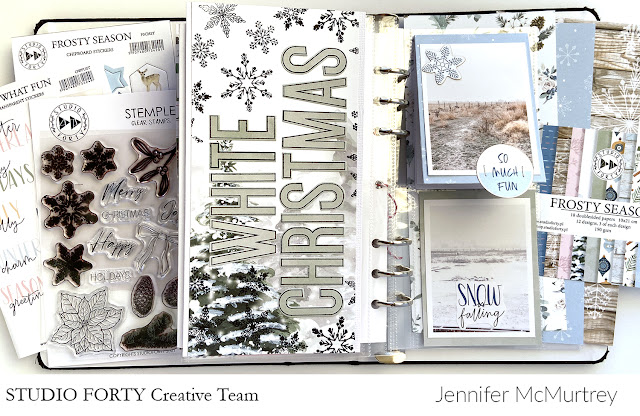 Since I am using a small-format album, I decided to use the Frosty Season - Notebook Edition patterned papers.