Isa here and I am so glad to be back in the Studio Forty blog with a new video tutorial. Today I have started the new collection "Beautiful Life". I couldn't wait to start creating things with it! The papers, the elements, and die cuts! As a new complement to the collections now we have die cuts and I am thrilled because I think that they are an essential complement in scrapbook collections.
As a first project with the new collection I wanted to create something simple to compensate my last tutorial because I think it was a bit hard. So for today I have prepared a tutorial for making a mini album with only one sheet of paper.
As a base I have used a white cardstock paper and then I have used the TN inserts of the collection and some decorations of some papers to decorate the project.
I have used also some stamps sets of the collection because I think that the words match perfect with all the decorations and drawings of the papers.
Inside the project there are some pockets so we can insert some journaling cards or tags.
I think it is a very simple and beautiful project where you can insert tons of pictures and store them in a very small project.
When it is closed it is only a 4x4 inches project so it is easy to carry it everywhere with you to keep nice memories.
I hope you like the project and here you can find the video tutorial for this project.
I hope you put theverything into practice and that you create beautiful things with all the new projects of Studio Forty. I hope to be here back soon with new creations! Love,
I'm super excited to be part of the Studio Forty CT and for this first blog post, I have created a cute layout using the stamps and embellishments (mostly from the new collection MAGIC FALL).
I have a video available, if you'd like to see the whole process from A to Z:
My favorite product from the new collection is definitely the chipboard stickers. I love the designs and also the colors combination, that is why I've chosen to use the same colors for my background: pink, yellow, light blue, dark blue and a touch of grey.
I like to use Distress Inks/Oxides to create my backgrounds because they work great with water!
They can create a watercolor-like effect with a little bit of transparency.
I've used 3 stamps set to decorate my background. In the basics of scrapbooking, it is recommanded to have most things going by 3. That is why I have stamped my flowers, 3 by 3!
I hope this layout will inspire you and that you will enjoy my first process video for Studio Forty.
clear stampsHello there everyone, it´s Sanna here again with a wintery scrapbook page share today. I wanted to create fun a winter themed page with die cuts around my son´s photo, who loves snow and winter. I´ve again recorded a start-to-finish video for you to watch too.
Here is my finished layout:
I used the Moonchild collection again for this page and even though it is very purple themed, the backsides of the papers work great for a winter theme too. And by adding some winter themed die cuts to the page the snow theme was complete.
I´ve also decorated the page with some 3D foam snowflakes and microfine glitter. They add additional sparkle to the page and also add struckture to the overall look.
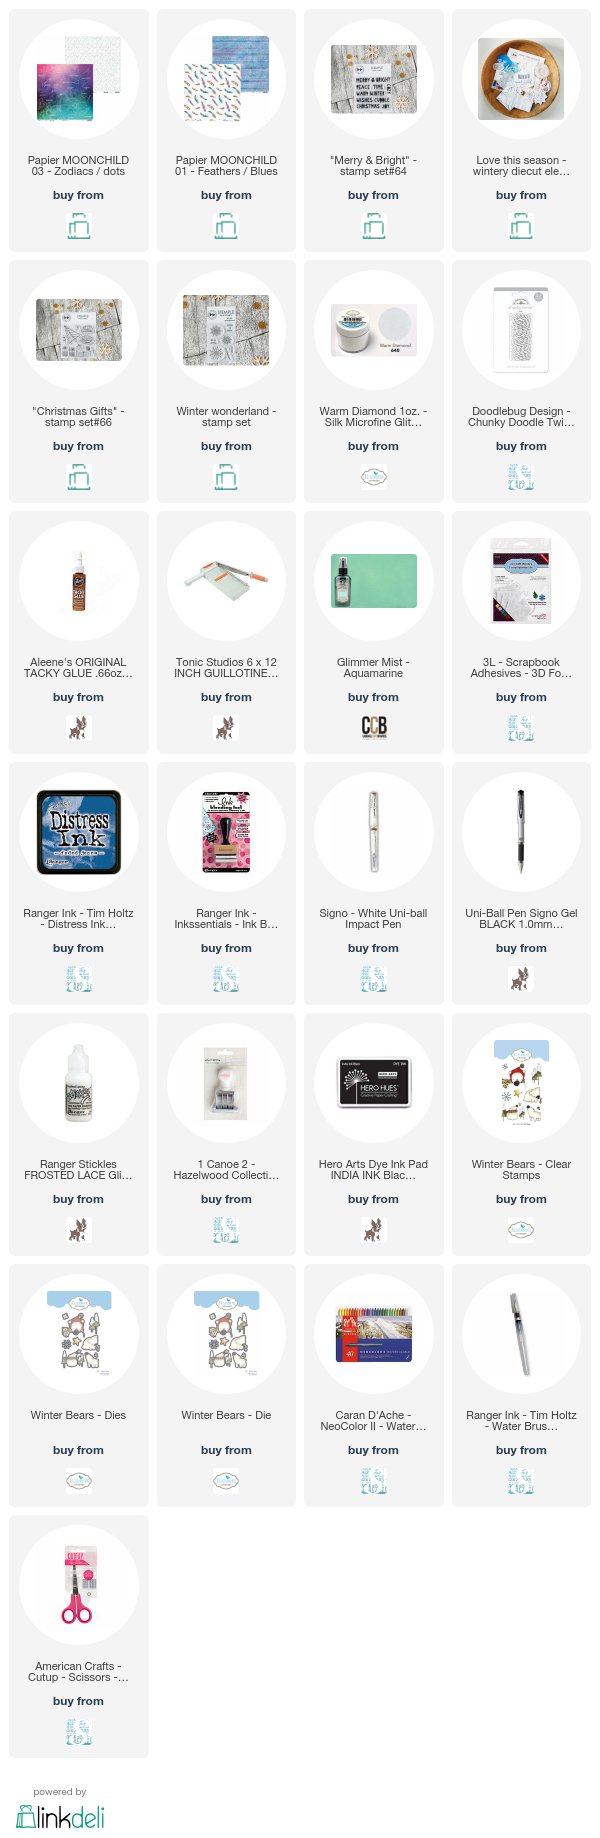
For additional fun detail and interest I misted a white leftover paper with green spray ink and then stamped some trees with the "Gifts" clear stamp set onto it (see full material list at the end of this post). I´ve also added some leftover stamped and colored images from my previous projects to accompany the Studio Forty stamp images. Even though they are from a different series, they work really nicely together with the Studio Forty stamp designs and die cuts.
I wanted to add a frosty look to the page, so I treated some of the stamped and die cut images with glitter glue. This makes the images look like they were covered with a layer of snow.
To make some die cuts stand out more from the dotted background, I inked them with blue Distress Ink. This way you can also easily change the look of a precut image to match the coloring and color sheme of your page.
In general this page is quite simple and easy to make as you only need to adhere the patterned papers together and then add the photo and have lots of fun with all the little bits and pieces and arranging them into an order that pleases your eye.
And even though there are quite a few elements on the page, it still isn´t bulky at all. It will therefore fit into a photo album very easily without taking too much space.
Finally I´ve created the title for this page with "Merry" clears stamps and black stamp ink. Under the title I added some journaling and also stamped a date. I´ve noticed that when you don´t immediately add the dates to the stories you scrap about, it will be impossible to recall in a few years time, when a particular photo was taken. You think you will remember, but sadly this is not the case. It is much more fun looking thru a photo album later with you children, when they can see what year a particular photo and memory is from.
All right, enough of that for now. Let´s start with the video - hope you like it!!!
This was my last project for this design team term, I hope you have enjoyed my little tutorials here over at the Studio Forty blog. Christmas being just around the corner, it is now time for me to wish everyone a very happy Christmas time and a very creative and inspiring 2018!!
Witajcie. Dzisiaj chcę Wam pokazać mój pierwszy projekt z użyciem nowej kolekcji Studio Forty i Piątek 13 - "Moon child". Podczas rozpakowywania paczki moją uwagę przykuł cudny papier w piórka i zainspirował mnie do zrobienia poniższego LO.
Przy pomocy piórek i nasyconych kolorów powstał skrap w stylu boho z moją małą Mają. Zdjęcie to jest dla mnie już pełne sentymentów, bo Maja nie jest już słodkim bobasem dla którego mama była całym światem. Teraz to wolna dusza, która nie lubi naginać swojej woli do wymagań innych :) Tytuł layoutu nadany jest więc sprawiedliwie z perspektywy czasu.
Pobawiłam się farbami akwarelowymi i kredkami i stworzyłam swoje własne pióra inspirowane tymi wyciętymi z papieru. Chciałam, żeby wszystkie razem wyglądały jak girlanda z piór.
Wykorzystałam również cudne die cuts "Wild and free", które doskonale uzupełniają kolekcję "Moon child". Wybrałam z nich kilka kwiatów, które umieściłam wokół zdjęcia, jak również strzałki.
Kompozycję uzupełniłam najróżniejszymi naklejkami z kolekcji "Moon child" - i tymi kolorowymi jak i transparentnymi.
Mam też dla Was wideo z procesu tworzenia tego LO z narracją po polsku :)
Mam nadzieję, że poczujecie się zainspirowani. Dziękuję Wam za uwagę i zapraszam Was na mój kolejny październikowy post.
Witajcie. Tutaj Ania z moją najnowszą karteczką w stylu clean & simple i wideo z procesu tworzenia.
Pierwszoroczkowe nowości dotarły do mnie jakiś czas temu i, jeśli śledzicie mój kanał na YouTube, mogliście je obejrzeć w wideo, podczas którego otwieram paczkę ze Studio Forty.
Ponieważ jestem fanką rysunków od That Way Shop, tworzenie zaczęłam od zestawu stempli z uroczą parą wilków. Stworzyłam prostą urodzinową karteczkę bez używania papierów skrapowych.
Właściwie to użyłam jedynie białego kartonu wizytówkowego i kawałka bloku akwarelowego. Cała reszta to media :)
Chmurkowe tło jest bardzo proste do wykonania i potrzebujecie do niego jedynie małego szablonu, którzy możecie wyciąć odręcznie i niebieskiego tuszu. W moim przypadku to stary Distress, który wiernie mi służy już od wielu lat.
Trawa to również zasługa tuszu Distress i wykrojnika, chociaż spokojnie możecie ją wyciąć odręcznie. Sama to nieraz robiłam, zanim kupiłam wykrojnik.
Do prostej kartki musi być prosty napis :) Zwykłe STO LAT odbite czarnym tuszem pasuje tutaj idealnie. Ten stemplowy alfabet jest bardzo uniweraslny.
Czyż te wilki nie są przeurocze?Do pełni szczęście powinnam włożyć mini prezent w łapki tego większego :)
I jeszcze wideo z procesu tworzenia z polską narracją.
Witajcie. Tutaj Ania z nowym projektem i wideo tutorialem. Dzisiaj mam dla Was layout z wykorzystaniem stempli i papieru April Paper. Jeśli jeszcze ich nie wypróbowaliście - najwyższa pora nadrobić zaległości. Papiery te mają świetne, świeże wzory i bardzo dobrą jakość. Są jednostronne, dzięcki czemu nie musicie łamać głowy, którą stronę wykorzystać. I do tego są aktualnie w promocji a do sklepu niedawno dotarła nowa partia z dziecięcymi wzorami. Grzech nie skorzystać ;)
Jasne pastelowe tło, jakie stworzyłam dla tego LO aż prosiło się o mocniejsze akcenty w formie stempli i naklejek. Użyłam kilku zestawów stempli. Bardzo lubię proste i powtarzalne wzory.
Pastelowe róże wycięłam z jednego z papierów od April Papers. Kwiaty pięknie rozbudowują i uzupełniają dosyć skromną kompozycję.
Naklejki transparentne idealnie imitują stemple bez ryzyka niedokładnego nastemplowania (co zdarza mi się dosyć czesto). Są niedrogie a ręczna czcionka dodaje im uroku. W sklepie macie ich ogromny wybór.
Jeśli chciecie zobaczyć jak powstaje taki layout, mam dla Was wideo z komentarzem po polsku :) Zapraszam do oglądania.
Dziękuję Wam za uwagę i do zobaczenia we wrześniu. Mnie jeszcze czekają wymarzone wakacje na południu Francji. Wrócę z ogromną porcją zdjęć do oskrapowania :)
.png "Menu")