Slow & Comfy Layout| Piruletasdepapel
autumn ephemeraHello crafty friends! How are you? Last weekend was finally quiet and I was able to dedicate myself to the things I love, like reading with a good cup of coffee and a blanket, or scrapboking ;) How was yours? It's Nuria here and I want to share a layout made with the awesome Together collection.

Let's get to it! I cut 3 square pieces of "Think Happy" patterned paper with a die-cut circle in the centre. I used the negative of the die cut. I glued them with some volume on a white cardboard.
Before gluing, I decorated each piece in a different way:
Before gluing, I decorated each piece in a different way:
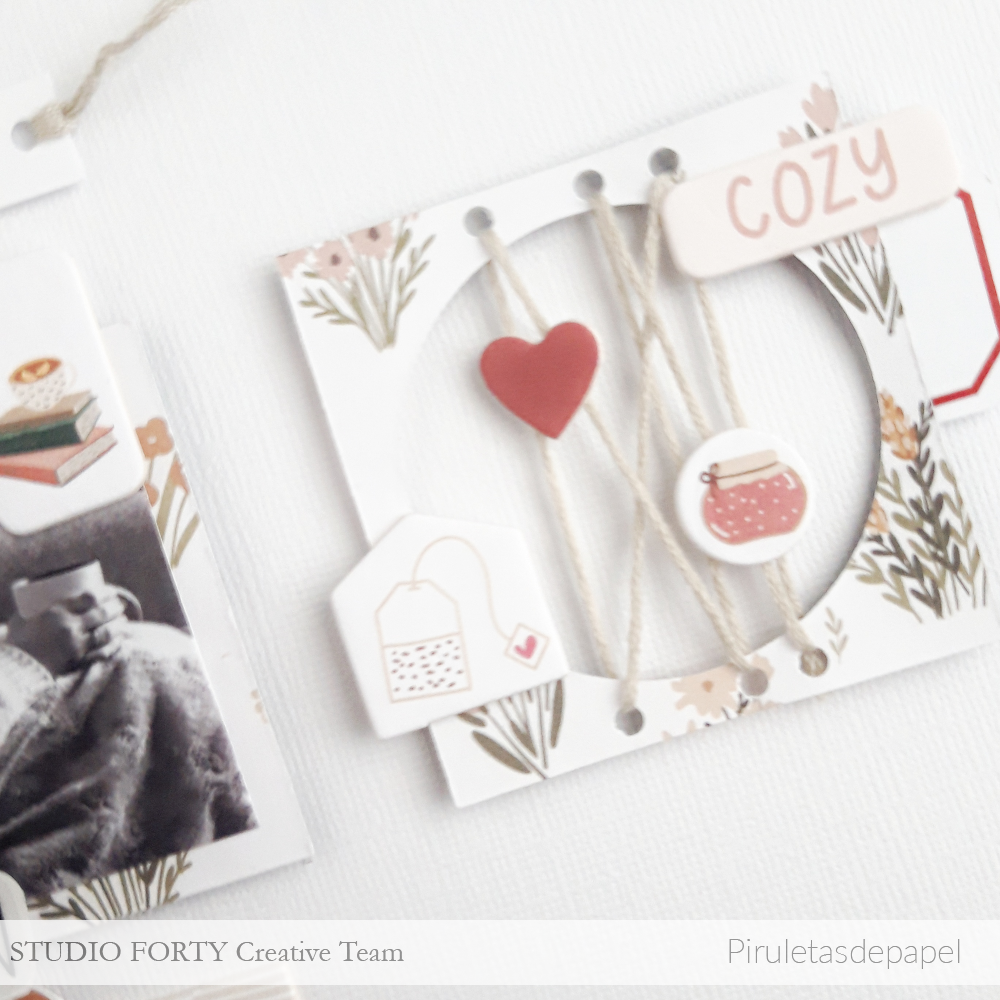
I punched several times the square piece on the right hand, put some thread through them and glued some chipboard embellishments (a melmalade pot, a heart, a tea bag and the word "Cozy"). On the background, a paper frame from the fall ephemera set was glued.

The one in the centre has the black and white photo. At first I thought about putting a circular photo, but I changed my mind and kept the square shape. I think the photo looks better in that case.
At the background I stuck a sticker of the colour stickers set, and on top of the photo the transparent sticker "slow" and the teacup with the books chipboard.
At the background I stuck a sticker of the colour stickers set, and on top of the photo the transparent sticker "slow" and the teacup with the books chipboard.

On the left hand, I stuck a single chipboard embellishment in the middle of the circle, a pair of socks and a book from the fall ephemera set and the sticker "but first hot cocoa" on top of the patterned paper. And on the background a sticker of the colour stickers set.

At the bottom of the layout, I stuck one of the chipboard frames and an ampersand symbol from the packaging of the ephemera set! I love to make use of all the material, even the packaging because it usually hides nice surprises. I finalise decoration with a star anise, a "candle" and the word "comfy" from the "Holiday Spirit" transparent stickers.

Finally, I cut out the phrase "time to hygge" from a PL card, punched two holes and threaded some thread through them and glued it with volume, centred on the top of the LO. And that's it!
I hope you like this LO and that it will inspire you! Have a lovely week! And don't forget to hygge!;)
Nuria
xo