dzisiaj mam dla Was jesienny layout w klimacie spokoju i ciepłych barw Ta praca powstała z jesiennego kitu od Studio Forty, który kojarzy mi się z cichym, złotym popołudniem w lesie.
Postawiłam na minimalizm i harmonię – dużo pustej przestrzeni, prosta, dwuczłonowa kompozycja oparta na zdjęciu i subtelne dodatki w postaci listków, przygaszonych kolorów i maleńkich detali.
Całość opiera się na bazie kraftowej, która pięknie podbija ciepło jesiennej palety. Hasło „Make the best of it” idealnie podsumowuje ten czas – jesień to dla mnie moment, by zwolnić, cieszyć się drobiazgami i szukać piękna w codzienności.
Wykorzystałam elementy z kitu: naklejki, wycinane listki, tagi, papierowe dodatki i guziki, które dodają pracy struktury i lekkości.
Ten layout to takie małe przypomnienie, że czasem mniej znaczy więcej – kilka dobrze dobranych elementów potrafi stworzyć klimat, w którym chce się na chwilę zatrzymać
Hello dear creatives, I hope you are all well and that you can take inspiration from the creations that fill this blog to make projects with the fantastic products of Studio Forty Shop.
The Cute collection is really beautiful, it focuses on pastel colors, with a sweet atmosphere.
So I was inspired to create a layout where my sweet cat is the protagonist. You should know that she is a real pest, and in the last few days she hasn't been well, little by little she is getting back into shape and has become even more in need of cuddles.
To make my Layout I used the new So cute Collection . I created four holes on the left where I inserted the eyelets and passed a thread, and all the animals of the collection in a row.
In detail, the first sheet used as a background is the n 3, then I put the n 4 and the n 1 in a triangle shape, I also cut the photo in this geometric shape.I used this Sweet Minis and Little Joys stickers.
Along the perimeter of the green triangle I used Old Numbers stamp and I decorated with the dots of Bugs stamp. For the "Just for you" writing I used this chipboard.
On the sides of the photo I added the transparent adhesive Scribbles and the green enamels.
I hope you liked my project.
I leave you the code Rossella10 to insert in the cart so as to have a discount for your purchases.
Hello everyone, this is Janna. I am here with my last project as a Design Team member of the fabulous Studio Forty team. It has been such a great and fun experience, working alongside the talented ladies and crafting with the wonderful supplies from Studio Forty. Thank you so much for joining me on this adventure.
If you are interested in being a member of the Studio Forty Design Team, now is your chance! Check out the DT Call and make sure to apply asap!
The last project I am sharing with you on this blog is a fun scrapbooking layout I created with photos of my daughter. She loves to play hide and seek - whenever, wherever.
Crafty friends, thanks again for joining me today, let's keep in touch via Instagram and please check the other projects I created with the gorgeous Studio Forty supplies.
Hello crafty friends, it's Janna. I am super excited about the new Essential Summer 2023 Collection and about sharing the first layout I made with this beautiful scrapbooking series! Before I share the scrapbooking page and an unboxing video, I'd
like to remind you to use the code janna10 in the Studio 40 shop for a 10% discount!
This is the page I came up with directly after filming the unboxing video. It was quite hard to decide on the materials to use as I would have loved to use them all at once!
Now, let's check out the new Essentials Summer 2023 collection in detail! In the following video, I share a quick unboxing of the new Studio Forty scrapbooking series.
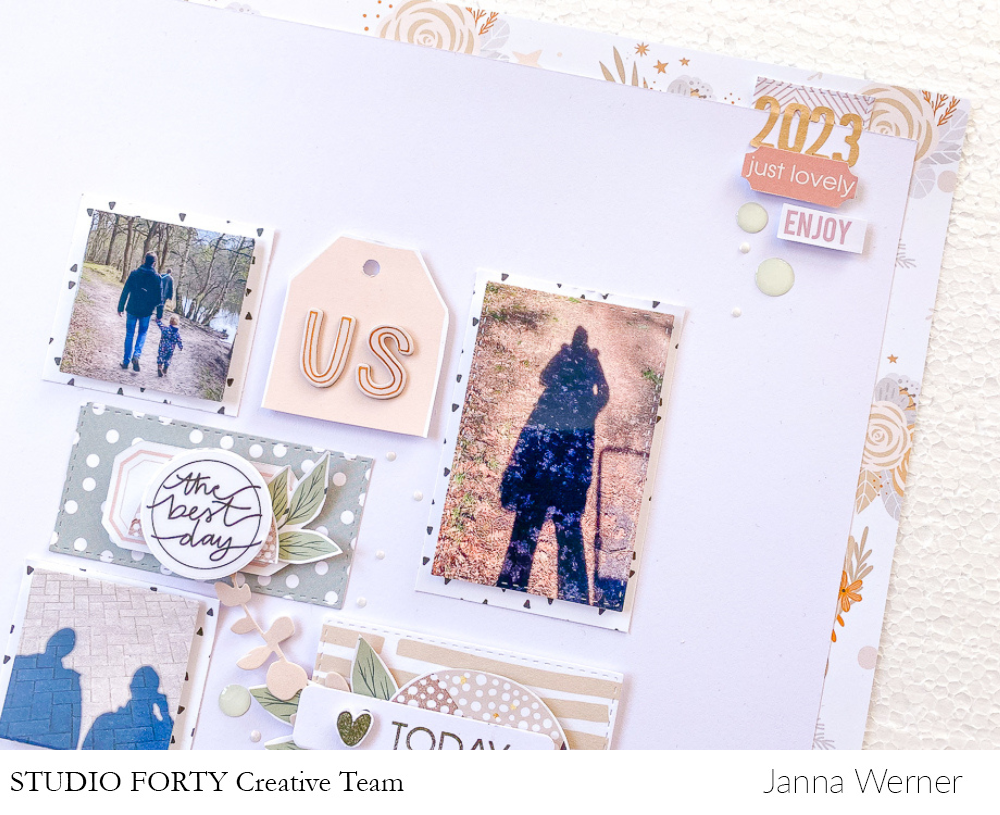
Here a few more detail shots of the scrapbooking layout.
100% summer vibes, am I right? Just love thew fresh colors and patterns. How do you like the new collection? Let me know in the comment section below or on Instagram and Youtube. I'd love to get in touch with you!
Hello crafty friends, it's Janna. I love a good moodboard challenge and am happy to present a fabulous inspiration to you today. Before I share my thoughts on the scrapbooking layout below, I'd
like to remind you to use the code janna10 in the Studio 40 shop for a 10% discount! Now, let's get started!
This is the moodboard that was given to the Design Team to create projects inspired by this collection. You have already seen lots of great layouts, ATCs and mini albums from the gorgeous ladies of the Studio Forty DT, now it is my turn to share how I used the moodboard as inspiration for my scrapbooking layout.
The first thing I was drawn to, was the color combination, obviously. The next thing was the arrangement of the board and the placement of text. I decided to use all of these things in my project and this is how it turned out.
Here are a few tips how to use a moodboard as inspiration for a scrapbooking layout:
- copy the color combination - use the same amount of elements (I added three pictures, for example) - add similar shapes and sizes - apply the entire arrangement of the moodboard onto the scrapbooking layout
How do you like the outcome? If you have any questions, just let me know in the comment section below. You can also
find me on Instagram and Youtube.
Hello crafty friends, it's Janna. I have a fun scrapbooking layout tutorial for you today. Before I share my thoughts on today's page, I'd like to remind you to use the code janna10 in the Studio 40 shop for a 10% discount! Now, let's take a look at the scrapbooking page first before diving into the tutorial.
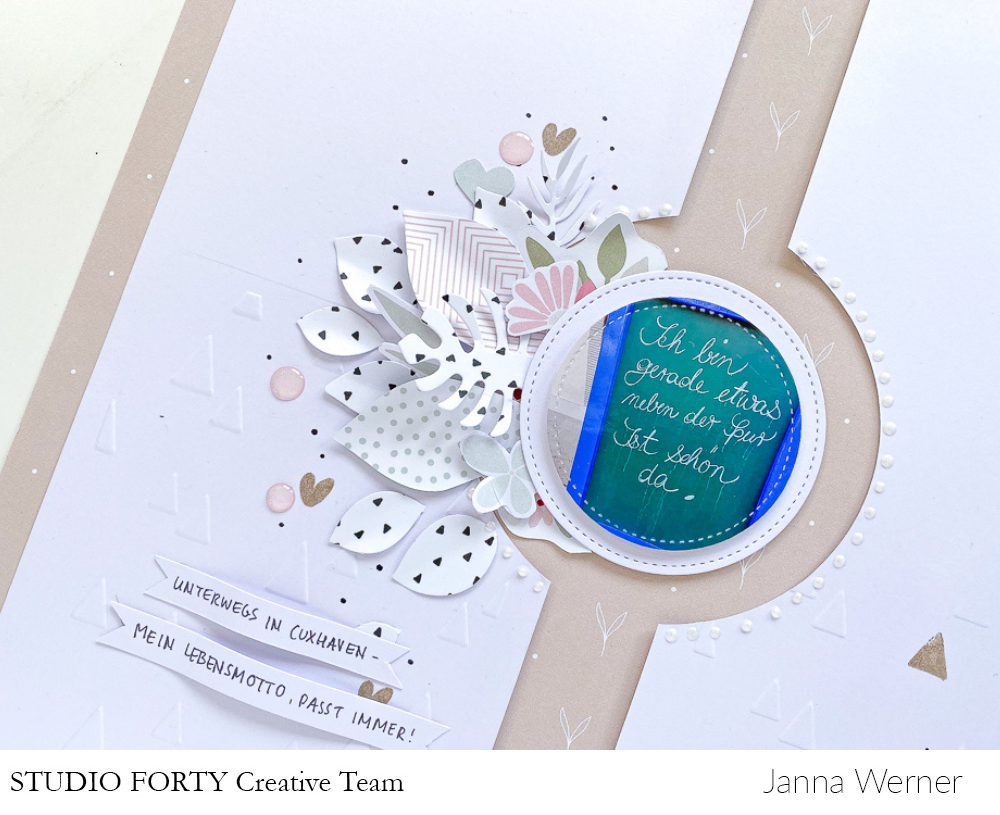
On the photo is a sign that stood in front of a little shop in Cuxhaven, Germany. It says: "Ich bin gerade etwas neben der Spur. Ist schön da." which means "I am a little off track, it's nice there." My initial thought was, to create an asymmetrical layout, but in the end I decided against it. Instead, I went for an organized, clean look, as this is how I feel sometimes: organized on the outside and chaotic on the inside. Do you know what I mean?!
Now, let me show you how I create the page.
I choose a neutral background from the Don't Grow Up collection and cut 2 cm from two sides of a white 12x12" cardstock.
With a circle cutter, I cut a circle (10 cm diameter) into the middle of the cardstock. Then I cut the cardstock in half and trim it to fit onto the patterned background paper.
With the Big Shot and an embossing folder I create a dimensional arrow pattern on the lower half of the cardstock pieces. The pattern fits the Studio Forty stamp I am using later perfectly.
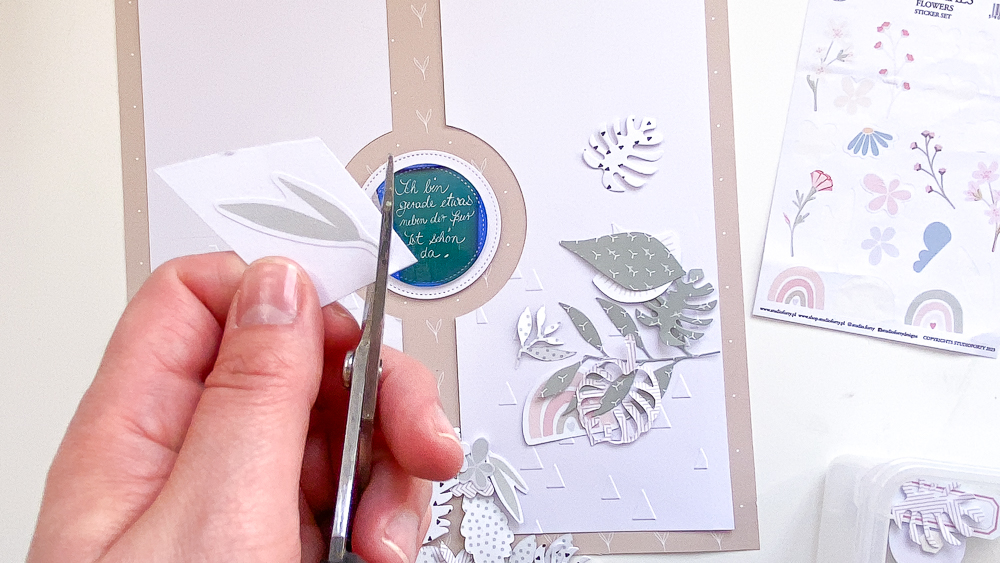
The Essentials doublesided patterned papers are beautiful, but also the floral stickers. I use both to embellish the page. I adhere the stickers onto cardstock and cut them out with scissors. Like this, I can easily add dimensionals beneath the stickers. This will add more depth when applied to the layout.
As you can see on a previous photo, I use double sided adhesive to glue the white cardstock pieces onto the background and dimensionals to adhere the photo. In the next step, I am creating a little cluster on the bottom right, using a black marker to draw little dots onto the paper. I bend the leaves with my fingers for more depth.
I cut out hearts from the Essential mint and pink tabs and decorate the left side of the photo with leaves, flowers, enamel dots, hearts and die cuts.
Here you can see the arrow stamp from the stamp set To Do Labels which fits the embossed pattern so well. I am finishing the page off with a little bit of journaling, stamping and liquid pearls around the photo.
Here are two more detail shots of the scrapbooking layout where you can see the different layers and textures.
How do you like the outcome? If you have any questions regarding the tutorial, just let me know in the comment section below. You can also find me on Instagram and Youtube.
Hello crafty friends, it's Janna. After last month's scrapbooking layout with round photos, I am back with a cluster page. Before I share my thoughts on today's layout, I'd like to remind you to use the code janna10 in the Studio 40 shop for a 10% discount! Now, let's take a look at the scrapbooking page.
When starting a scrapbooking page, my first step is to collect the embellishments I'd like to use. I might add more in the process or put some aside.
Usually, I lay out the cluster design before glueing the items onto the page. The design of the clusters may change during the process of adhering everything. If you want the arrangement to be exactly the same as the draft you made, you might want to take a picture of the design before adhering.
There are many ways of designing a cluster, I decided to go for a blurred one: sometimes it's hard to tell if a page includes one, two, or more clusters as the different areas on the page correspond or maybe overlap.
This is what I like to call the "blurred cluster" design.
I did this with the bottom cluster on the left and right as well as with the mini cluster below the photo. Each is a seperate cluster, but as they are so close to each other, they become a blurred arrangement.
Do you like clustering? Or do you prefer clean and/or non-dimensional pages? If you haven't tried working with clusters, I challenge you to do so! :-) Make sure to tag Studio 40 and me (@jannawerner) on Instagram and Facebook when sharing your creations.