Wakacyjny layout | Katarzyna Kowalicka

12x12 layout

 Cześć!

Wakacje, wakacje i po wakacjach ehhh zleciało błyskawicznie. Ale mam nadzieję, że jesień zaskoczy nas piękną pogoda i nie odczujemy tego przejścia pór roku.

DziÅ› do Was przychodzÄ™ z layoutem czyli czymÅ› co pojawia siÄ™ dość rzadko u mnie a co sprawia mi ogrom frajdy :)  Nie zawsze czujÄ™ potrzebÄ™ by tworzyć caÅ‚y album czy wpis w travelersie i wÅ‚aÅ›nie wtedy pojawia siÄ™ pomysÅ‚ na layout - dziÅ› z jednym zdjÄ™ciem bo bardzo chciaÅ‚am je mieć zachowane wÅ‚aÅ›nie w dużym formacie.


Punktem wyjścia było zużycie resztek papierów, które gdzieś zawsze zostają a które są zbyt małe na większe projekty ale w LO czy travelersach sprawdzą się idealnie. Mnie zawsze szkoda wyrzucać ścinków i bardzo mnie cieszy jeśli uda mi się je wykorzystać :)


Świetnie wypełniły mi przestrzeń naklejki - zarówno te na transparentnym tle jak i kolorowe. Idealnie posłużyły mi do opisania sytuacji oraz jako element kompozycji.


A na koniec moje ulubione enamel dots'y i chipboardy oraz kilka odbitek stempli i całość gotowa.
Moja córka już zabrała pracę do swojego pokoju także mnie zostaną tylko zdjęcia :)

Zachęcam Was to tworzenia LO, z jednym lub kilkoma zdjęciami, bo to taka duża czysta karta i tylko od nas zależy jak ją zapełnimy.

Życzę Wam bezbolesnego przejścia z trybu wakacyjnego na tryb pracowy, czasu na tworzenie Waszych wakacyjnych prac i pięknej pogody :)

Åšciskam!
Kaha


W swojej pracy wykorzystałam:


SUMMER TRAVELER NOTEBOOK | NenaScrap

Bom Dia
 Hi Studio Forty friends,

It's NenaScrap with you today. I hope this summer is going well for you 😊

Today, I'm mixing up the lovely Studio Forty collections in my Traveler Notebook.
I'm slowly completing my Traveler on our trip to Seville in 2019.
I have to admit that I was not a fan of this format but the Studio Forty products have totally converted me to it !!!

On this first double-page spread, we have the Lazy Days and Bom Dia collections that are a perfect match !!!


On the left page, I used a Lazy Days TN size paper and added my journaling on a Project-Life card from the collection.

On the right page, I made a pocket with the Bom Dia Vellum to slip a photo into. It's a tip to insert a photo that isn't as pretty but may have meaning or sentimental value (which is the case here).


I added chipboards stickers, die-cuts and dots as embellishments. I don't know about you but I love these Story Details Chipboards Frames and the die-cuts from the summer goodies.


For the 2nd double-page, I continued to play with the Dotted Frame stamps set and the Story Details Chipboards Frames Stickers.


On the left, I added a 15 x 15 Bom Dia PAD paper under my photo and completed my layout with some die-cuts and dots.


On the right, I stamped the pretty geometric shapes from the Dotted Frames stamp set. I checked on a draft before that the words from the Fresh Start stamps set went inside.


I did the exact same thing with the Story Details Chipboards Stickers Frames. The frames added to the stamps add volume and dynamism to the page.


That's it for these little Traveler Notebook tips, I hope you liked these pages and that they will make you want to try this format. For my part, I'm really in to 💗

See you soon for new creations.

XOXO


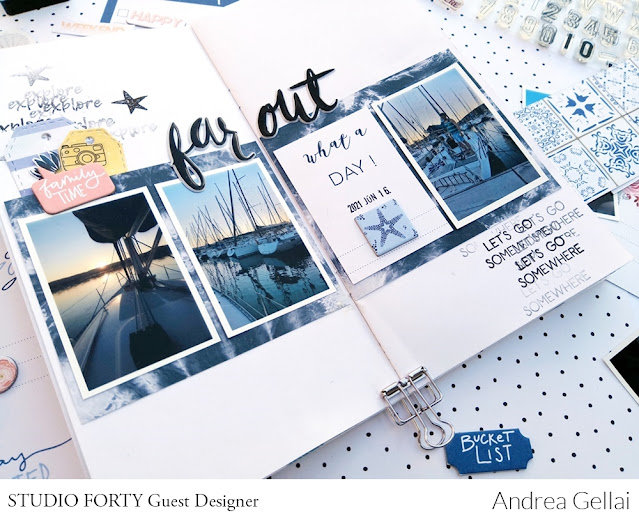
Lake Balaton TN album first day/ Andrea Gellai

Andrea Gellai


 Hello Studioforty friends!

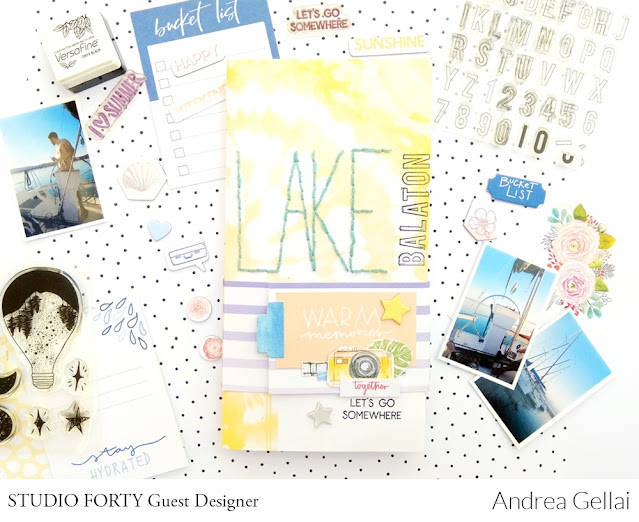
I hope you enjoyed the summer and shot a lot of nice photos! Today I would like to show you my first traveler’s notebook on the blog, which I filled with photos of a sailing on Lake Balaton, where I was in June with my brothers .I mixed two collections for the creation, Bom Dia and Lazy Days. Both are a great fit for processing summer beach memories.

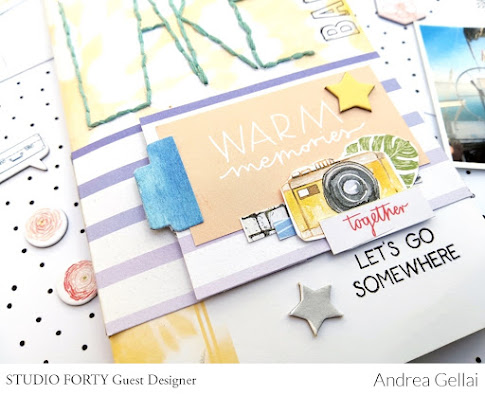
I embroidered the word "Lake" on the TN cover and then decorated it with PL cards, chipboards, stickers  and fussy cuts.  I wrote the word "Balaton" with the letter stamp.  I closed the album with a magnet.

First day:
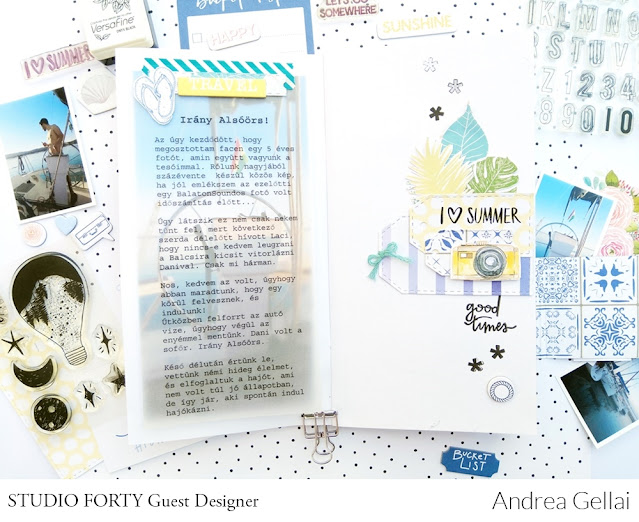
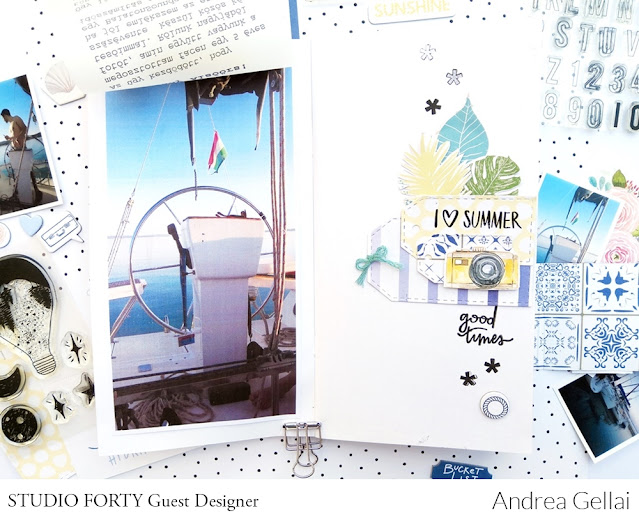
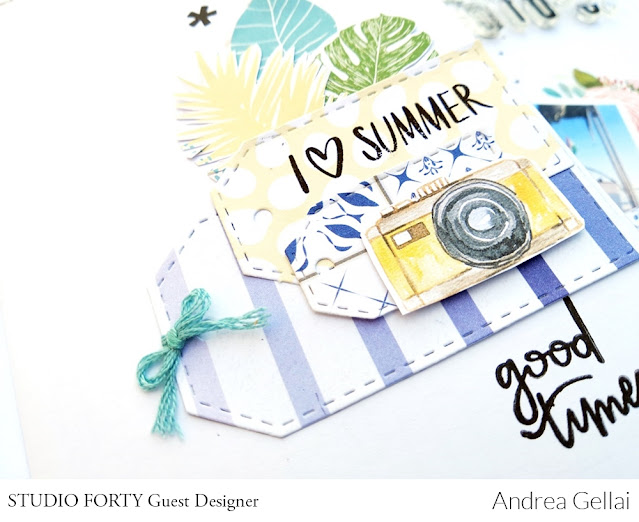
For the first pair of pages I used a full-page photo on the left, on top of which I pasted the text printed on the vellum paper. On the right, I cut tags from different patterned papers and stamped.


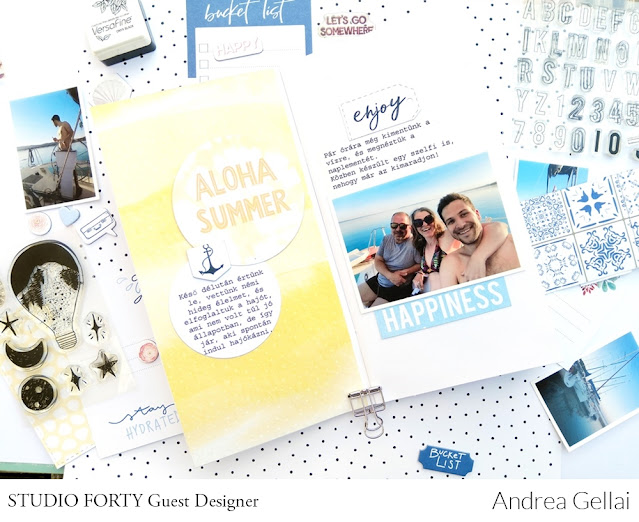
For the next pair of pages I cut a Pl card and the text to a circle shape, placed the photo on the other side, and decorated it a little bit.


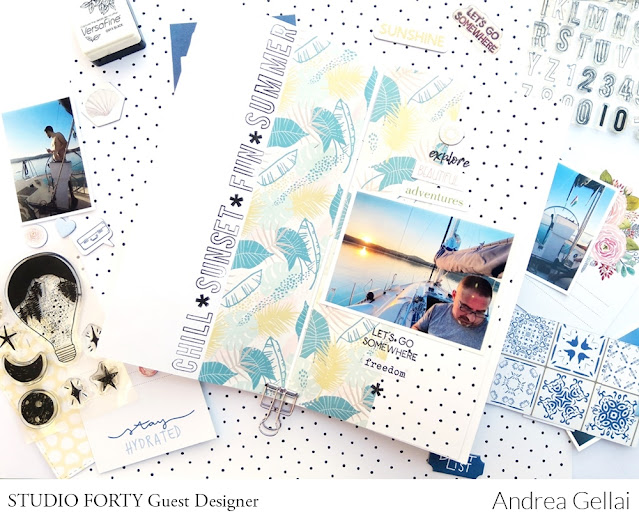
For the third pair of pages I cut one of the TN papers from the Lazy Days collection lengthwise in the middle and decorated it with word stickers and stamps.


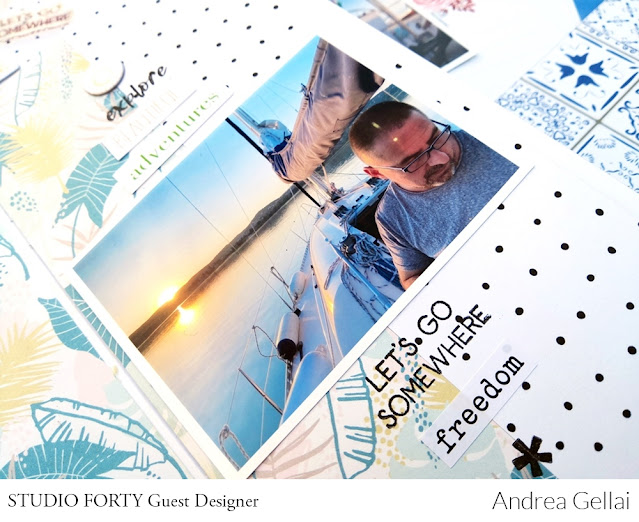
For the last pair of pages of the day  I also used tags, chipboards and stamps.


I'll show you the second day soon!

Thanks for stopping by here today and happy crafting!


Jenn | Venice for love

clear stamp

Good morning everyone!!

I was in Venice in early August, and I decided to scrape some photos of Venice.

I have dedicated this travelers to travel, so as to share my various passions, such as reading or cooking.


For the Venice page, I used Journal stories papers and the new die cuts.
I love transparent stickers, you can stick them on photos or on paper.


For the dreaming of sunshine page, on the other hand, I used the So romantic collection, Pad 15x15cm.
Very convenient for TN especially when you don't want to cover the whole page. 


This time, in addition to the transparent stickers, I also used a clear. I love clear sentiment.

See you soon for a new post.

XOXO
Jenn 

Tęcza | Anna Kaczmarek

Aka
Cześć, tu Ania.
Mam dla Was dziś coś tęczowego.
WyglÄ…da nieco jak oÅ›miornica, a to tak w zasadzie mini album z cytatami. 
Zrobiłam przegląd kolekcji papierów Studio Forty
 i okazaÅ‚o siÄ™, że mam już ich sporÄ… tÄ™czowÄ… kolekcjÄ™ ;)


Strony albumiku skÅ‚adajÄ… siÄ™ ze Å›ciÄ™tych nieco kółek, 
tak, aby na płaskiej części można było wkleić wstążkę.
WybraÅ‚am wÅ‚aÅ›nie mocowanie wstążkowe, 
ale można też kleić ze sobą papierowe marginesy kółek.


SklejaÅ‚am ze sobÄ… po dwie strony, 
a w środek wklejałam po dwa kawałki wstążki.
WybraÅ‚am takÄ… o szerokoÅ›ci 1 centymetra i kleiÅ‚am tak, 
aby pół centymetra wystawaÅ‚o na zewnÄ…trz. 
Tą wystającą część wklejałam następnie do kolejnych dwóch kawałków papieru.
Wklejane wstążki pocięłam na różne długości, żeby swobodnie zwisały.
A następnie je pokolorowałam markerami.


Lubicie tasiemki, wstążki z napisami?
Ja bardzo!
A wiecie, że możecie je zrobić sami?
Wystarczy permanentny tusz do stempli (ja użyłam czarnego Archivala)
oraz różne stemple.


Wybierałam krótkie sentencje, pojedyncze słówka, ale też małe symbole.
Na pewno wykorzystam jeszcze
 ten sposób ozdabiania wstążki przy pakowaniu prezentów!


Na poszczególnych stronach umieÅ›ciÅ‚am różne cytaty o tÄ™czy, 
oraz ozdobiłam je odbitkami stempli Studio Forty.


Takiej kolorowej dawki energii potrzebujÄ™ ostatnio.
I cieszę się, że przy okazji tego projektu,
wpadłam na pomysł stemplowania wstążek :)
Skorzystacie z niego?
Pozdrawiam!


Do zrobienia prywatnej tęczy użyłam: