bihotzezscrap
Hi guys! This is María again, how are you? Hope you had a great weekend!
The album measures 14.5 cm high and 10 cm wide. These papers are perfect because they measure 10 cm wide like the album, so you only have to cut the height! Also I used the
enamels from the collection.
To make the loin I used the stamp xoxo.
The measurements are 3.5 cm wide and 14.5 cm high.
With papers from the collection I also made cards, perfect for writing or putting photos. In total I made three pockets, which give the album more capacity for documenting.
I hope this little album can inspire you in your creations!
If you like those materials you can find them in the
Studio Forty web and using the code MARIA10 you will have a 10% discount.
See you the next time!
layout
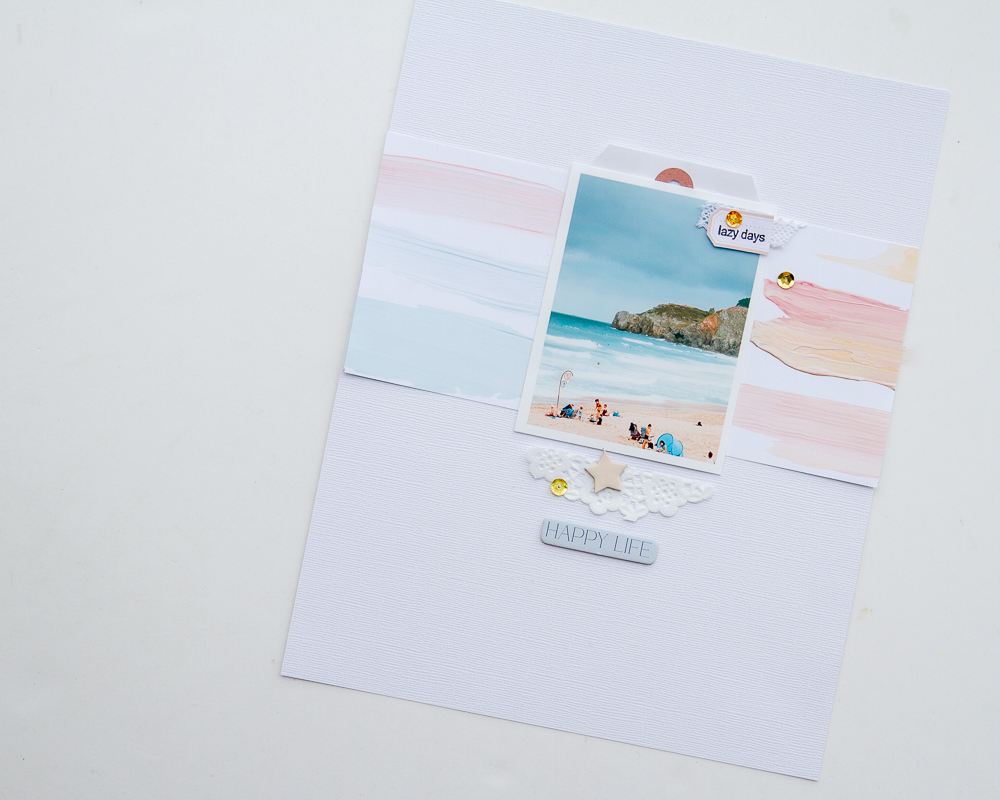
We are in the final stretch of summer and I bring two layouts, one a summer photo, a beach photo and another more autumnal, not because it is done, the photo is in summer, but the trees have some colors that are totally autumn.
This first day at the beach, I have chosen a paper to match the photo. I have pasted a background for the photo in the center, maybe a little higher.
Below the photo a label.
On the photo a lace and on it a label with the title that I have stamped.
At the bottom of the photo a cutout of a lace, where I have added some
small details.
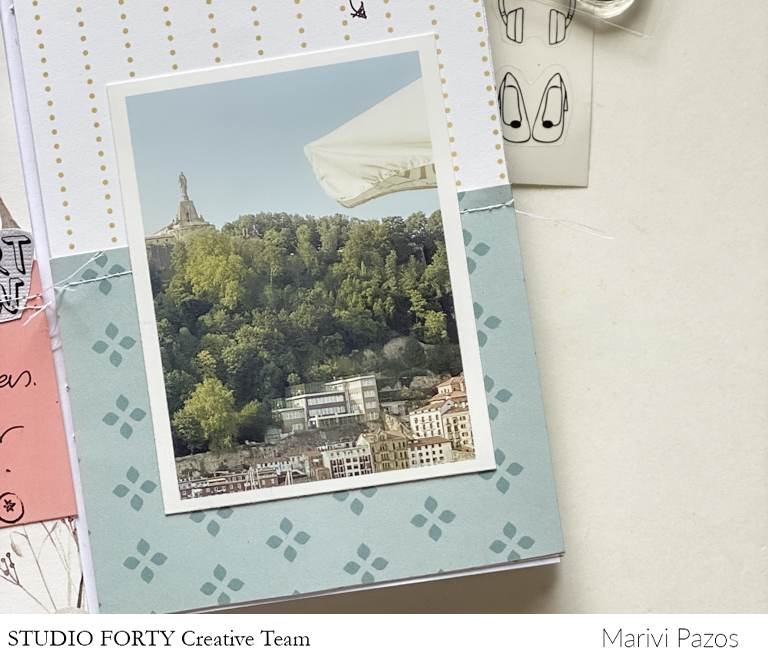
For this more autumnal layouts, I have chosen this
paper with a wood pattern, which I have placed at the top, on which I have placed the photo, on the left.
Below the photo I have placed a lace, and on it some small ornaments.
I have
stamped the title below and splashed some gold ink near the photo as well.
Today I have mixed
collections, as you can see, they combine perfectly with each other.
I hope you like them and see you soon!
marivipazos
Today I repeat with two TN projects, in these projects I have mixed different collections that you can find in
Studio Forty.
Here
Herbarium and
Everyday story with several details, transparent sticker that I have previously pasted on a piece of paper to later cut out and place it on a label where I have sewn it.
With some stamps I have stamped some blueberries as a detail.
With a die and several papers I have made the numbers 2022 and summer with an alpha stamp, which I have colored. Below I have
stamped several flowers.
I have decorated the photo with a piece of washi tape.
Also here I have used a transparent sticker in the same way as in the previous one.
In this photo you can see the composition in detail.
This is all for today, I hope you like it!
marivipazos
I usually like smaller size photos than the ones I have used today. The truth is that it is a size that I do not like too much, I like that they are small, credit card type or a little more or that they occupy the entire page, but I am happy with the result.
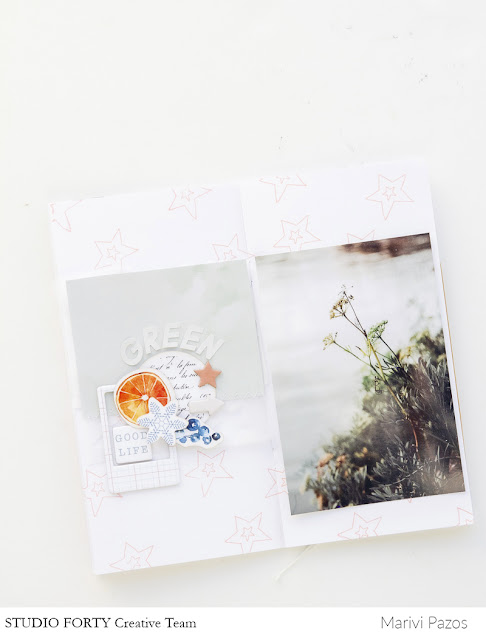
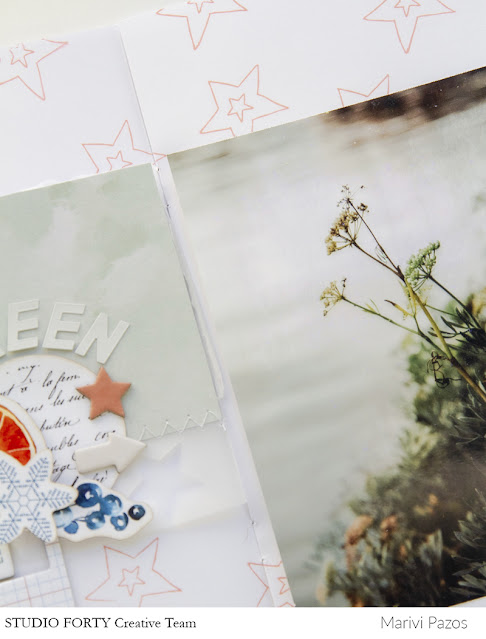
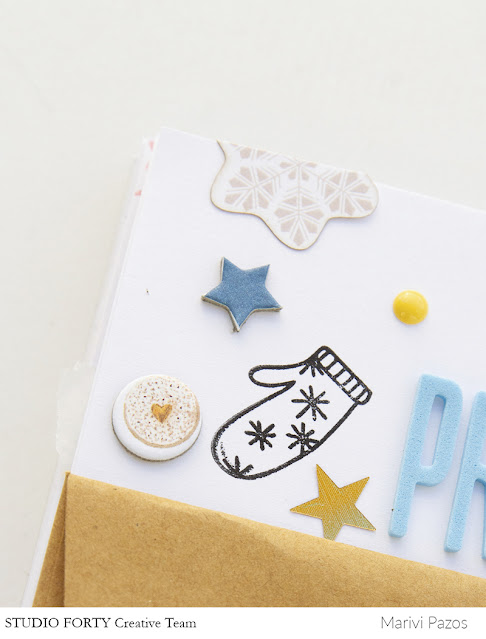
I have stamped both sheets with stars, from one of the stamps in the collection.
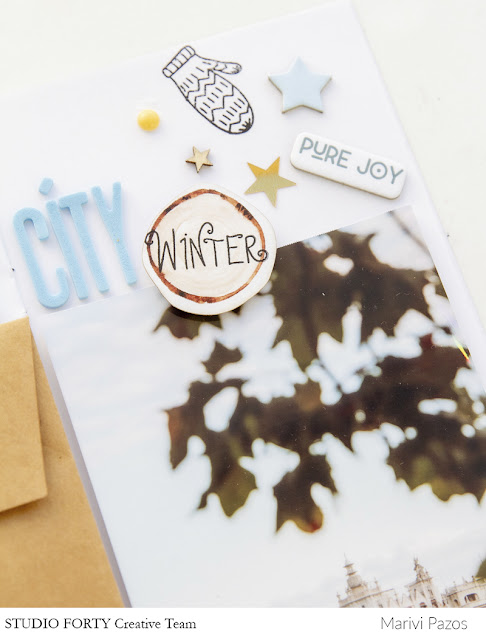
On a collection paper, which I have sewn onto a vellum, I have combined several overlapping ornaments.
Here I have used the same size of the photo, but I have centered the decoration on the part that is left blank at the top.
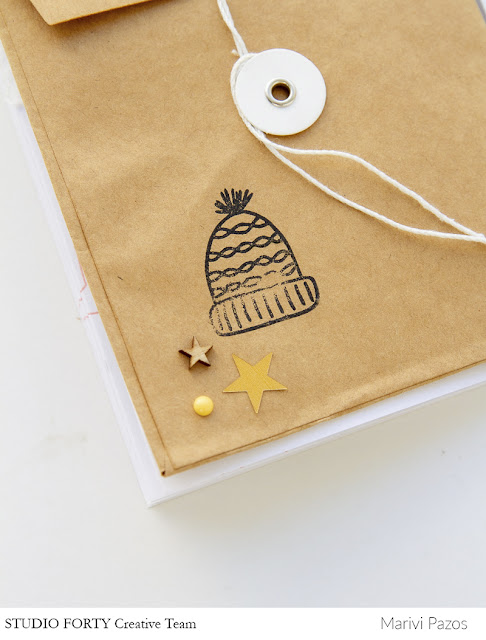
I have pasted an envelope of the same size as the photo that I have decorated with a stamp in the shape of a hat, following the idea of the upper part where I have placed two gloves.
In a
die cut piece I have also used a stamp with the word Winter, and in addition to the title I have placed different stars, chipboard, etc.
I love the stamp kit that I have used you can see it
here.
This is all for today I hope you like it! See you soon!
cardmaking
Hello friends!
The upcoming holiday season is my favorite time of year, and I am getting a head start documenting memories using the new Frosty Season collection. The colors and patterns are so beautiful and can be used in so many different ways.

For this first project, I created a 12 x 12 layout documenting this lovely photo of my son enjoying the Christmas tree. I love the soft colors of the collection and printed the photo in black and white to keep it from clashing with my paper choices.
To begin, I used embossing ink with several powders to stamp snowflake images on white cardstock. After heat embossing each of the images, I applied silver and blue inks over the top to make them stand out more.
Next, I tore several of the patterned papers and adhered them to the top half of the page.
After adhering the photo to the cardstock, I selected several of the circle die cut ephemera and machine stitched them in place. Using pencil, I marked where the ornament chipboard and die cut pieces would be placed and stitched a straight line to that point. At the end of each stitched line, I adhered the chipboard and die cut ornaments, which makes them look as if they hanging from the top of the page.
To complete the project, I added more torn strips of patterned paper to the bottom-right side of the layout. To create the small title, I stamped "Little Things" and added a sentiment sticker below. Along the bottom of the page, I added a bit of hand-written journaling to document the story.
To complete the project, I added more paint splatters above the photo and clear dots (from my stash) to give more texture. They are difficult to see in the photos but add a little sparkle to finish the layout.
Next is a card I created using more elements from the Frosty Season collection. I love that I was able to create something with the collection that is not Christmas or winter themed.
This card came together quickly and easily using the matching patterned papers and embellisments. I love the soft tones.
 While I used what may be considered a Christmas-themed collection, you cannot tell. In fact, I plan to pop this in the mail later this week for a dear friend.
Well, there you have it . . . two projects that are completely different from another despite being created with the same collection.
Thank you so much for visiting today, and I hope you've been inspired to create.
Have a great day!
layout
I'm writing this very fair post, I was waiting for the new collection to release it and not leave it for the next day, and I'm already here, although I'm not very happy with the photos ...
Today I bring a layout and two pages of TN.
The 11x8.5 layout, the white background as always and several layers of paper at the bottom, to decorate I have cut some flowers from another paper and I have pasted several phrases.
On the top I have stamped a shell (the beach in the photo is called "La Concha") and I have sewn framing it.
For the first page of TN I have pasted one of the papers of the collection, on the whole page and then the photo with a label, where I have written some sentences and some details, chipboard, enamel dots.
On the other side some phrases stamped with a small frame decorating a sticker.
As you can see on both pages I have added different ornaments balancing the colors, so that the range of colors are represented on both sides.
Here I have cut out the motifs of one of the papers with a die and I have placed them all over the surface and then I have placed a photo and ornaments, stickers, chipboard and I have stamped a word and a star.
On one side of the photo I have written the date, sometimes the design asks me to write something by hand, even if it is just a word or a small phrase. I do not know what the rule is about this, I just look and the work asks me.
I used the new collection , LAZY DAYS .I hope you like it and see you soon!
.png "Menu")