Boże Narodzenie
Kochani, już za moment zaczynamy świętowanie Bożego Narodzenia.
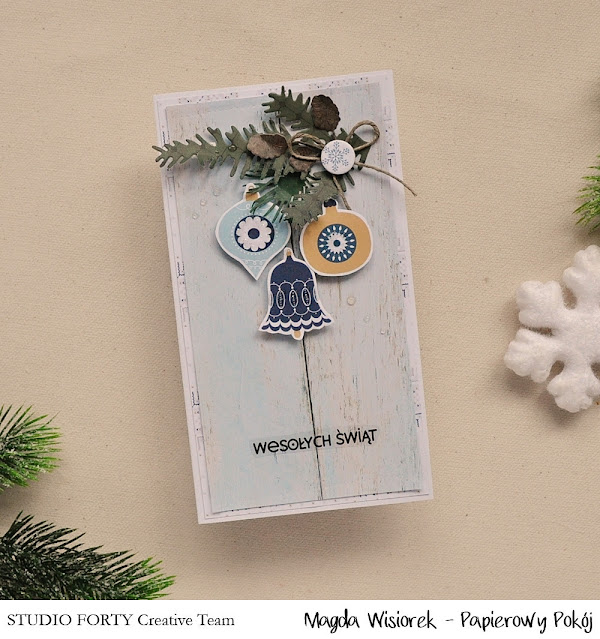
Chcemy Wam serdecznie życzyć radosnych, cudownych świąt,
spędzonych tak, jak lubicie najbardziej.
Życzymy Wam spokoju, miłości i odrobiny magii
nie tylko w święta, ale każdego dnia.
Wesołych Świąt!
Dear ones, the celebration of Christmas is about to begin.
We would like to wish you joyful, wonderful holidays,
spent the way you like best.
We wish you peace, love and a bit of magic
not only on holidays, but every day.
Merry Christmas!
Frosty Chipboard
Hello everyone!! I'm so excited to share my holiday projects I created using the stamps from the Frosty Collection and Sublimation Markers! Read along to learn how to make coasters for your home using a variety of stamps from Studio Forty and Artesprix's Sublimation Ink and Markers! This project is super fun to make and I'm excited to share this new technique with you!
What are Artesprix Sublimation Markers?
Magic Ink that transfers their beautiful colors from plain copy paper to a polyester product with a heat source. Iron-on-Ink Markers are the way to personalize sublimation, which is specially formulated inks that transfer only when activated with heat.
To create this Coaster, you will need the following: Stamps, Coaters, Sublimation Markers and ink pad, Heat Press and Protective Paper.
Step by Step Instructions:
Step 1. To begin, I used the coaster as a template to trace on white copy paper using a pencil.
Step 2. Next, I stamped the holiday images onto the plain piece of paper using the Sublimation Ink Pad.
Step 3. I colored the images using the Sublimation Markers. If you make a little mistake, cover the area with the heat tape. This will prevent the ink from transferring to the blank once it goes through the heat press.
Step 4. Tape the blank image facing up using the heat tape. Then, create your sublimation sandwich. One protective Paper sheet at the bottom and one sheet at the top of the project.
Step 5. Set your heat press to 400 degrees Fahrenheit and timer for 90 seconds. Make sure you place your project in your heat source image facing up. After your timer has completed, make sure to let your project cool down before touch it.
Step 6. Remove the heat tape and protective paper and admire your vivid design! Aren't these beautiful!?


I had so much fun make these coasters for the holidays. I'm going to make a few more when I get some more time to create! In the meantime, continue reading to learn how use this same technique to create a few holiday tags!
To create these tags, you will need the following: Stamps, Chipboard, gems, glue, Sublimation markers, Sublimation Ink Pad, Heat Press and Protective Paper.
Step by Step Instructions:
Step 1. To begin, I used the Bag Tag as a template to trace on white cardstock using a pencil.
Step 2. Next, I stamped the images onto the plain piece of paper using the Sublimation Ink Pad. Then I colored the images in using Sublimation Markers.
Step 3. Tape the blank image facing up using the heat tape.
Step 4. Next, Create your sublimation sandwich. One protective Paper sheet at the bottom and one sheet at the top of the project.
Step 5. Set your heat press to 400 degrees Fahrenheit and timer for 45 seconds. Make sure you place your project in your heat source image facing up.

Step 6. After your timer has completed, make sure to let your project cool down before touching it. Remove heat tape and paper from Bag Tags to reveal your vivid designs! Embellish as desired.
Don't forget to check out the stamps in the shop. You can just about make anything with a few sublimation products and stamps! I absolutely love stamps and once you get the hang of stamping, you will love it too!
Thank you for visiting today!

frosty
Hello everyone!
For today I have made some projects for Christmas.
I made three boxes and two cards.
The boxes were cut out of frosty paper and embellished with clear from the Frosty collection and embellishments from the same collection.
For the two cards instead,
I cut out two very large numbers, I used the positive for one card and the negative for the other.
I used the clear Banner and die cuts from the Frosty collection.
See you soon
Jenn
frosty season collection
Hello friends! I know it might be a little early for winter depending on wherever you live...but today I'm sharing a layout I created using the Frosty Season Collection. I'll be honest...I always have a difficult time scrapbooking winter photos!! I don't know why, but I do and I'm pretty sure this layout took me two hours to make. LOL
To begin, I cut the floral patterned paper to measure 8 1/2x11 and the snowflake patterned paper to measure 7 1/2x10 inches. I adhered them both together, placing the smallest cut to the center of the layout. I used the 6x6 sheet from the paper pad as a backing for the photos by adhering it to the layout diagonally.
I used a metal die to create the tag and colored it in with an orange marker to bring out the orange sled in the photo.
I stamped the snowflake onto a scrap piece of patterned paper and then fussy cut it using scissors. I colored in the center using an orange marker and then added the gem. I did this because initially, I stamped directly onto the photo and it smeared...so then I had to figure out how to cover my mistake. I used a clear sticker snow flake below the big snowflake. I wasn't taking any chances of stamping onto the photo again. :)
I created the little mittens and had using the stamps! Super cute! And fun to make... stamps are great for creating your own personalized die cuts!
I wanted a big title at the bottom...so I used some acetate stickers that I had in my stash. Then I added the chipboard.
I'm so pleased with how this layout turned out. It just scream winter!
For my next project, I'm sharing a planner spread I created for October using the beautiful embellishments from the Herbarium Collection.
I used a light purple alcohol marker to color across the top of the planner pages. Then I colored in the die cut vase using a burnt orange color marker.
I added a few clear stickers, chipboard and pieces I cut from the patterned paper into a fun cluster on the right-side spread. Super pretty!!
Now, I just need to start making plans for October! :) So far, there's not much going on except for the weekend I plan on driving to Pennsylvania to visit my bestie! We plan on going to a fall festival so I'll have to take some fall pictures to use with this beautiful collection. Thank you for visiting today!
anna kossakovskaya
Witajcie.
Dziś blog oddajemy ponownie w ręce naszej gościnnej projektantki z Rosji - Anny.Zobaczcie co przygotowała używając naszych stempli
Hi again! It's Anna here.
For today's post I prepared a layout and a card. I hope you will like it.
For my layout I started with stamping the background with stamps, I used four blue colors of inks and three yellow ones. I used the small stamp with dots from Patterns 2 stamp set. I went from the top of the sheet to the bottom repeating the line where the sea meets the sand. And later I placed the picture the way, that these lines match on the picture and on the background.
For decorating the picture on the layout I used only one piece of patterned paper with the rays, and next stickers to focus on the photo:
Just WORDS stickers,
Arrows and
Geotags.
Also I stamped directly on the picture with Stazon inks the phrase from
Life Is Sweet stamp set.
And the second project for today is the pair of cards - one design, one way of creating, two cards. I took the piece of the light gray cardstock and white embossed the flowers from
Flowers stamp set, then colored them with Tombow Dual Brush pens.
Then I cut the ready background into two part with the scalloped edge die-namics. And then I made two cards with them, only added the sentiments from
Thank you and
Frosty stamp sets.
Thank You so much for having me, I really enjoyed creating with StudioForty products.
Hope You liked my projects and find it useful.
See you!
Anna
.png "Menu")