album
Hej!
Znów przychodzę do Was z albumem, ale cóż poradzę, nie mogę się powstrzymać. Dziś wtorek, więc do jego przygotowania użyłam wszystkich rodzajów naklejek, jakie tylko posiadam w swoich zasobach!
Wnętrze albumu, bardzo kolorowe, bo dla małego słodziaka, uzupełniłam papierami we wszystkich kolorach tęczy! Po wklejeniu zdjęć, całość ozdabiają dot'sy i napisy wszelakie, dostępne w arkuszach
naklejek transparentnych. Robią robotę!
Fajnie jest kolekcjonować wspomnienia! Jeśli macie ochotę to robić zapraszam na zakupy do sklepu. Z kodem PAPCO10 macie -10% na cały koszyk.
Ściskam,
Marta
BogutkaART
Siemaneczko Kreatywne Dusze!
Po świątecznej celebracji zbliża się Dzień Babci i Dziadka. Zainspirowana różnorodnością
naklejek od Studio Forty, postanowiłam wziąć je na warsztat i pokazać Wam przy okazji jak można je kreatywnie wykorzystać.
Naklejki z kolekcji
Vintage Glow podkleiłam na karton i wycięłam tworząc sztywne ephemery.
Dodatkowo wycięłam elementy z
arkusza do wycinania i uzupełniłam kompozycję. Z pomocą również przyszły
stemple aby dodać elementów florystycznych.
Tagi na tle to elementy z arkusza
naklejek o nazwie NOTEBOOK i one również są podklejone sztywnym papierem tworząc odstające elementy.
Naklejki czarno-białe super tworzą wzór w rogach, tworząc ramkę.
Wewnątrz zastosowałam napis -
definicję Razem, bo Dzień Babci i Dziadka to super okazja aby wnuki spędziły je z dziadkami.
Stworzona opaska to możliwość napisania na karteczce kilku słów od siebie i wsunięcie jej właśnie pod nią. Zastosowałam tam stemple i wycięłam aby stworzyła ładną kompozycję.
Myślę, że dziadkowie będą zachwyceni tą pamiątką i z czułością będą do niej wracać wspomnieniami.
Pamiętajcie, że korzystając z kodu BOGUTKA10 otrzymacie 10% zniżki na zakupy.
autumn ephemera
Hello crafty friends! How are you? Last weekend was finally quiet and I was able to dedicate myself to the things I love, like reading with a good cup of coffee and a blanket, or scrapboking ;) How was yours? It's Nuria here and I want to share a layout made with the awesome
Together collection.
Let's get to it! I cut 3 square pieces of
"Think Happy" patterned paper with a die-cut circle in the centre. I used the negative of the die cut. I glued them with some volume on a white cardboard.
Before gluing, I decorated each piece in a different way:
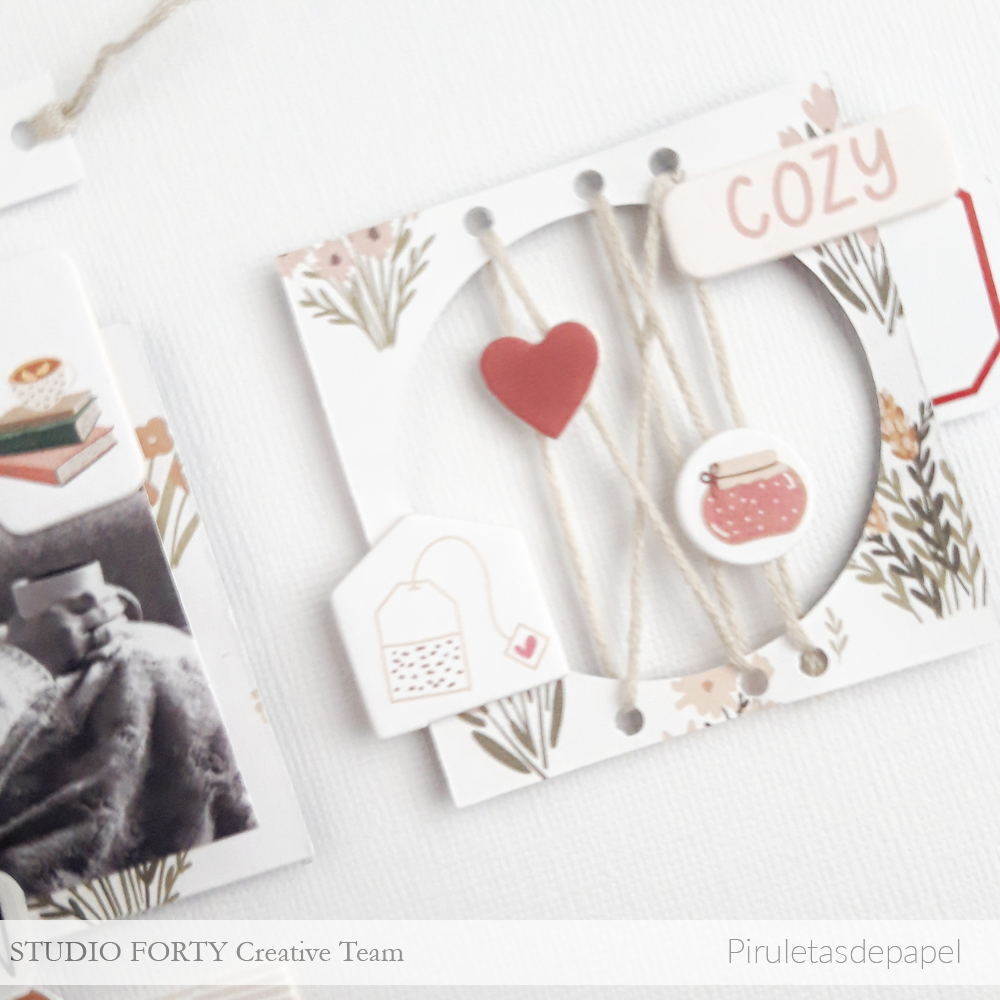
I punched several times the square piece on the right hand, put some thread through them and glued some
chipboard embellishments (a melmalade pot, a heart, a tea bag and the word "Cozy"). On the background, a
paper frame from the fall ephemera set was glued.
Finally, I cut out the phrase
"time to hygge" from a PL card, punched two holes and threaded some thread through them and glued it with volume, centred on the top of the LO. And that's it!
I hope you like this LO and that it will inspire you! Have a lovely week! And don't forget to hygge!;)
Nuria
xo
chipboard
Hello Studio Forty friends! Kerstin here with a brand new Mini Album inspiration for you! It's mid-November and time to get into the Christmas Spirit! I want to be more relaxed in December to keep my memories and have prepared a mini.
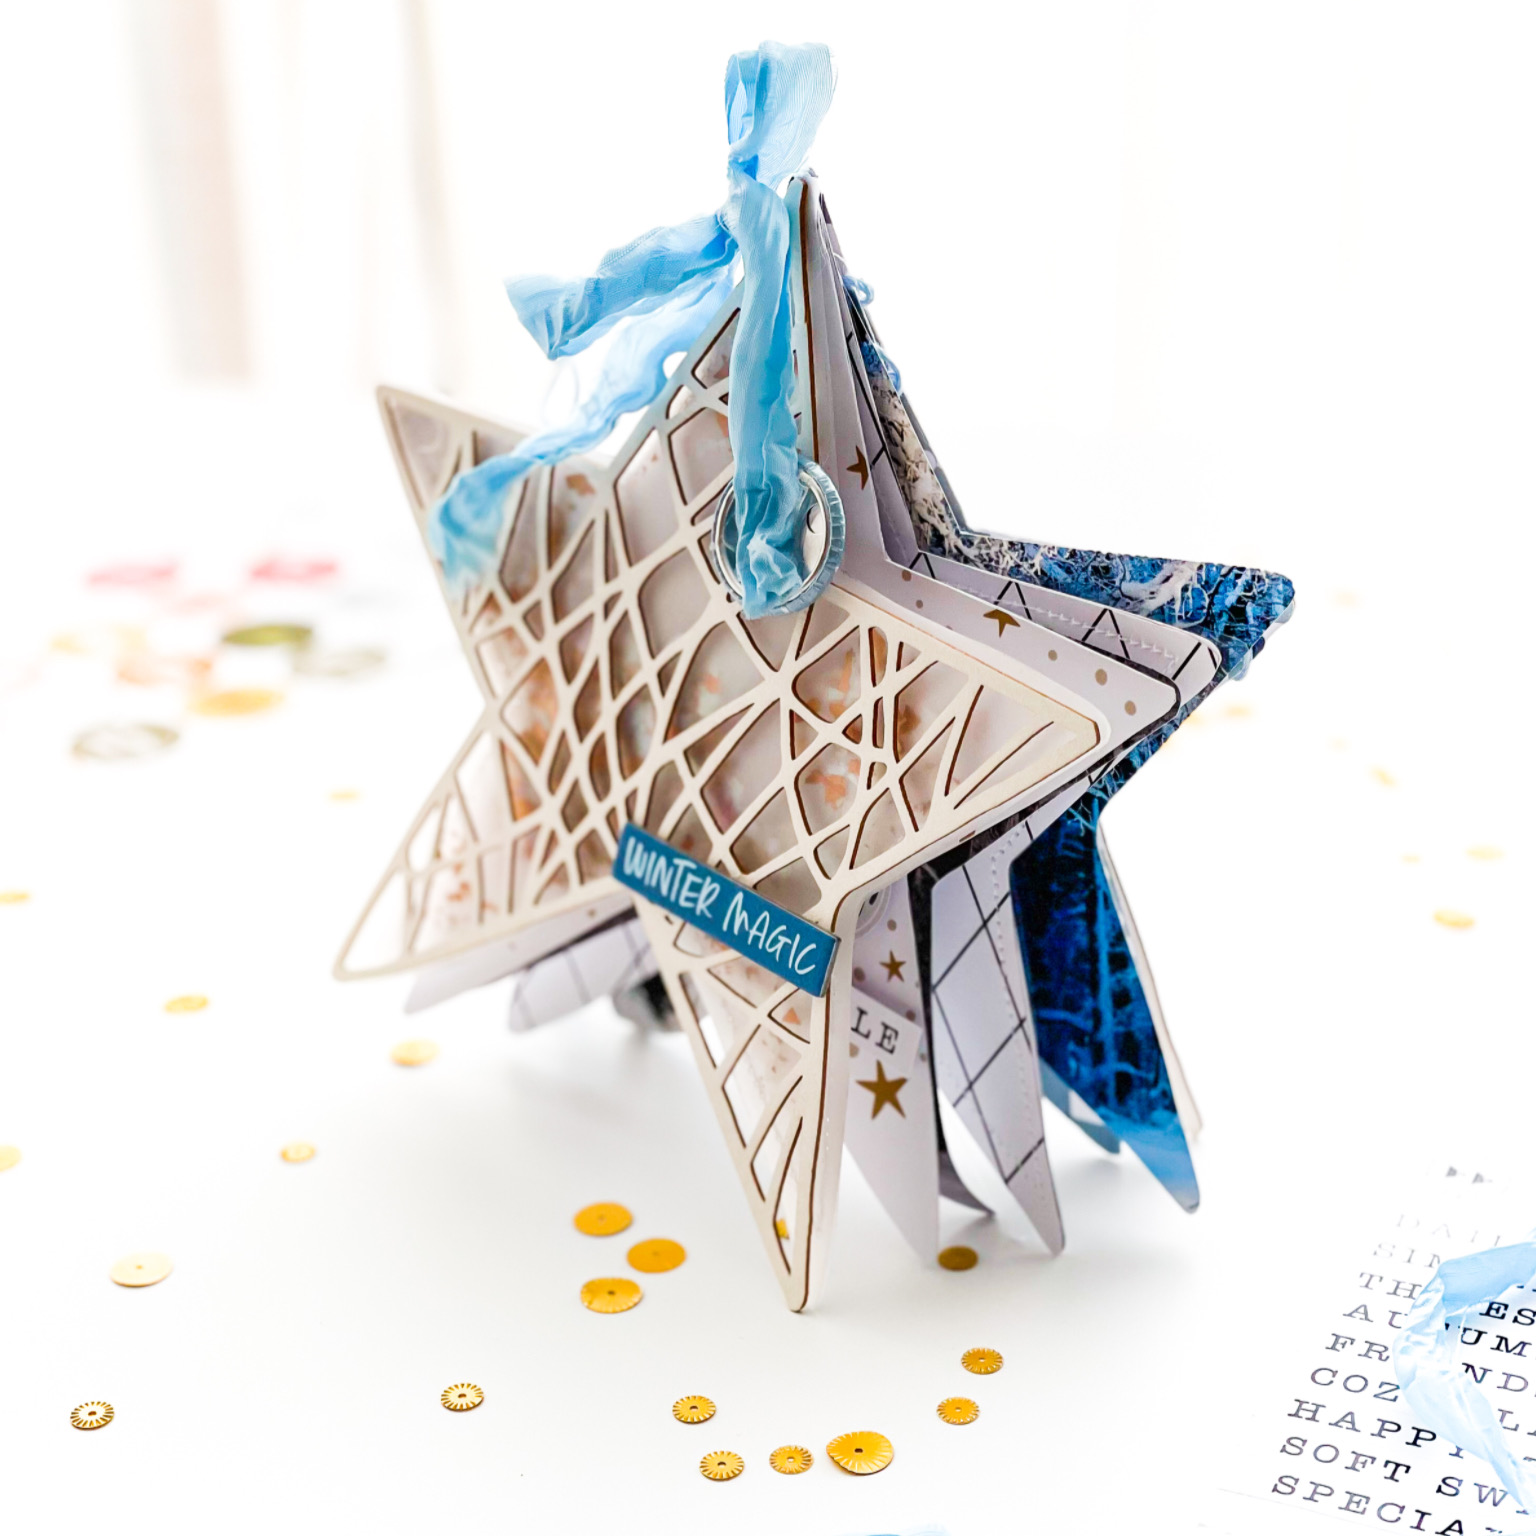
When I found the set of light chipboard album base star, I knew I had to make my mini with it!
Let's get started!
I prepared my pages with the amazing Christmas papers from the TOGETHER collection. A few embellishments here and there. So I can start filling my pages in December!
I used the back of the Light Chipboard album as a pattern to cut my papers. To do this, I placed the star on my chosen papers, traced it with a pencil, and cut it out with my scissors. I also printed a winter landscape photo that I had taken last year, once in black and white and once in color, and also cut it into star shapes.
I made a shaker star as the first page behind the cut out cover. For this I cut Vellum, except for a small slit together with my sewing machine. I filled in gold flakes and sewed the rest of the opening closed as well.
The star paper is gorgeous and absolutely had to be used. For decorating I used the wonderful Simple Life Sticker Set and the cute TOGETHER Winter Color Stickers. There is also plenty of room for photos and journaling.
I'll show you a few more pages!
I taped the design papers to white cardstock so I could write my journaling on the back if necessary OR paste in more photos.
To hold the pages together I made a small hole in each side, pulled the lovely Old Fashioned Ribbon in light blue through it and closed it with a bow.
I hope I can inspire you to prepare your December Memory Album!
See you soon!
Kerstin xx
SUPPLIES: Set of Light Chipboard Album Base I Old Fashioned Ribbon I TOGETHER 01 Paper I TOGETHER 03 Paper I TOGETHER 05 Paper I TOGETHER 06 Paper I TOGETHER Winter Ephemera Set I TOGETHER Winter Color Stickers Set I TOGETHER 3D Sticker Set Dots I Simple Life Stickers Set I JOYFUL Transparent Stickers I Frosty Seasons Chipboard Stickers Set
chipboard
Good morning!!
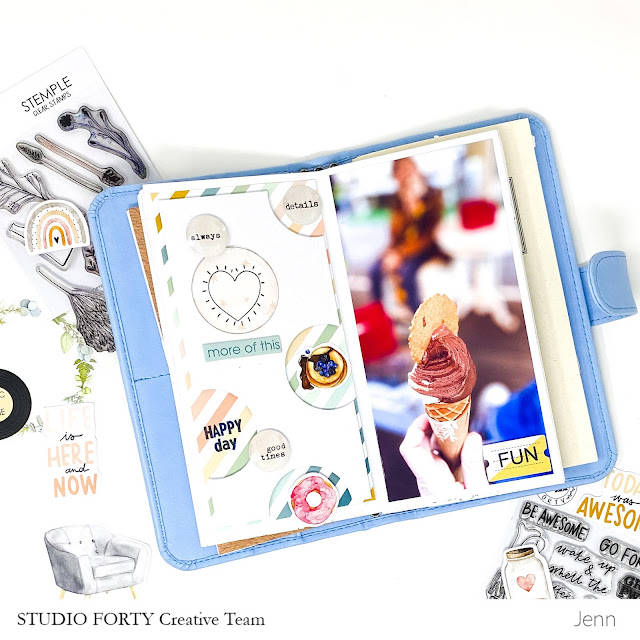
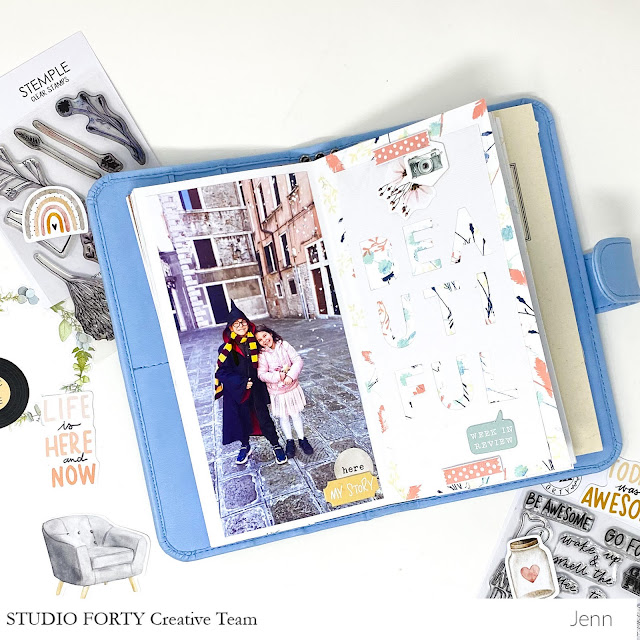
For today I have made 2 pages in traveler's journal format.
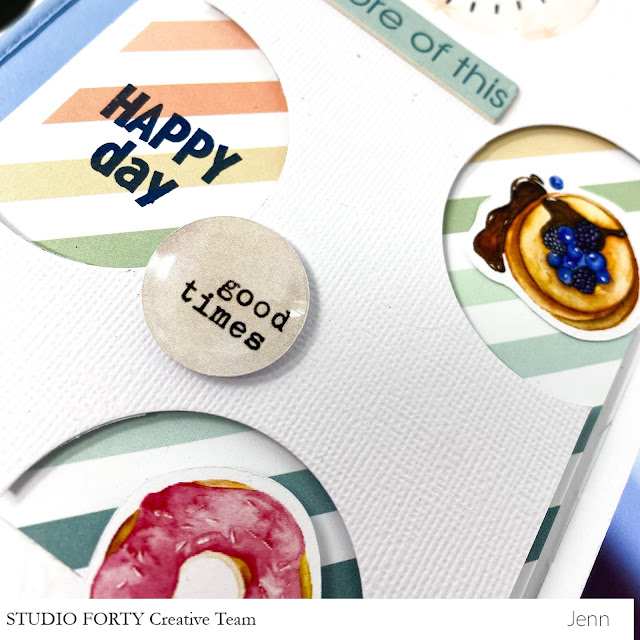
It has been a while since I made a post like this. For the page with the large photo of the ice cream. I used a white bazzill and with a die, I cut some circles.
Below I have pasted a lined sheet of the Everyday Story collection.I added stamps, chipboards and die cuts.
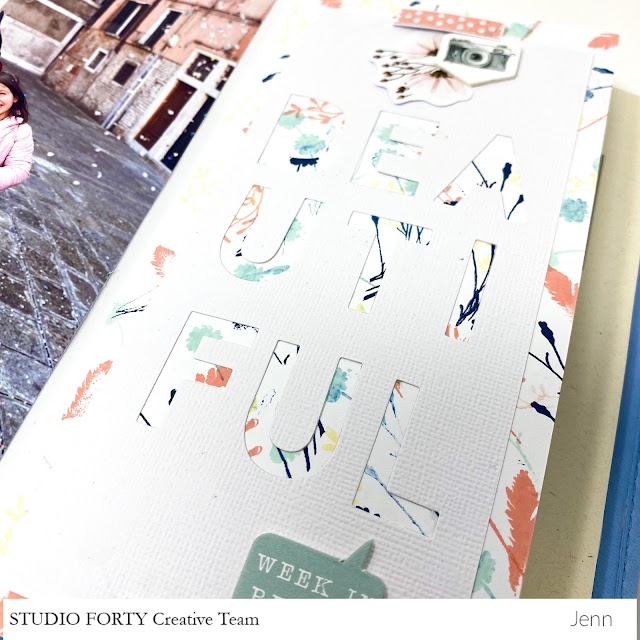
For the beautiful page, I used the clear stamp with all the twigs and stamped at random, varying the colors and stamps.
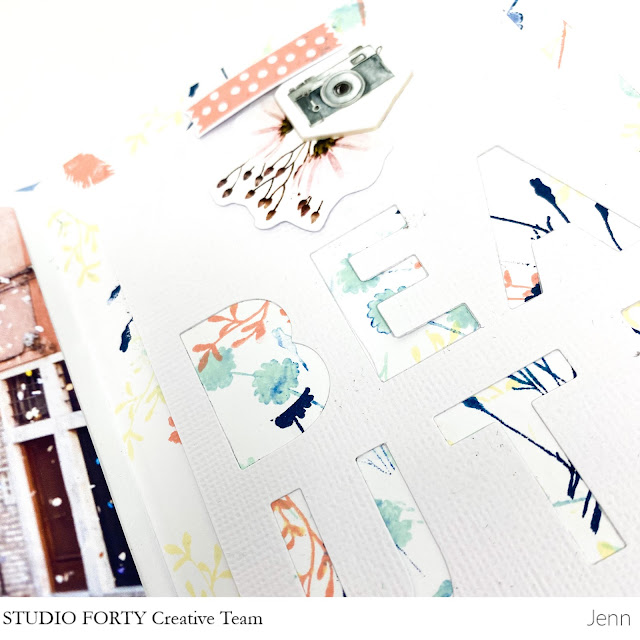
I took a bazzill white and I punched out the word BEAUTIFUL.
I added some embellishments above ... Et voilà! :)
Thanks
Jenn
chipboard
Cześć! Wykonałam jesienną dekorację na bazie tamborka, w której użyłam stempli z zestawu "Moments". Można z nich zrobić uroczą kompozycję roślinną w wazonie lub konewce, ja zdecydowałam się na użycie wazonu.
Motywy roślinne i naczynie nastemplowałam na płótnie. Stemple idealnie nadają się do pracy z materiałem. Dodałam trochę nierówności na butelce cienkopisami, a odrobinę koloru tuszami alkoholowymi.
Obrazem udekorowałam dodatkami z jesiennej kolekcji "Herbarium". Wykorzystane produkty:
Pozdrawiam serdecznie,
Magda
.png "Menu")