Pokazywanie postów oznaczonych etykietą sketch. Pokaż wszystkie posty

Trio of Here and There Cards | Nicole Martel

cards

Good morning! Nicole here with three cards I created using a variety of card sketches. I always struggle making cards, especially A2 size cards.

These sketches really helped me create these cards within minutes and it was fun! Sketches are a great jump start to get your ideas going! Also, keep in mind, you can flip them or use some of the sketch to inspire you!


I think the hardest part of creating these cards was deciding on what patterns to use for the card. I used two patterned papers for each card from the Here and There Collection. I used two metal die frames to cut the papers. To create the card base, cut white cardstock to measure 4.25"x11" and score the paper in half to create the card. The first layer is 4"x5.25" and the second layer is 3.75"x5".
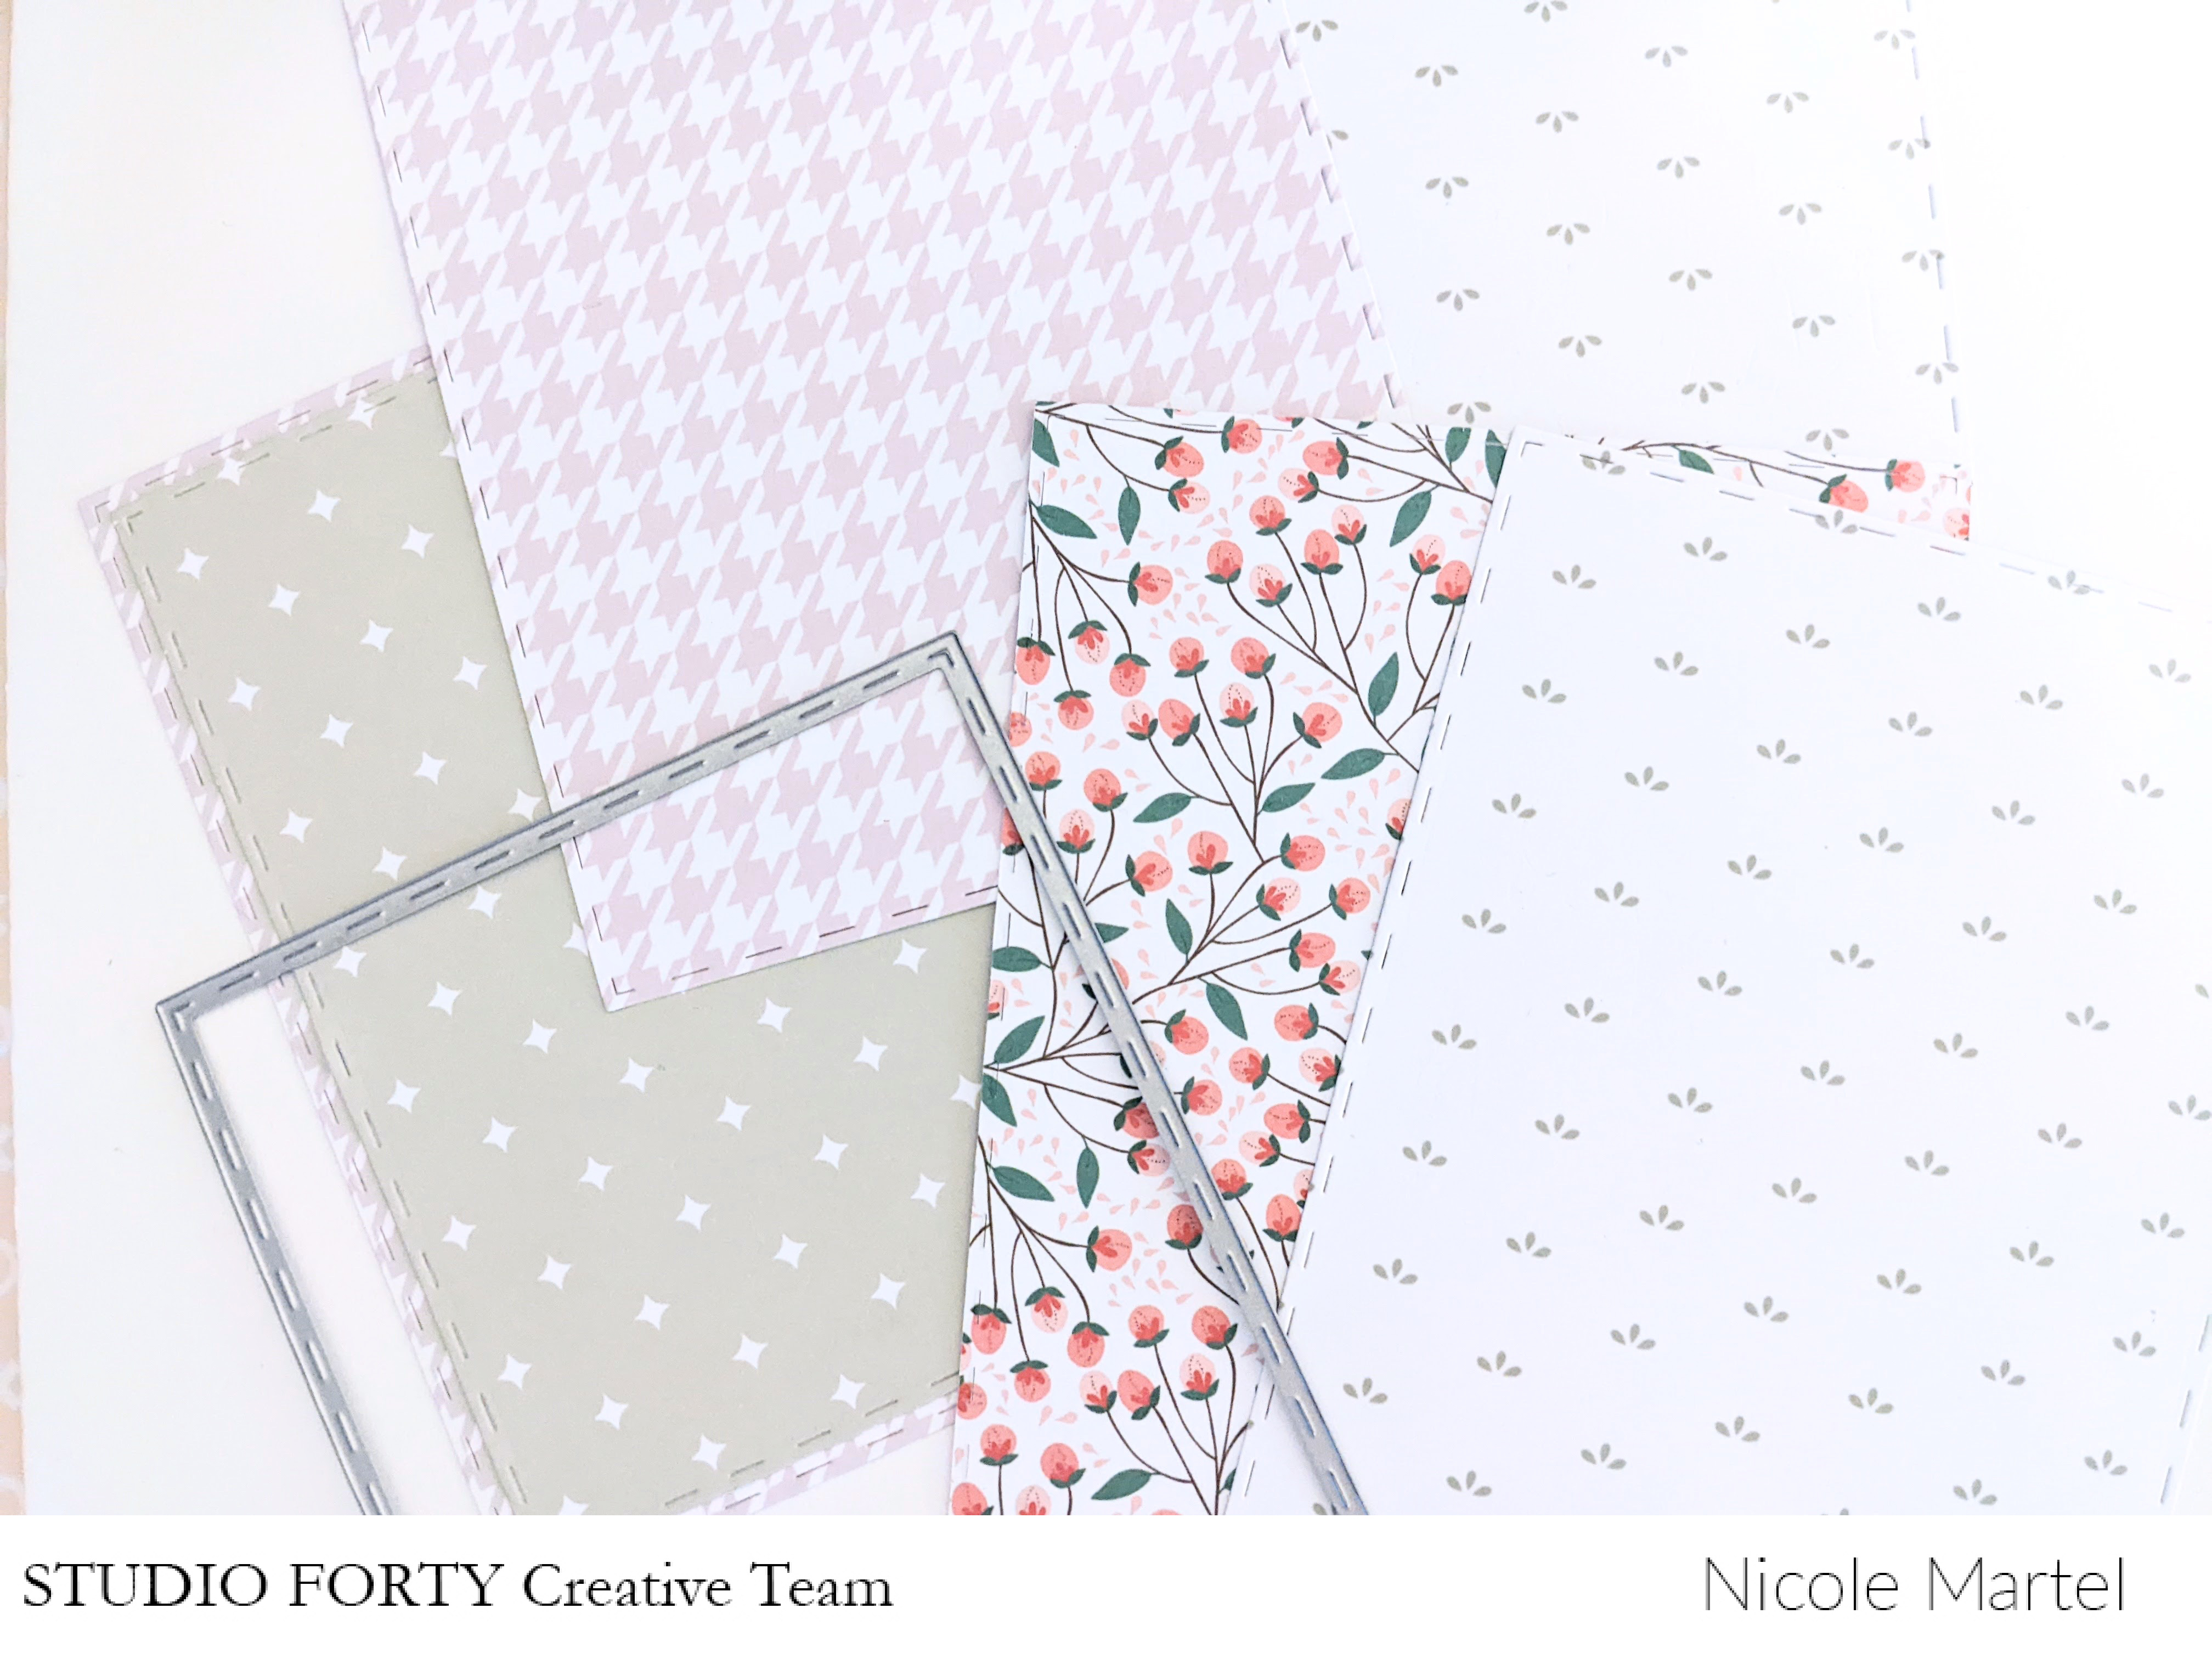

Once the card bases were cut, I paired two cards together that I thought worked well together. Next, I used a variety of Die Cuts to embellish the card. LOVE DIE CUTS. :)

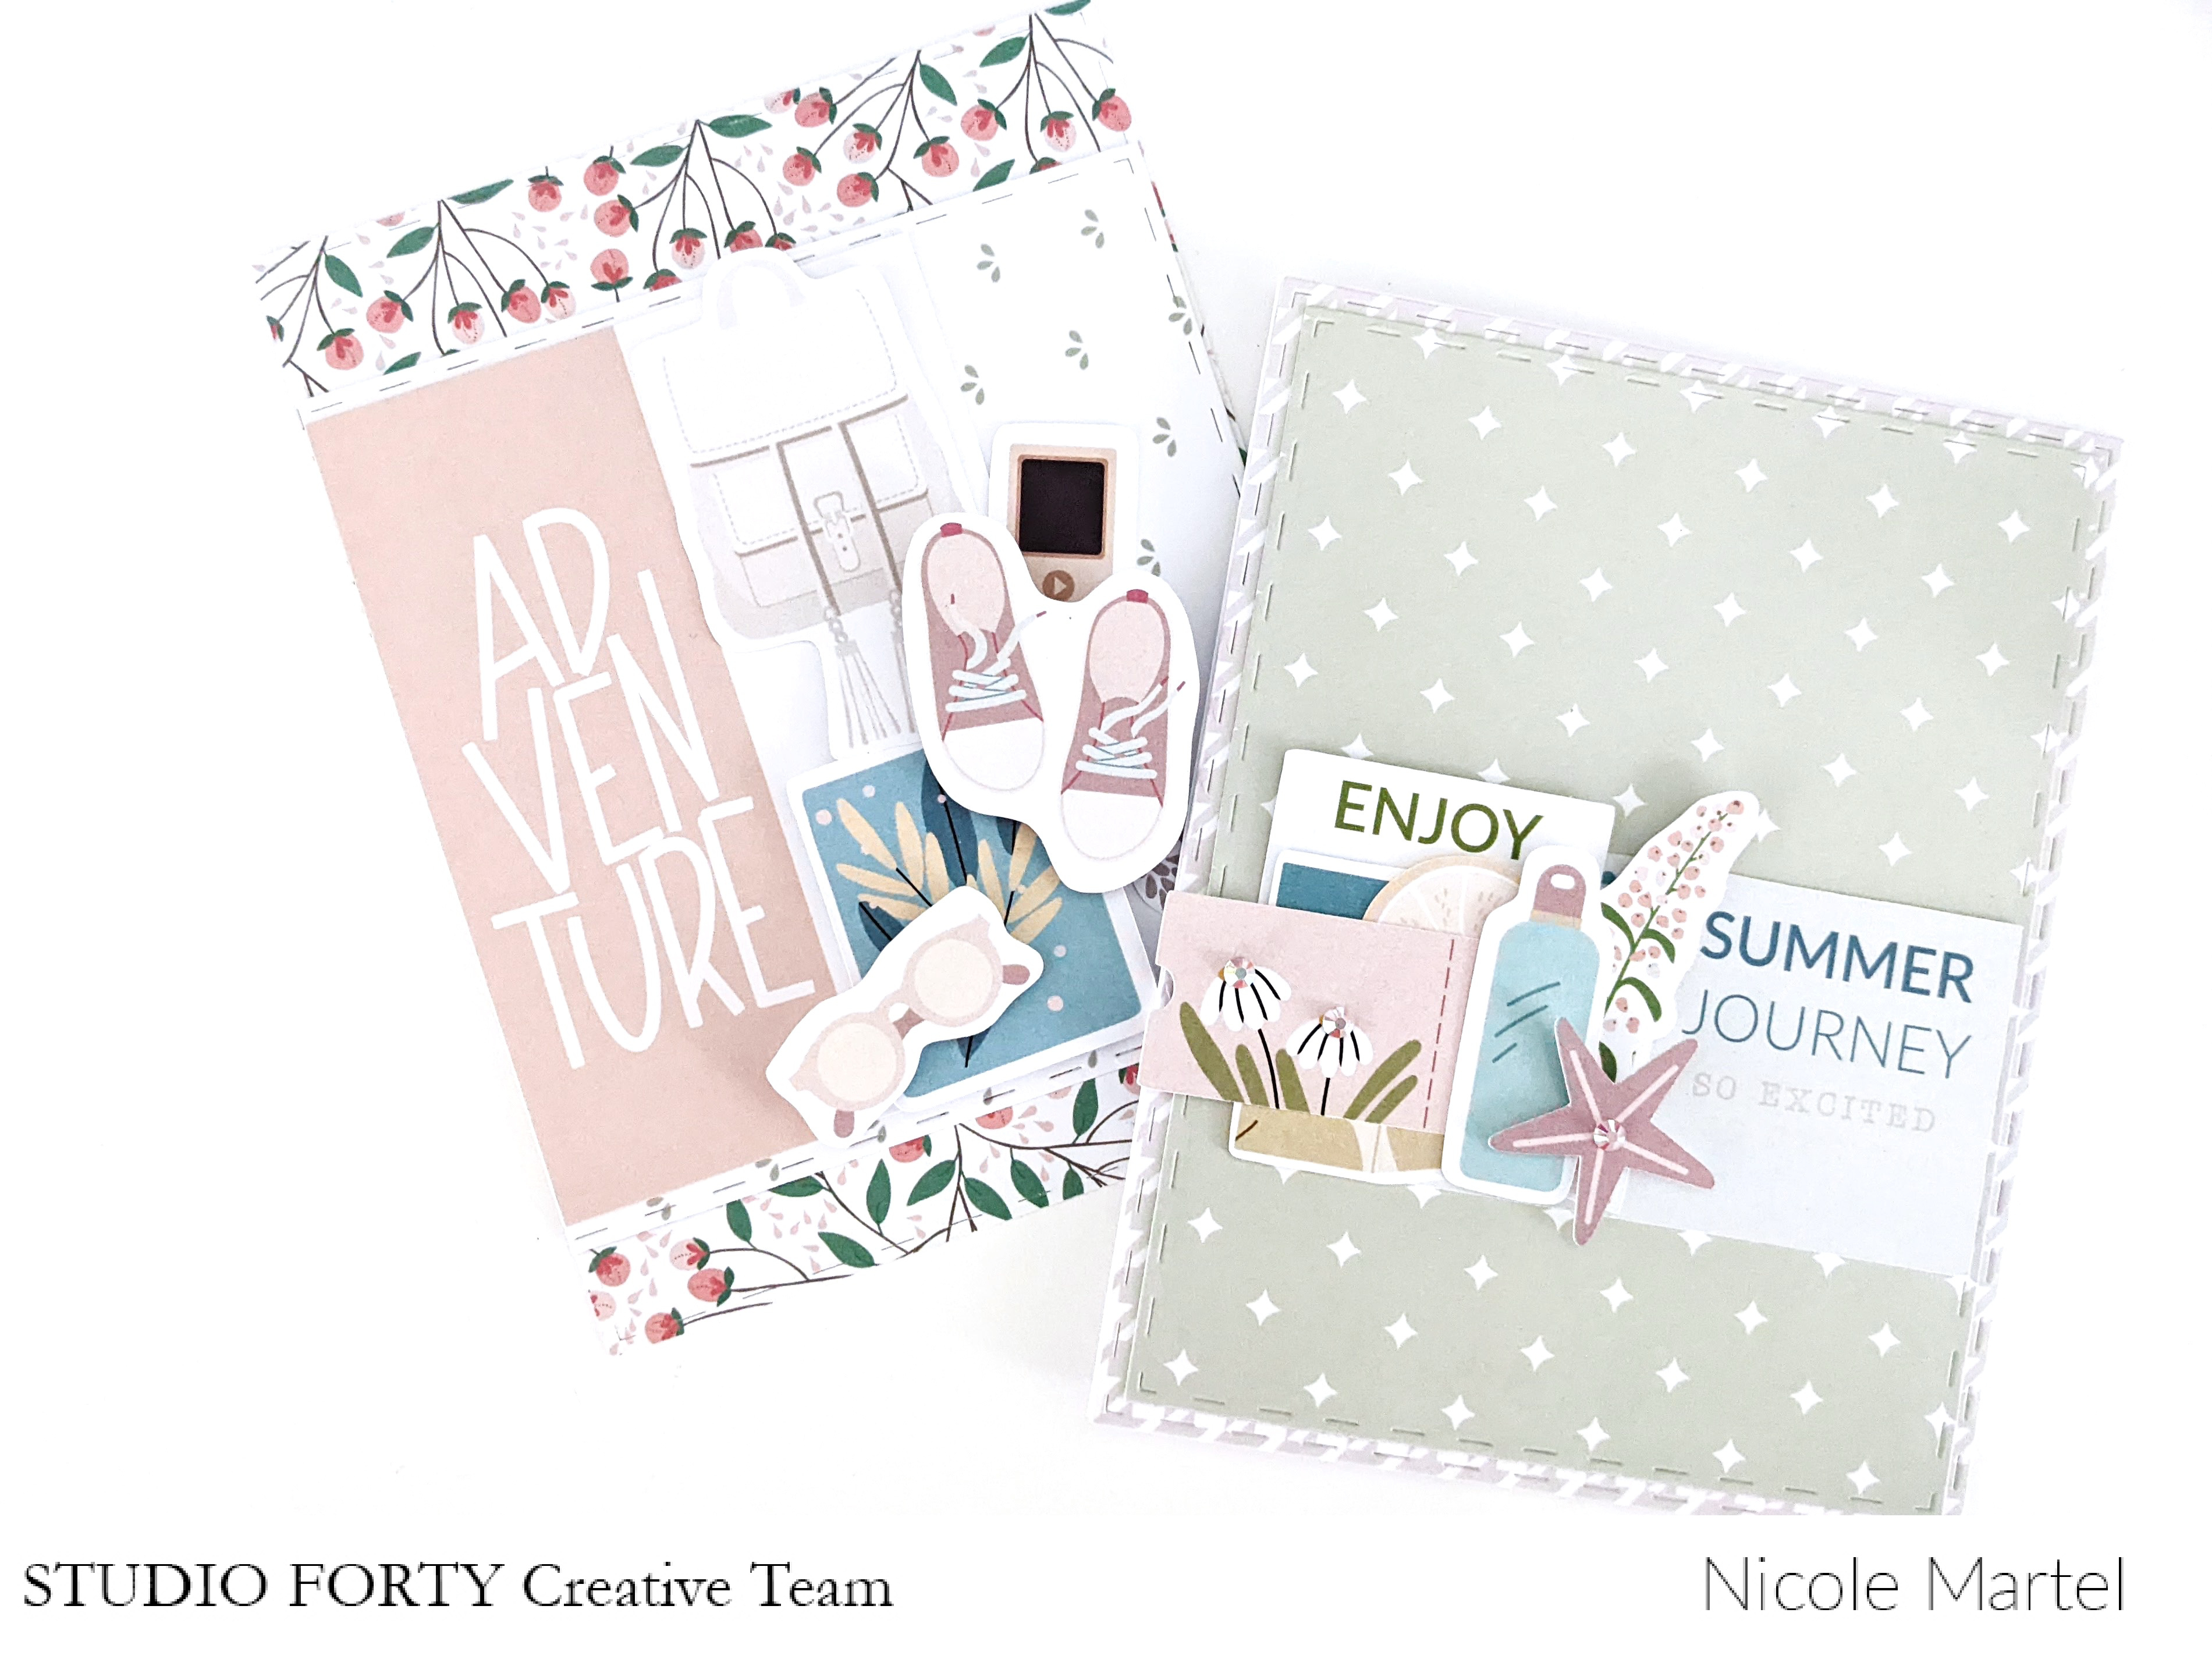
I stamped "so excited" from the All Time Fave stamp set below the summer journey sentiment using a very light pink ink.


For the Adventure card I used a variety of adventurous dies to embellish the card. I used foam squares to pop the cards up a bit.


I super pleased with all three of my cards. Which one is your favorite? I think my favorite is the Summer Journey card. Thank you so much for visiting today!

SKETCH LAYOUT | by Sonja Voigt

nordica

Hello and welcome to our next inspiration. 

Today I, Sonja, made a sketch for you and I created a layout with the beautiful collection NORDICA for you.

Do you also love stars so much like I do? Then it would be great if you step in and create your own layout using our sketch.

My layout has the size of 9x12 inch, as usual. The white background has the size 8,5x11,5 inch. Then I used 2 stars puncher to punch out some big and small stars. I took also the background paper for some stars and a light blue paper of the collection.

For the title you have only to cut out the words from the paper of the collection. Use some adhesives to get mor dimension on the layout.

To finish your layout use only a few more pieces of the collection, chipboard stickers or the snowflakes of the collection.

To add one more detail on the layout I did some handstitching around the white background whit white yarn. I love this special structure.

Hope you will like the sketch and my layout. Stay healthy and have a good time. Sonja


sketch with hexagons ⎪Heidi Ma

beautiful life
Hello everybody! Today I'm coming along with a sketch (in the strict sense with two :-) for you.
First: here's my layout:


Ha! You are surprised about my 12”x12” layout? 
Huhhh, yes, it’s my first after 1 ½ years! Incredible!

This was long overdue, exciting and a lot of fun.


Just Perfect  - stamp set#91

I looooove the hexagon stamps (Just Perfect - stamp set#91)!  That’s why I had to include them with my sketch. But of course you can take any other forms: circles, squares, hearts, stars… if you want to use this sketch.


I love, that you can use the different ways to fill the hexagon stamp, how it turns out when you use it on coloured papers and...  


...the possibility to stamp it as a pattern!
It took a while till I figured this out. But once I got it I needed only some pencil lines (deleted later) to stamp it. 
(If you want to try it you can see the measurement on the photo! I used the big hexagon of the stamp 
set.)


But… it’s ME! :-)


So OF COURSE I had to modify it for a traveler’s notebook!


This time I used the little hexagon stamp, so I had to figure it out once again...


And I made a second corresponding spread:


I love those hexagon stamps! Did I mention it yet? :-) 


The products I used (You can click on the words to find them in the shop):

Papers:

Stamps

Stickers:


Challenge #14 | Wyzwanie z mapkÄ…

challenge
Hello you lovely crafters out there,
A new month has started and so it‘s time again for a new challenge...

Witajcie!
Nowy miesiÄ…c , czas na nowe wyzwanie!


But before the new challenge,
it is time to announce the winner of our latest challenge.

The winner of the february task is:

Zanim jednak ogÅ‚osimy temat nowego wyzwania, poznajmy  zwyciezce poprzedniego, a jest niÄ… :


Agnieszka


GRATULACJE

Please contact us for the prize

Prosimy o kontakt w sprawie nagrody!
(sklep@studioforty.pl).

********************************

A teraz juz czas na nowe wyzwanie - w tym miesiÄ…cu proponujemy Wam stworzenie pracy do mapki.
Może to być dowolna praca, ważne,żeby użyc na niej tej właśnie kompozycji.

And now its time for the new challenge.

This month we have sketch for you:


Wykorzystanie produktów Studio Forty nie jeste obowiązkowe, ale będzie nam miło gdy znajdą się w waszej pracy.


You don‘t need to use Studio Forty products on your project,
but it would make us very happy if you do so :-)

Na wasze prace czekamy w komentarzach pod tym postem, do 20 kwietnia 2019.

Please leave a link to you work in the comments below this post untill April 30th, 11:55pm.


The challenge is also open to international readers.

******************
Nagroda jest bon na zakupy w sklepie na kwote 45 zlotych


And the price?

You can win a coupon worth 45Pln


Isn't it fun?


******************

A teraz już inspiracjeod naszego DT:

And now lets have a look at the girls great inspirations....


Stephanie prepared another wedding-layout with the DayDream-Collection...


And Irina made this super cute an bright Boy-Layout...
also with the great DayDream-Collection


Mona made a 6x6" canvas with a photo from her hike in september.


Zapraszamy Was do zabawy!

And now...Lets play....