3d stickers
Witajcie!
Jestem Paulina a mój dzisiejszy wpis i inspiracja dla Studio Forty to nie jest żart z okazji Prima Aprilis.
Dlatego proszę nie regulować odbiorników. Mam ogromną przyjemność przywitać się z Wami moją pierwszą pracą, którą wykonałam w ramach mojej współpracy z S40. Przygotowałam LO, którym chciałabym się z Wami przywitać i przedstawić. Tak, ta dziewczyna na tym zdjęciu to ja :)
Ten layout będzie dla mnie pamiątką mojego (mam nadzieję udanego) debiutu tutaj.
Kiedy myślę o marce Studio Forty to widzę ją dokładnie w taki sposób. Kompozycje clean and simple, kontrastująca biel i czerń, naklejki moje ukochane kropki.
Jak widzicie niektóre naklejki, a szczególnie ramki, są nieco ukryte pod kompozycją i widać je tylko częściowo. MOJA RADA: w takim przypadku warto przeciąć element na pół.
Wszystkie wykorzystane produkty znajdziecie oczywiście w sklepie
STUDIO FORTY , do którego serdecznie Was zapraszam! Z hasłem
paulina10 zyskujecie 10% zniżkę. Grzech nie skorzystać!
Dajcie proszę znać jak podoba Wam się moja praca <3
Ściskam
Paulina oh.ah handmade
12x12 layout
Hello Lovelies,
Good morning! Dhaara here with another layout I created using the Essentials Collection and mix match with matching colours pattern papers. Essentials collections has the beautiful sets of patterns. Using which with minimal add-ons we are going to create the grid layout.
Cut the pattern papers to 6*6cm - 12 cards. And arrange according to the colour palate.
Stick the cards on the 12*12” white card stock paper. And choose the photos you want to document.
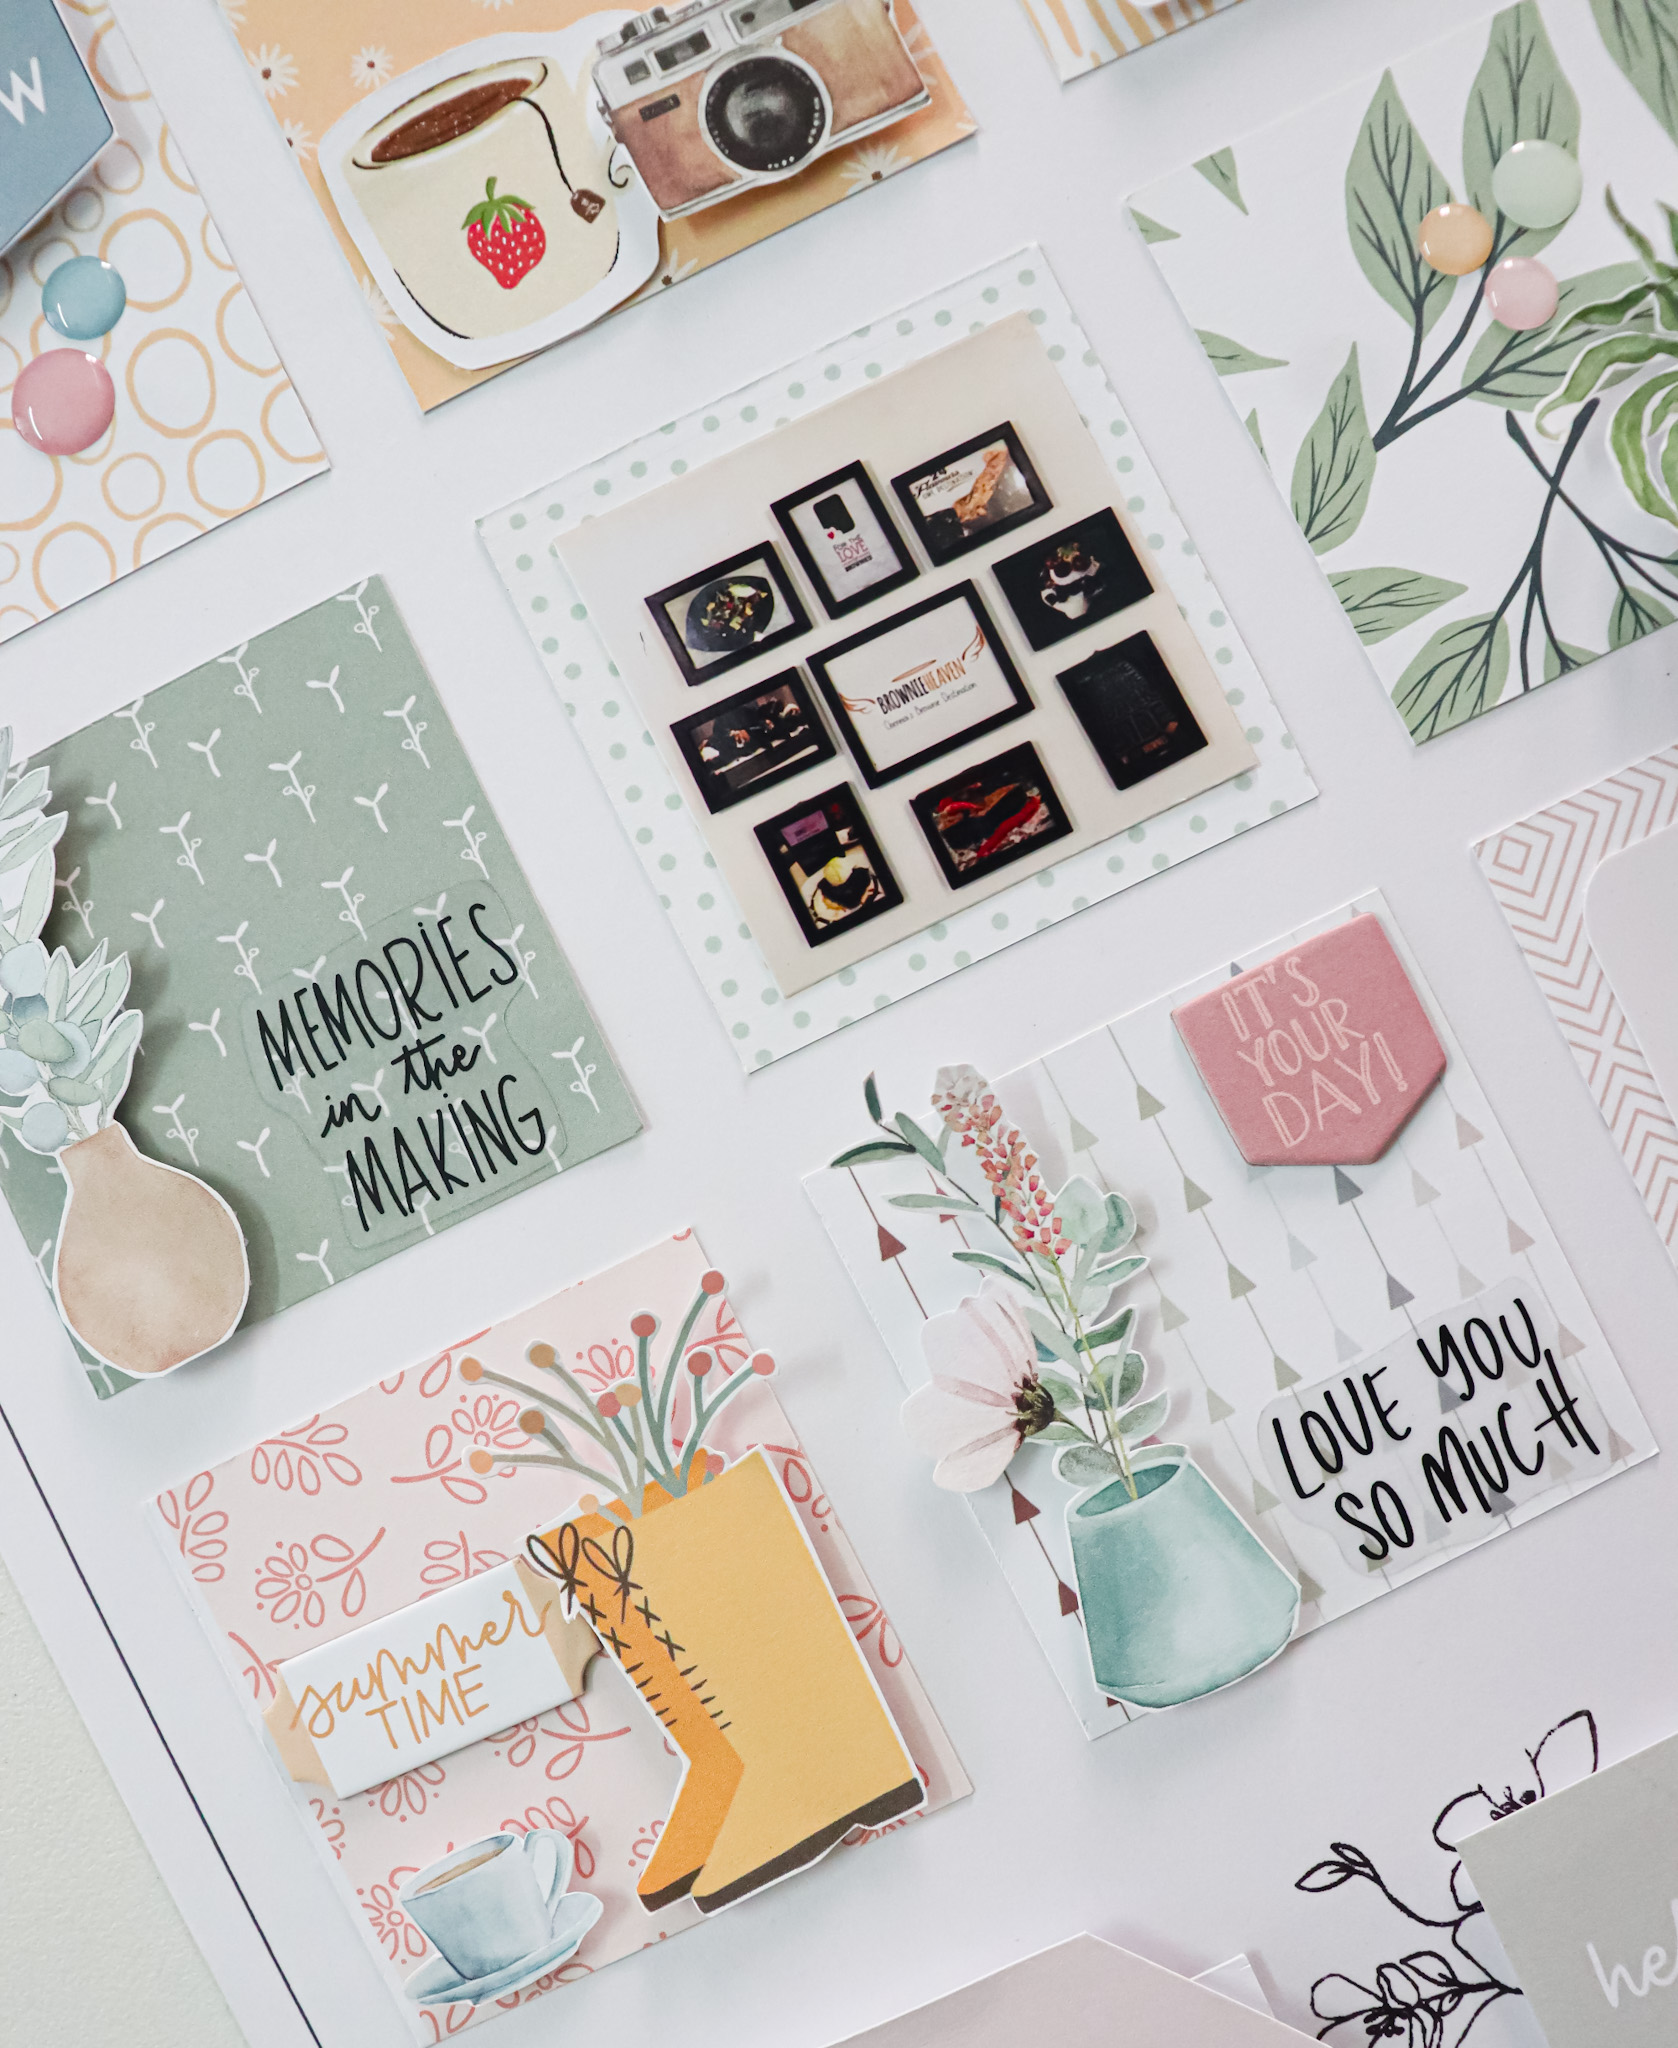
Once added the cards and images choose, it’s time to add more beauties to layout through stamps, stickers, enamel dots etc.let’s have a close look on how these add ins gave absolute beauty to the layout.
Clear stickers are another favourite of mine, you can see the below images - how much value it is giving.
Products used:
link to get yoursEssentials collection
Chipboard stickers
Clear stickers
Stamps
Please do grab these beautiful products and try creating the grid layout and share your feedback.
Thank you for stopping by ❤️
Have a great day ❤️
Dhaara
Bom Dia
Good morning, friends!
It's been a while since I've shared actual layouts, so I thought I'd create two layouts using up my stash for a change! I had so much fun going through my box of scraps from various collections. One thing I noticed, while looking through my pretty papers and embellishments is that there's always patterns from multiple collections that work together!
For this layout I used patterns from the Everyday Story and Bom Dia! Collection. I just love how pretty and serene the colors look together. I love mixing patterns together!
I made the tag using my Sizzix and metal die and added a few sticker dots, clear stickers and chipboard!
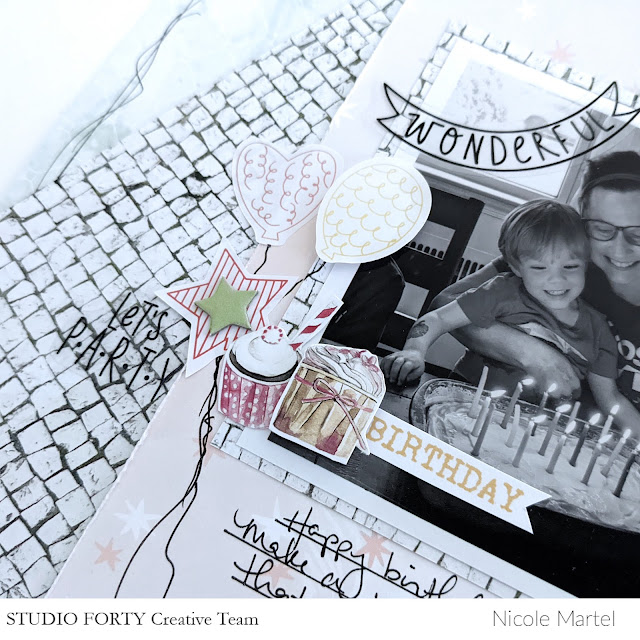
I searched through my stash of stickers and scraps of paper for some birthday balloons. The cupcakes were fussy cut from a sheet of travel notebook paper.
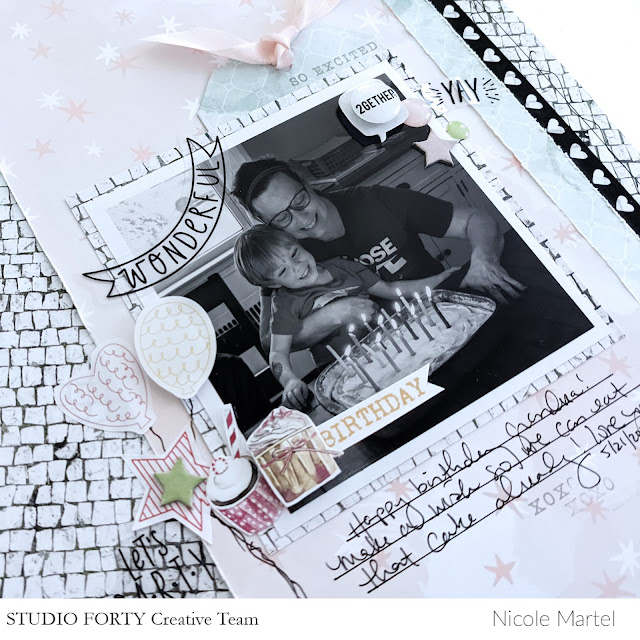
This layout brings a smile to my face! It gives me all of the feels. For my next layout, I used some paper from the Everyday Story and various stickers and journaling cards that I cut elements out of to use as die cuts for the layout.
I’ve been holding onto these pictures for a few months now…unsure of how to scrap them. But I think I managed to pull this one off! I love the torn papers across the middle of the layout and the clear cluster of stickers at the bottom of the layout with the stamped “On This Day.”
I used foam squares to pop up the stickers for dimension.
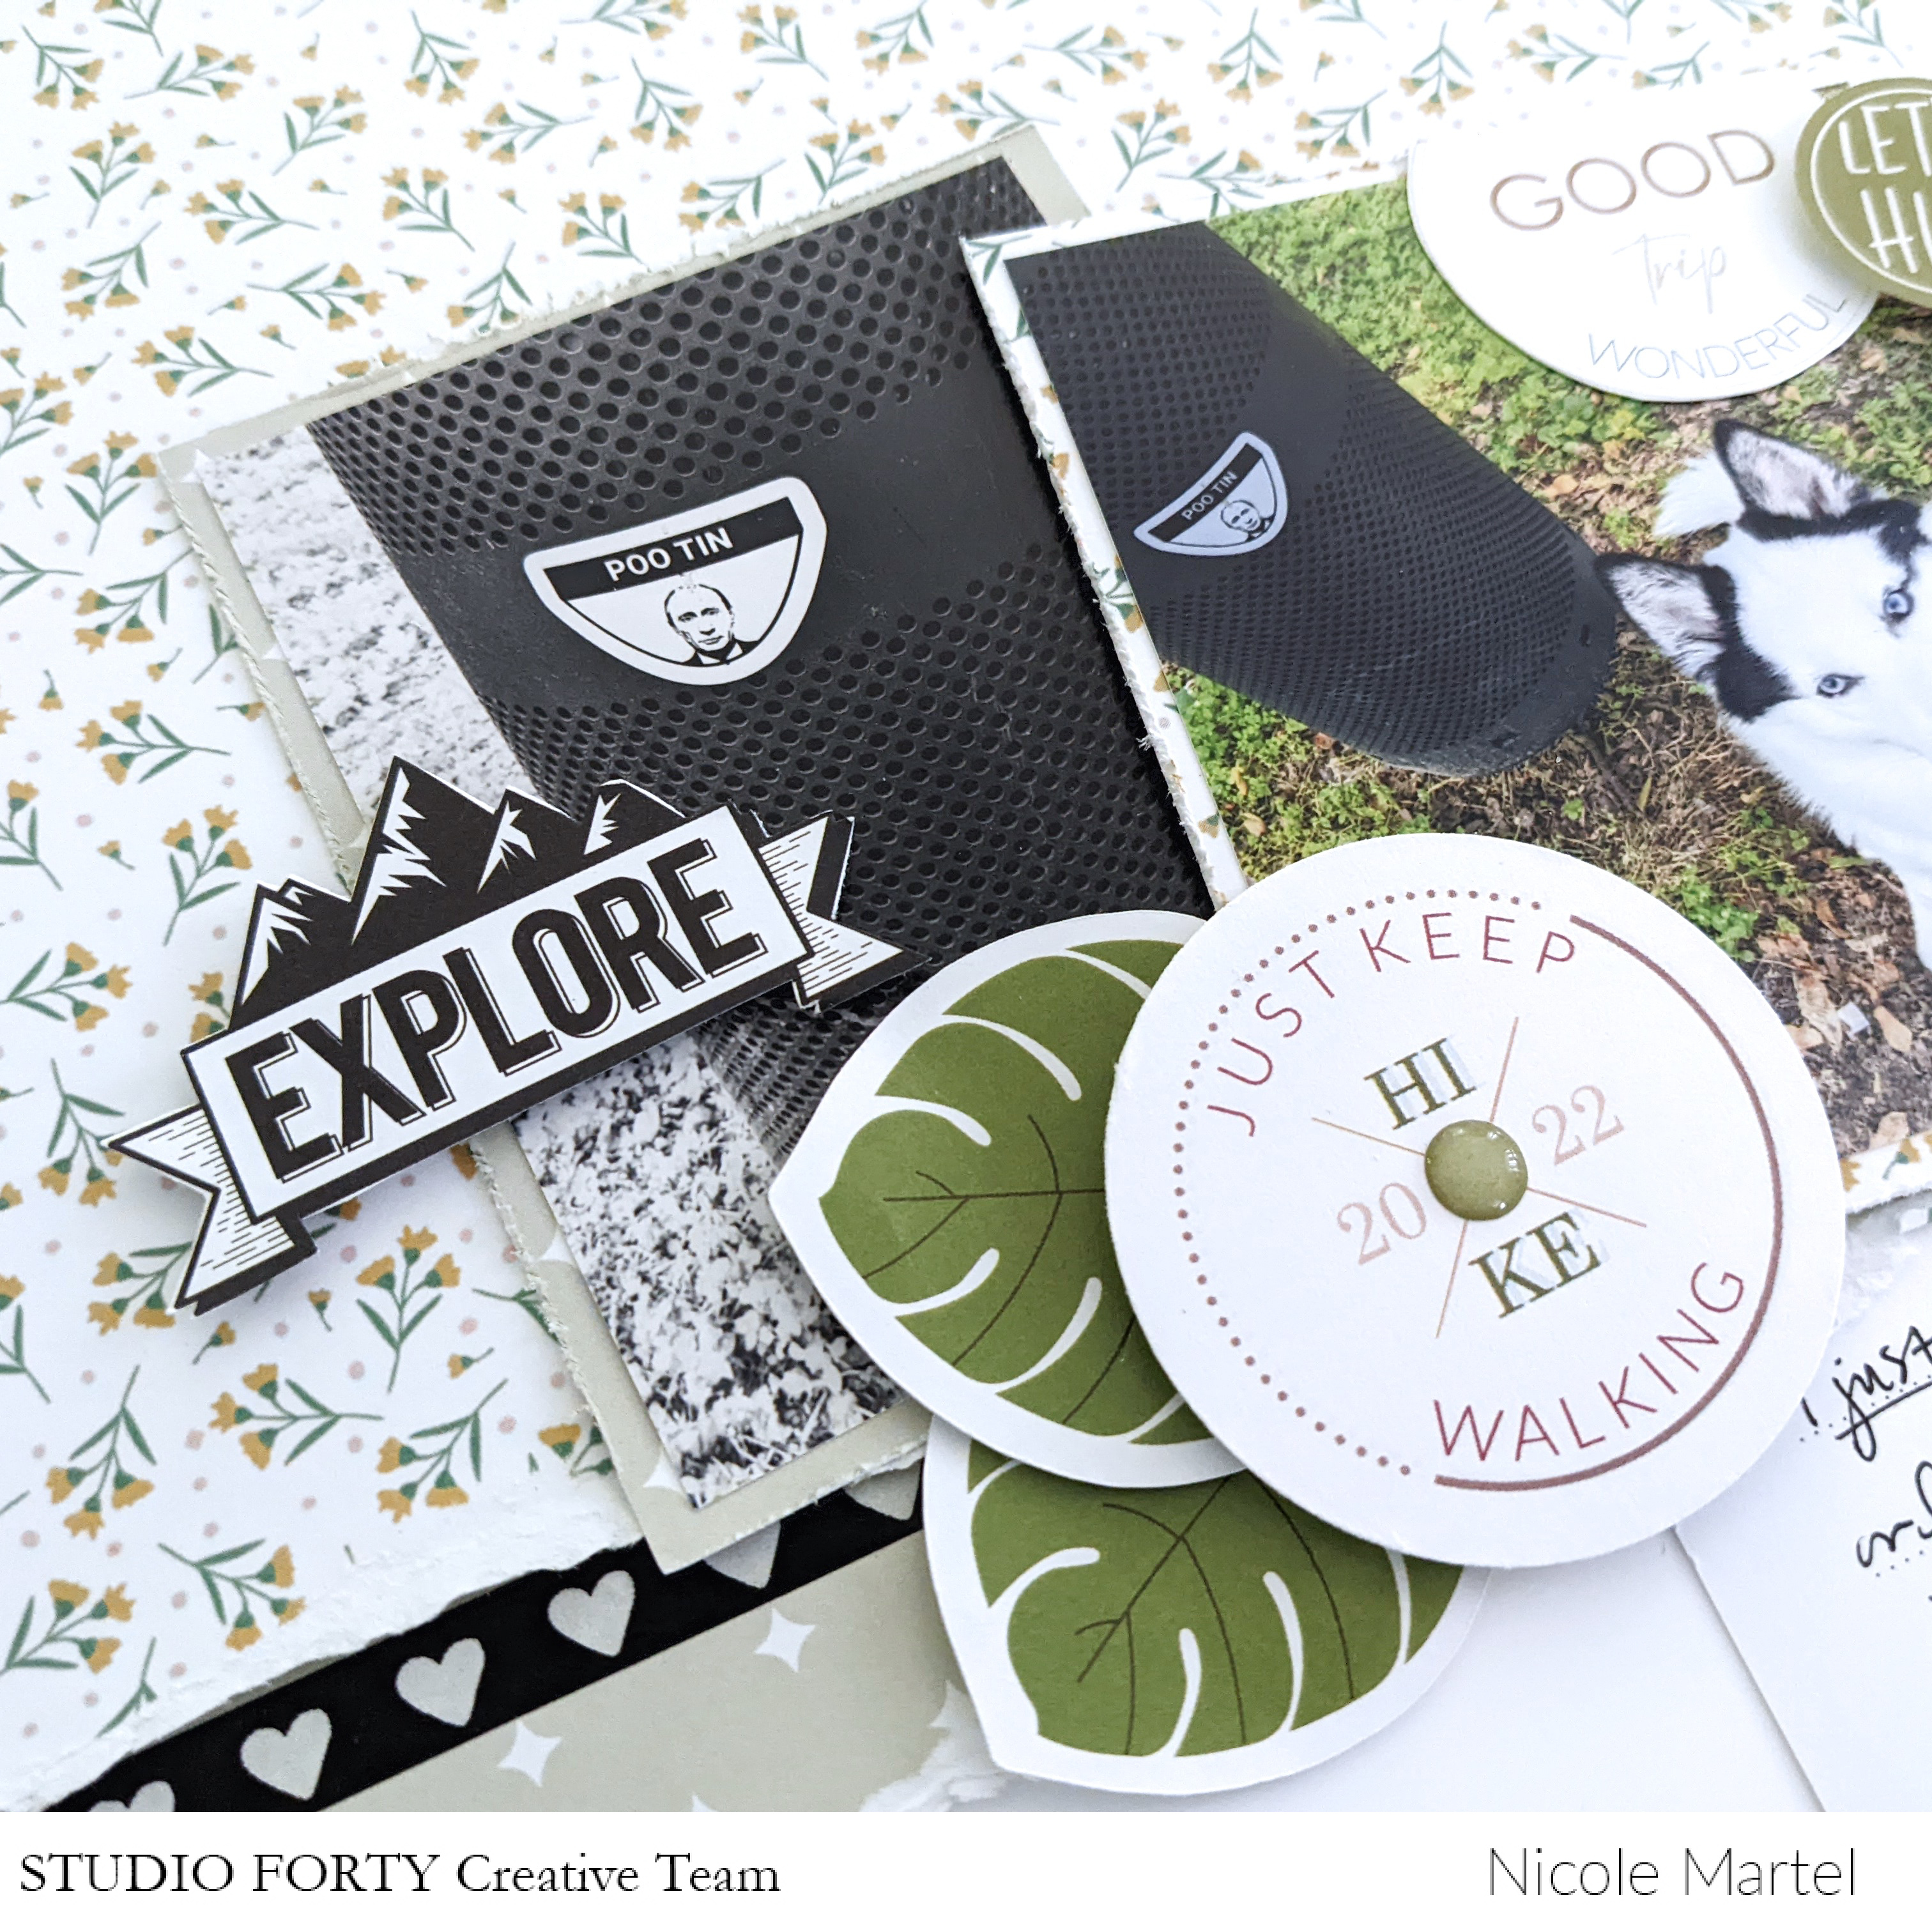
The “Explore” image was fussy cut from a journaling card and mounted to the photo with foam squares. I cut the “Good trip” sentiment from a journaling card to place at the top of the photo and layered the sticker above it for dimension.
To complete the layout, I used a journaling card to add a big of journaling. Then, I used a black pen and ruler to add the scribbles. The black and white heart washi is from my stash. I felt that it needed something else between the torn papers.
Thank you so much for visiting today. I hope I inspired you to dig through your stash and create something beautiful today!
Products Used: Everyday Story-Let's Create, At the beach-Bom Die!, Get it Girl-Everyday Story, Sticker Dots, Clear Stickers, Chipboard, Journaling Cards, Die cuts, stamps.
clear stamps
Hello everyone! Happy Saturday!
How are you?
It's Lory here today with a brand new post sharing a layout and a Tn page focusing on the use of watercolors and the beautiful
Herbarium stamps.
What did I do? I had a lot of fun playing with these adorable and super
poetic stamps and watercolors and colored inks.
I created a super clean and simple page adding many little details to tell the story behind the photo.
Let me show you some pictures.
The black and white picture matches the colors of inks, flowers and leaves, perfectly.
Then I finished the page using little pieces, the word trasparente stickers, the little chipboard stickers and some little pieces of papers.
I had played a lot with these stamps and the colors, so I created two jars of flowers and I used the second one in a TN page ;)
Love the final result. I made a small cut inside the jar to insert all the flowers inside. Love Love love the final result! And you?
The little things make a big difference ;)
Hope to inspire you, have a wonderful weekend.
Love, Lory
everyday story collection
Hello Studio Forty friends!
It’s Jen today with a fun project using the Everyday Story collection Traveler's Notebook -
Journey Notebook WHITE.
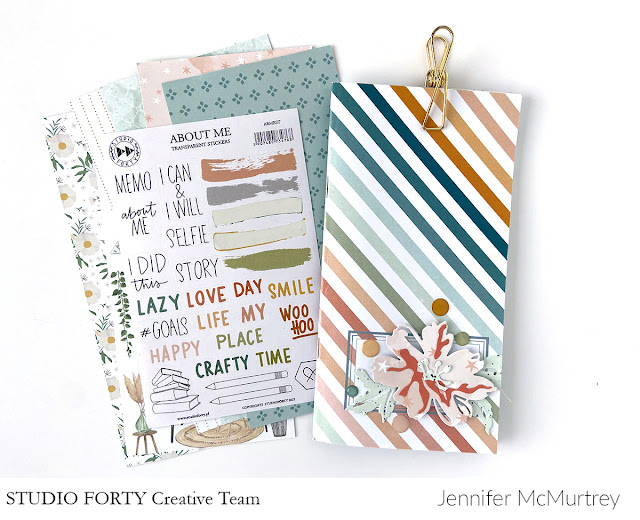
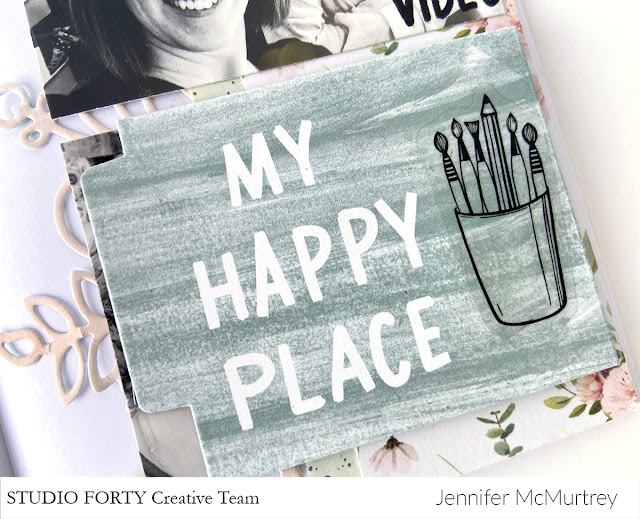
The rainbow cover on the TN is my favorite, and I’ve decided to use it to document some of my favorite memories with my crafty friends. To begin, I decorated the cover using a floral die from my stash with a few 3D Sticker Dots scattered around it.
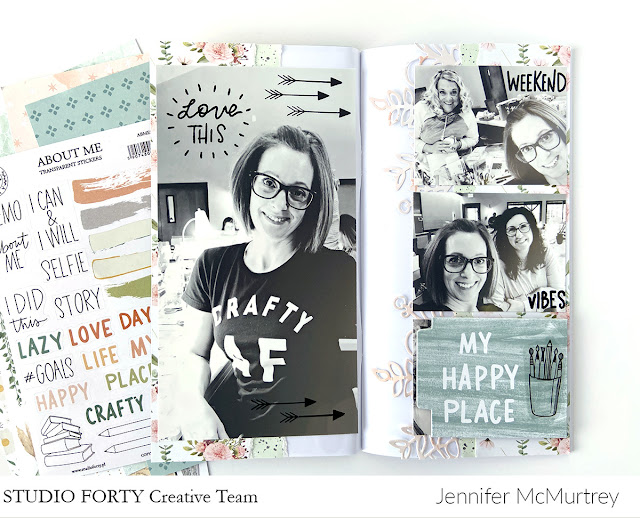
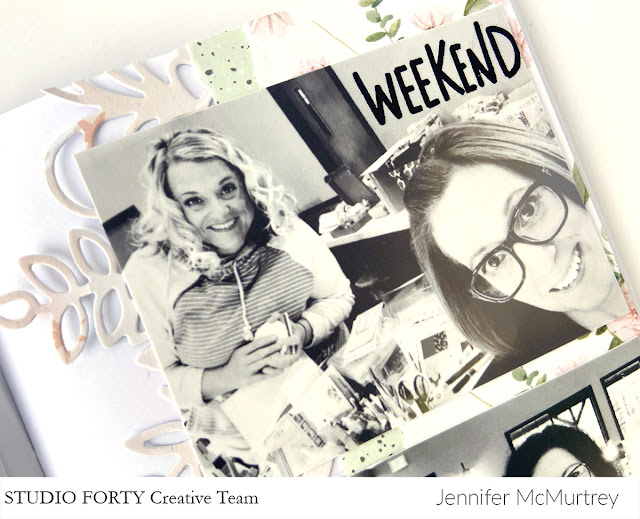
For the first spread in the TN, I chose to document one of the weekend crops I've attended with my crafty friends. We try to meet at least twice each year, but haven't been able to get together since the pandemic begin.
For impact, I printed one large photo and embellished it using the
Love This Time and
Love & Relax stamp sets. Those arrows are my favorite!
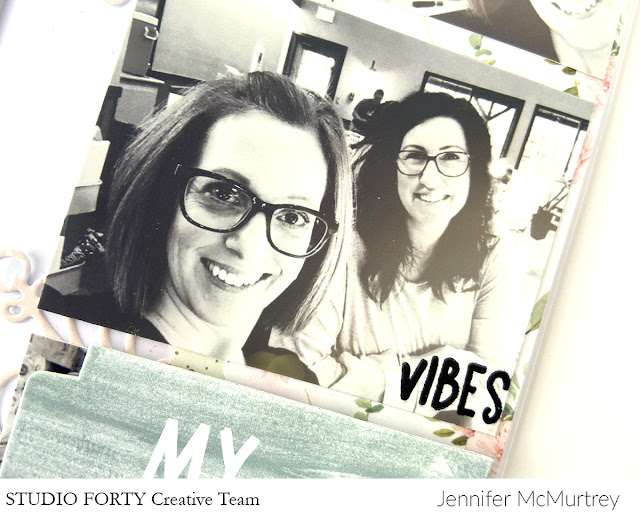
The right side of the spread features several smaller photos of my friends. I kept this side simple and only added stamped sentiments on the first two photos with the Love This Time stamps.
Behind each of the photos, I added a few more die cuts using floral dies.
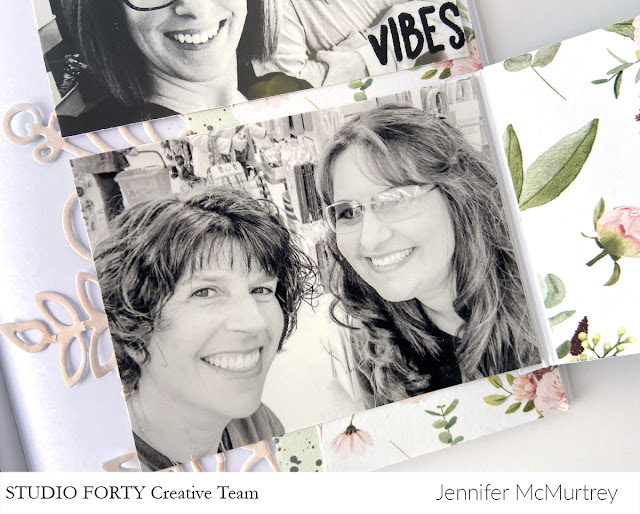
When the flap is lifted, the is one final photo featuring two more of my friends. They are so cute!
This TN spread is very simple but I totally love it! What better way to document my dear friends than with
the Everyday Story Collection?! I am looking forward to documenting more of my fun adventures with my crafty friends!
Thank you for stopping by today. Remember when shopping the Studio Forty site to use code JENNIFER10 at checkout to recieve 10% off your order!!
everyday story collection
Hello friends!
Have you seen the new
Everyday Story collection available in the Studio Forty shop?! The bright colors and florals are perfect for documenting anything and everything!
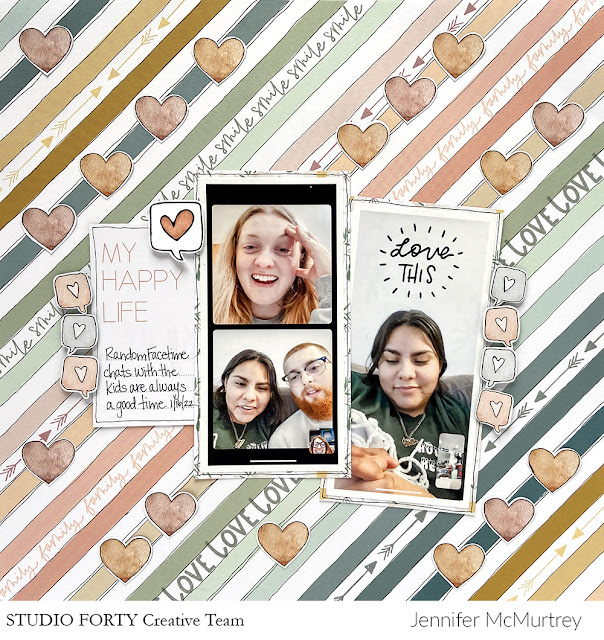
Today's project is a fun layout that documents a random, everday occurence, which is what I love about it. Our small, seemingly insignificant moments are the best ones to record because they will likely be forgotten otherwise.
To begin, I chose the
Everyday Story 06 Paper for the background. To give the paper a bit more depth, I stamped various images and words with the
Love & Relax and
Love This Time Stamp Sets using Distress Oxide Inks. Because there are so many bright colors and images on the page, I decided to doodle the borders of each stripe with black ink to anchor everything.
Next, I backed both photos with the
04 patterned paper, adhered them to the background along with a
Journaling Card, and doodled around each border. Last, I stamped the large conversation bubble and colored the heart before adhering it with a foam square.
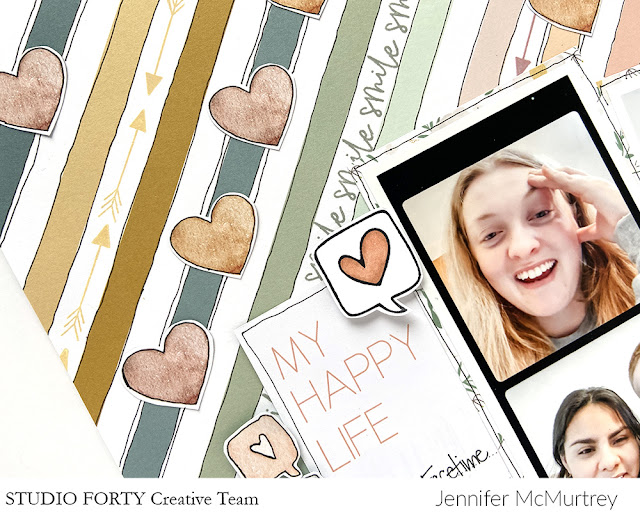
When embellishing, I doodle around the hearts and conversation bubbles on the 02 Patterned Paper before fussy cutting each of the shapes. Next, I glued the hearts onto the background and the conversation bubbles along the right and left sides of the photo cluster.
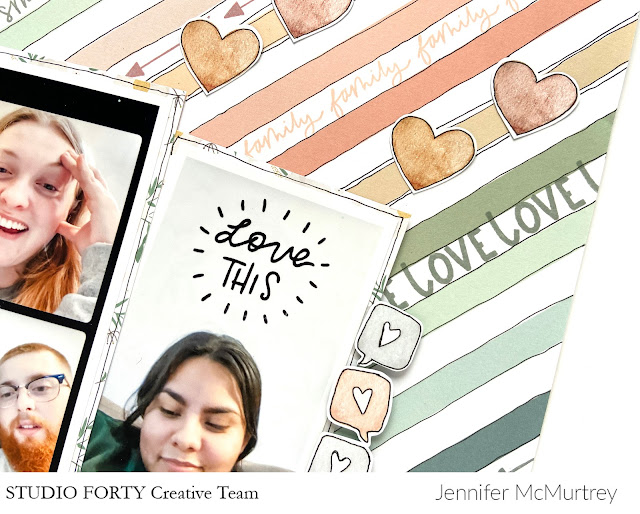
To fill in the white space in one of my photos, I stamped "Love This" with the
Love This Time Stamp Set, which really made the photo stand out.
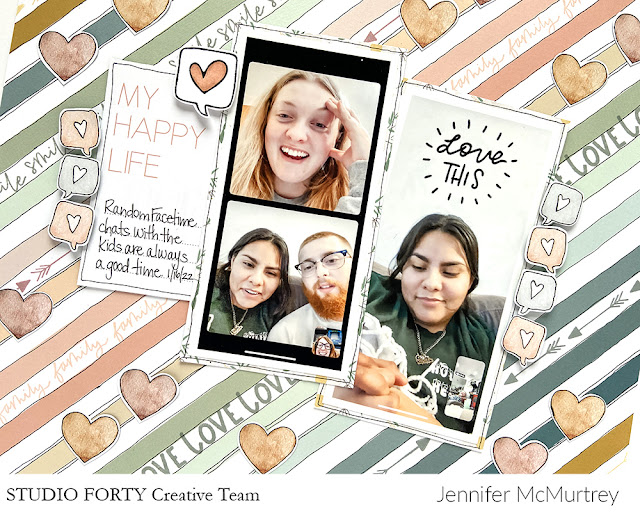
Here's one more look at the layout.
For some reason, I struggle when it comes to making cards. However, this one was super easy and only took about 15 minutes from start to finish.
Thank you for visiting today! If you haven't picked up the Everday Story collection, be sure to do so while supplies last. Remember to use code JENNIFER10 at checkout to receive 10% off your order!
cardmaking
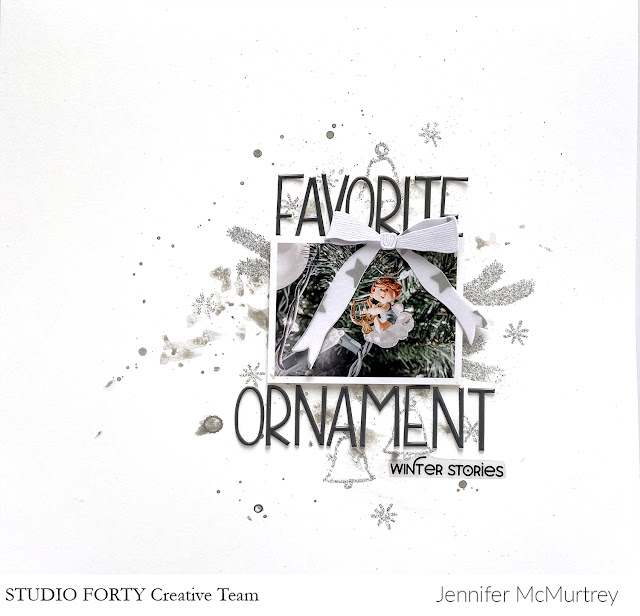
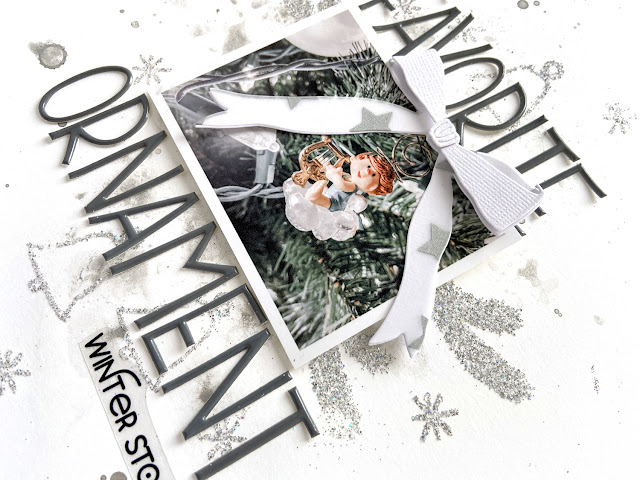
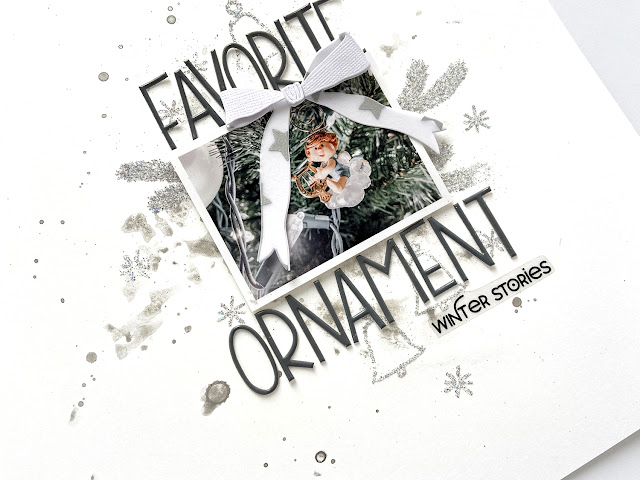
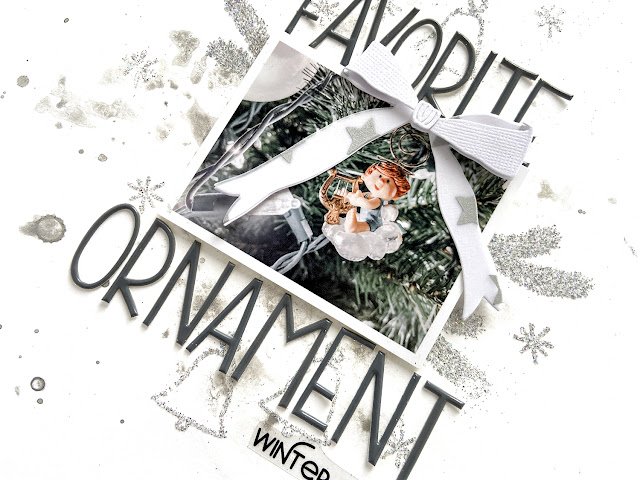
Hello! It's Jen today with two more projects using the amazing Frosty Season Collection. First up is a simple layout using a few of the stamps and a white background.
To begin, I added pewter mist to a piece of white mixed media paper. Next, I used embossing ink to stamp several snowflakes, bells, and pine branches.
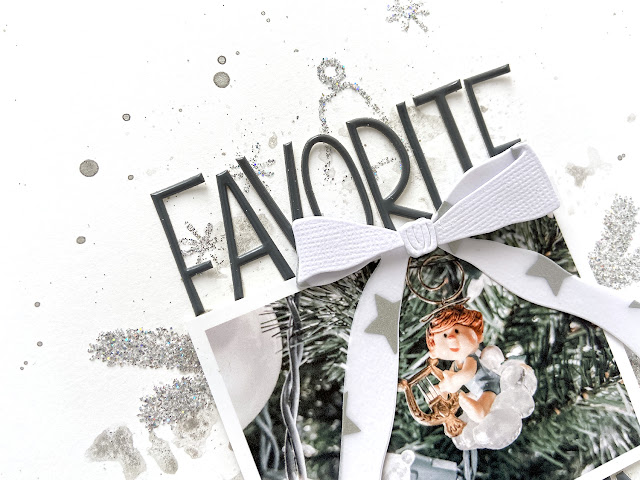
After stamping the images, I added silver glitter to each, which did not require heat embossing.
The silver star vellum paper included with the collection is one of my favorites, and I created the background with just that paper in mind. I love the soft, subtle colors of the background and paper with the photo of my favorite ornament that I received as a child.
Using a metal die from my stash, I cut out the bow using the vellum and white cardstock. After assembling the die cut, I glued it atop the photo.
To finish the project, I added the title with alphabet Thickers I had on hand and placed the clear acetate sticker beneath it. I love the simplicity of the project!
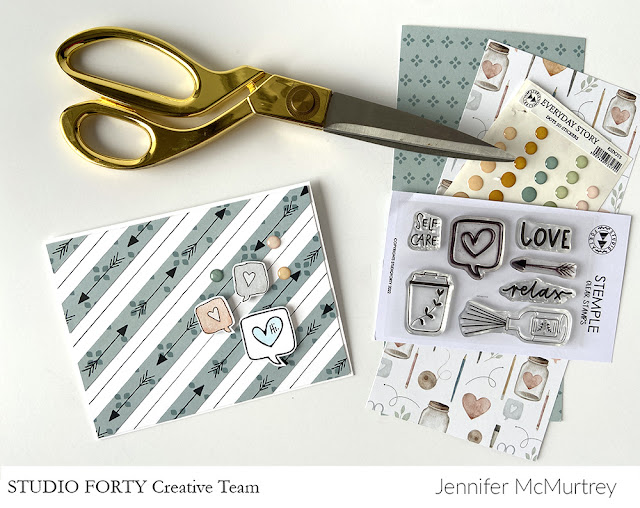
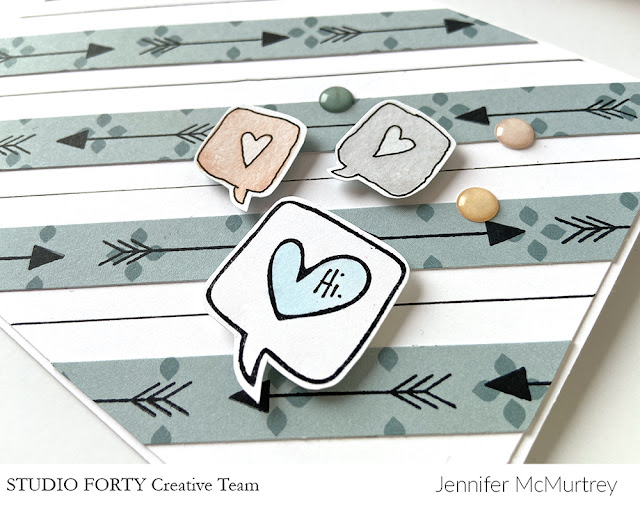
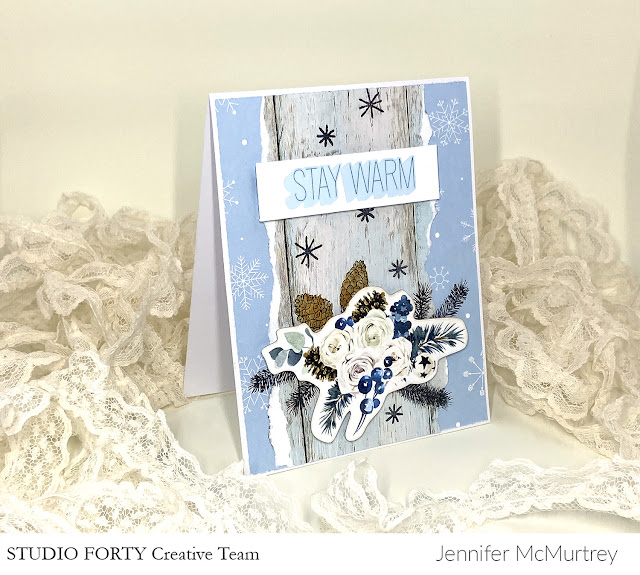
Next up is a card that again uses the Frosty Season Collection. To create this, I used scraps of patterned paper left over from other projects with more stamps. Rather than use the same glitter as above, I stamped the images with black ink and colored them in with watercolor pens.
To give the project just a bit of sparkle, I went over several of the images with a clear glitter marker. The effect is subtle but looks really pretty.
Thank you for visiting today! I hope you are inspired to create your own wintery projects with the lovely
Frosty Season Collection.
.png "Menu")