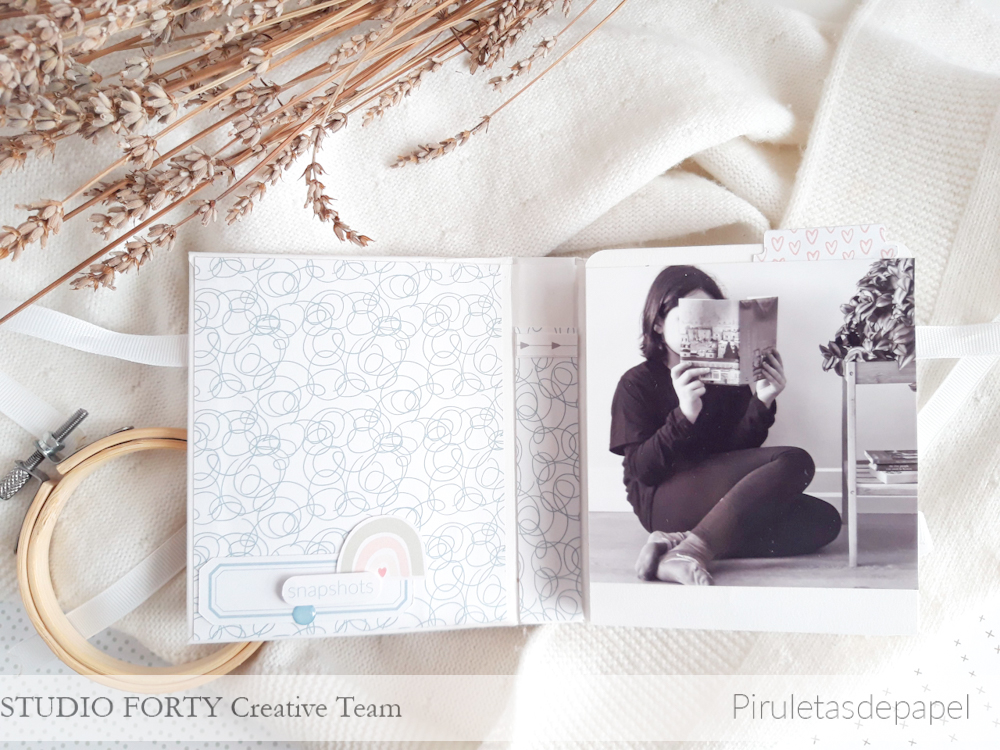
Hello crafty friends, it's Nuria and today I want to share with you a mini album made with
Essentials collection. Sometimes you have a little story to document with few pictures and you feel like a very structured album is too much for the occasion. Today's mini album is the type which can perfectly fit with little stories. Take a close look because it is done with
project life cards, no cardboard needed, and a spiral as binding. Can you see this
stamped heart on a wood charm?
During the weekend I did some gardening tasks and repaired an exterior table. It was the first time I repaired the table, so I wanted to document it. I took few pictures of the table (the process), of the nature sorrounding me (a bee flying on the rosemary and the first flower on my strawberries plant) and... of me (another flower ;P). Then, I chose the
PL cards I liked most taking into account the colours of the pictures or the picture itself.
For example in these pages I chose the
PL card with orange-pinky flowers as pattern because I wanted to emphasize the bee. In addition, I edited the image in B/W but keeping the bee's colours (orange, black and white). I decorated with
phrases of transparent stickers, I
stamped a heart, added
an enamel and some white yarn underneath the sticker.
My sander played an important role in repairing the table. It's orange, I chose the
PL card with the orange camera illustration. I decorated with
labels cut in half and, underneath, with
stamped flowers and
pink tabs.
I enjoyed a lot making these two pages about my strawberries plant: I edited the picture in B/W but keeping the natural colour of the flower. The black and white
PL card was perfect for the picture. I decided to higlight the yellow colour of the flower spreading some yellow watercolor on the PL card, I
stamped "plant vibes" on black and glued
"in full bloom" on a white cardboard and then on the PL card. From the photo I cut out the part of the flower with a circular die cut and I glued the flower on the photo again, upper than former place. I glued a piece of white cardboard underneath the picture and
stamped "love this" on black. I added some
enamels and a
puffy in yellow as final touch.
I kept these pages very simple, a full size picture on one side. And in the other side, I cut out two elements of the
PL cards (
"just smile" bubble and a
tea bag), I glued the bubble with volume on a white
PL card and I hung the tea bag from the bubble. I added an
enamel dot to finalise the decoration.
Hope this project inspired you a lot! Have a lovely week!
Don't forget to visit Studio Forty shop website, you will get 10% off with the code nuria10!
Nuria
.png "Menu")


.jpg)

.jpg)