essentials summer 2023
Hello friends! Nicole here with a mini tag book I created using the Essential Summer collection and a few metal dies I have in my stash. I love the floral printed paper and thought it would make a pretty book cover!
I'm not normally a pink person, but lately the color is wearing on me... and pink goes with flowers perfectly... and it looks so pretty against the black and white florals... it just pops!
I fussy cut a flower from the paper and mounted it on the pocket holder using foams squares to add dimension. Next, I added some pale pink sticker dots and die cuts. I decided to add the slice of watermelon to add a bit more pink!
I punched the photos and tags out using a metal die and added some ribbon and
transparent stickers and embellishments.
Isn't this lovely?! I try to think of different things to create other than layouts etc... and I think this is my favorite project I created so far this year. I hope you found this project inspiring! Check out the Essential Summer collection,
here and use nicole10 to save 10% on your purchase! Thank you for visiting today!
3D dots
Hello together!
Kerstin here today with a Mini Album inspiration for you! I love minis! I can keep my memories there wonderfully. This is the one my daughter asked for! I decided to go with the 3 1/2 x 6 1/2 inch size. The back has a width of 1 inch. Since I am in love with the plaid paper from the
Essentials 2023 collection, I had to make the cover of my mini with it. But before I tell more here, let's get started!
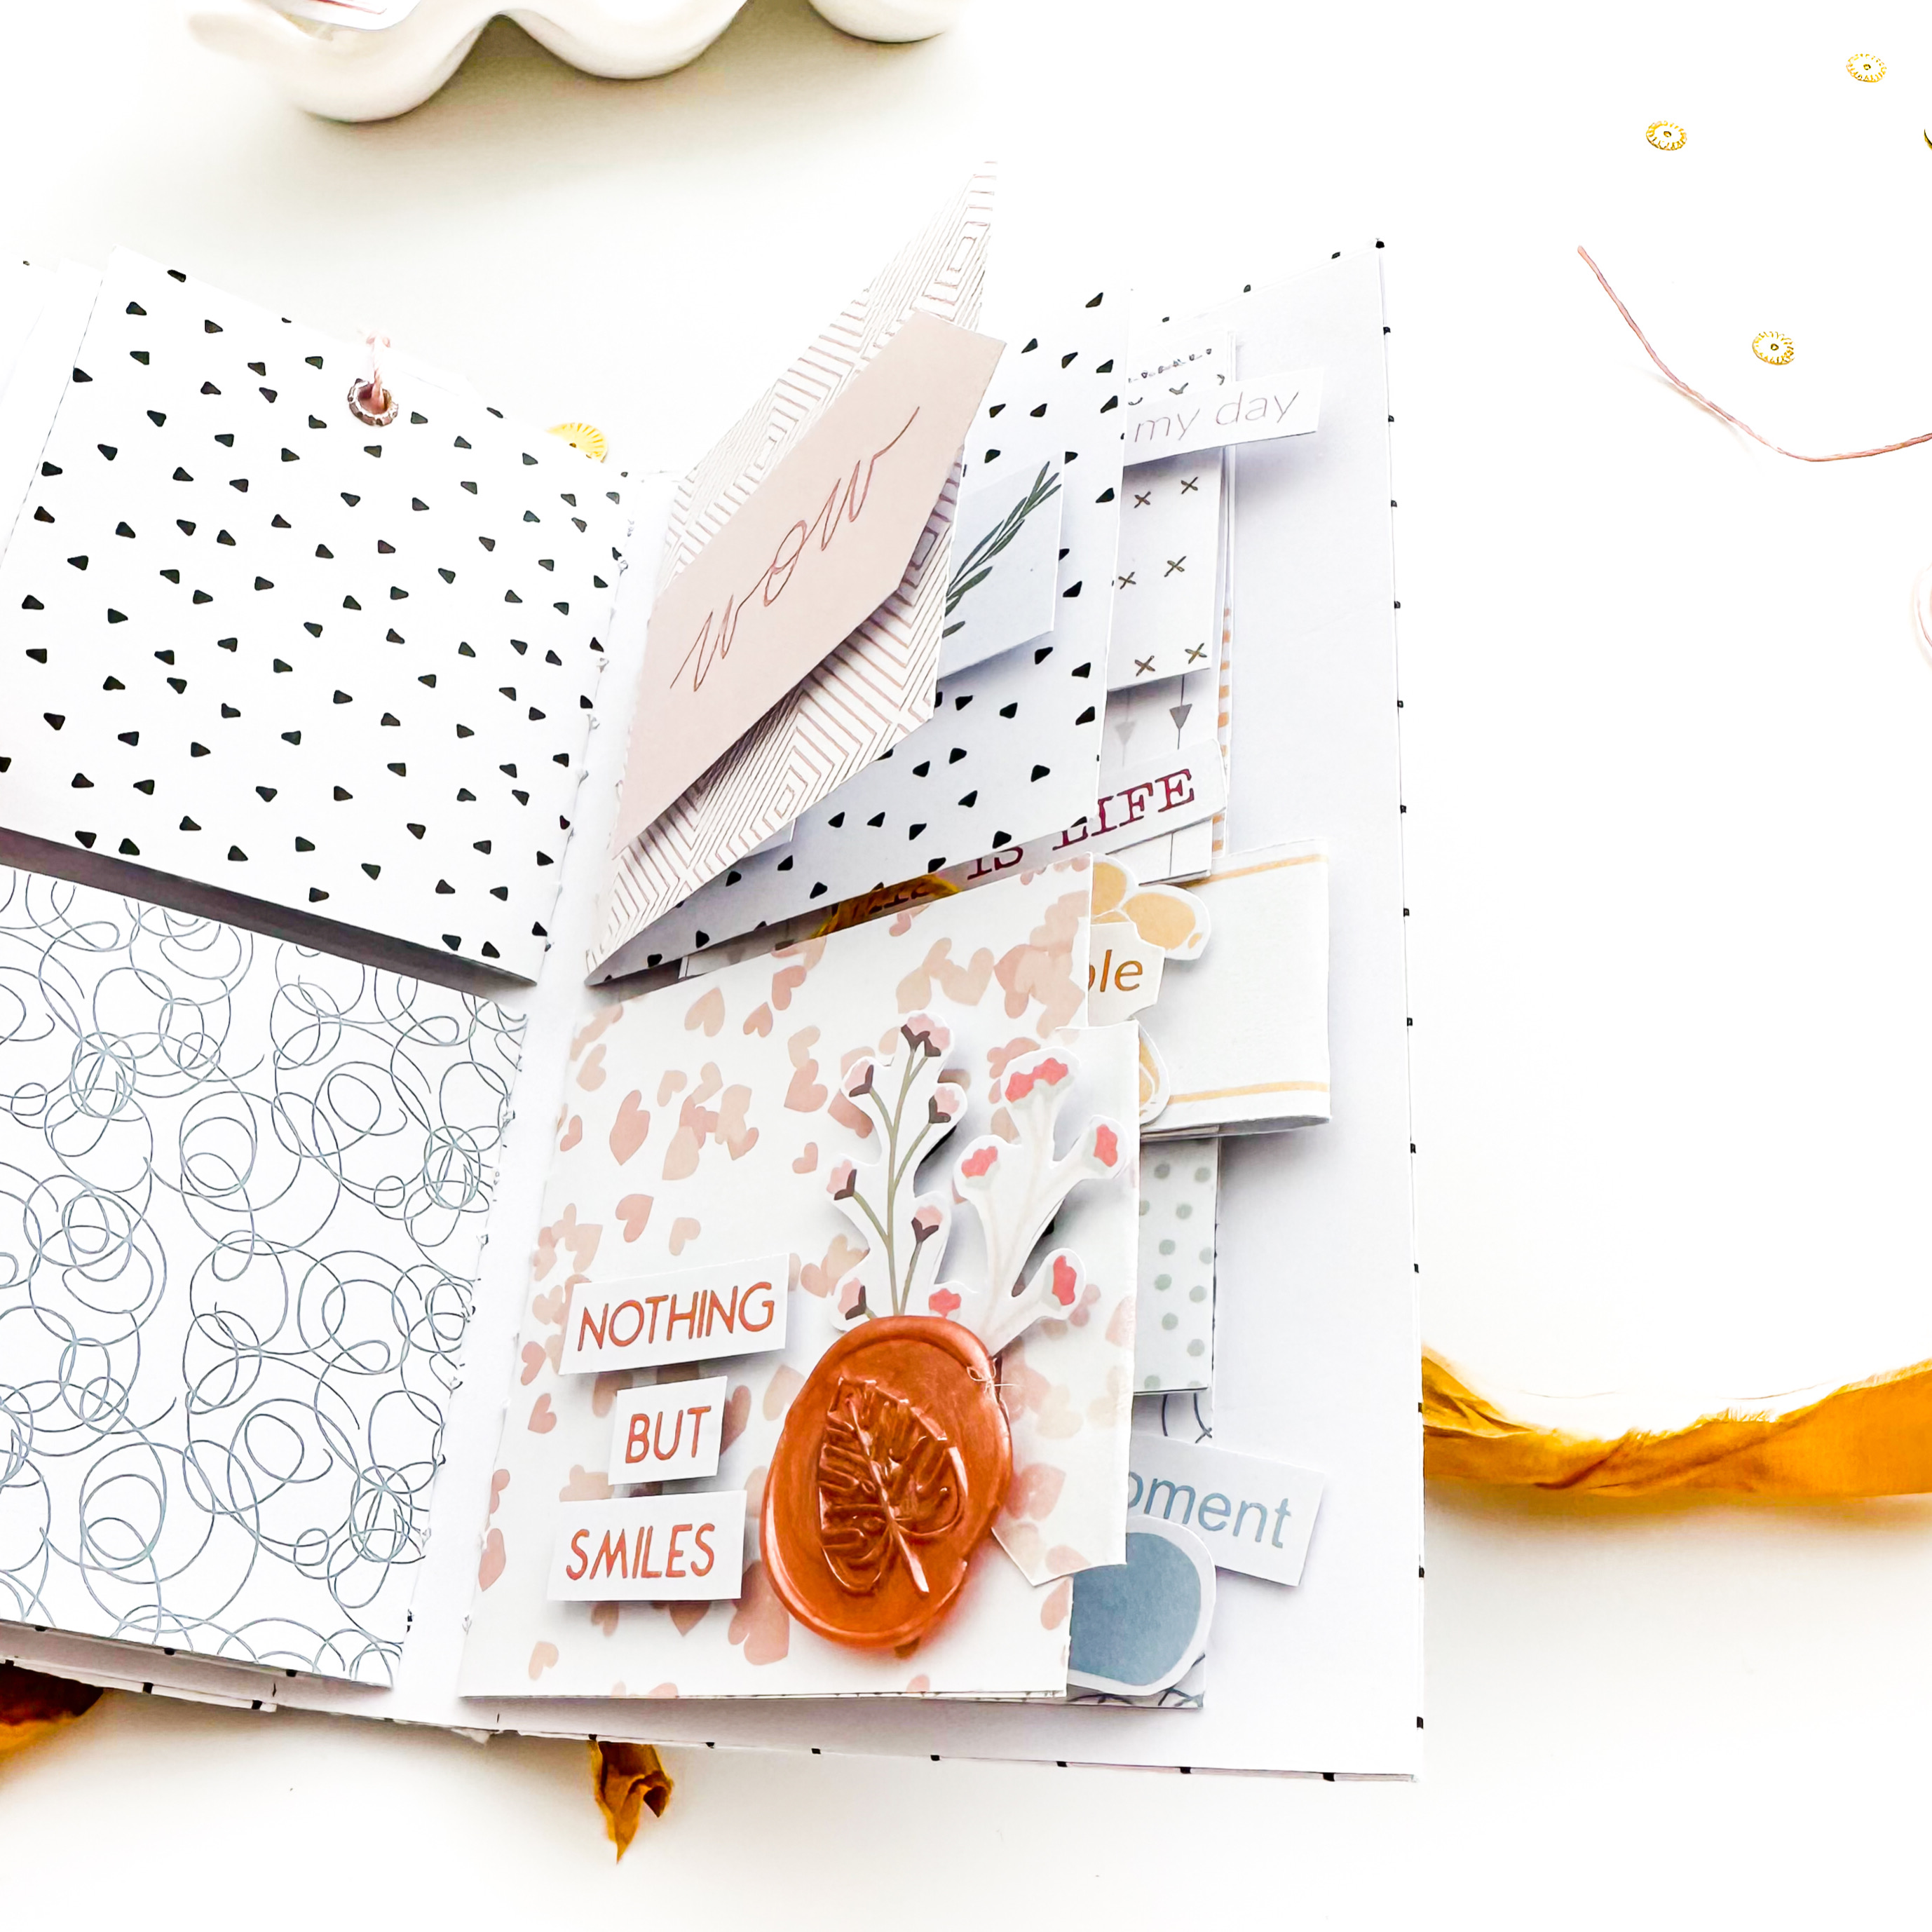
For the inside pages, I chose a size of 3 x 6 inches. I folded the paper in half and then sewed it onto a paper - which I later glue into the mini. Like this - one side each top right, top center, top left and then bottom right, bottom center, bottom left. This is how these mini pages are created. I glued a few together as a pocket and left others open to hold my photos or journaling.
Here you can see the first pages when the mini is opened. For the top pages I chose acetate, painted with some acrylic paint and used some of the cute
Essentials 2023 3D Sticker Dots.
I wrapped some yarn around the second side of the acetate and applied Essentials 2023 Transparent Stickers. In the photo you can also see how I sewed the sides.
I'll show you some inspiration how I designed the pages in the next few photos.
I hope you like this idea and I can inspire you to make a mini for your memories. Thanks for stopping by and have a wonderful creative time!
Kerstin xx
SUPPLIES:
Essentials 2023 Paper,
Essentials 2023 Journaling Cards,
Old Fashioned Ribbon,
Essentials Seals,
Essentials Transparent Stickers,
Essentials Ephemera Set,
Essentials Just Lovely Color Sticker Set,
Essentials Flower Sticker Set,
Essentials Word Color Sticker Set,
Essentials Dots 3D Stickers,
Stamp Set #164 Happiness
chipboard
Hello Studio Forty friends! Kerstin here with a brand new Mini Album inspiration for you! It's mid-November and time to get into the Christmas Spirit! I want to be more relaxed in December to keep my memories and have prepared a mini.
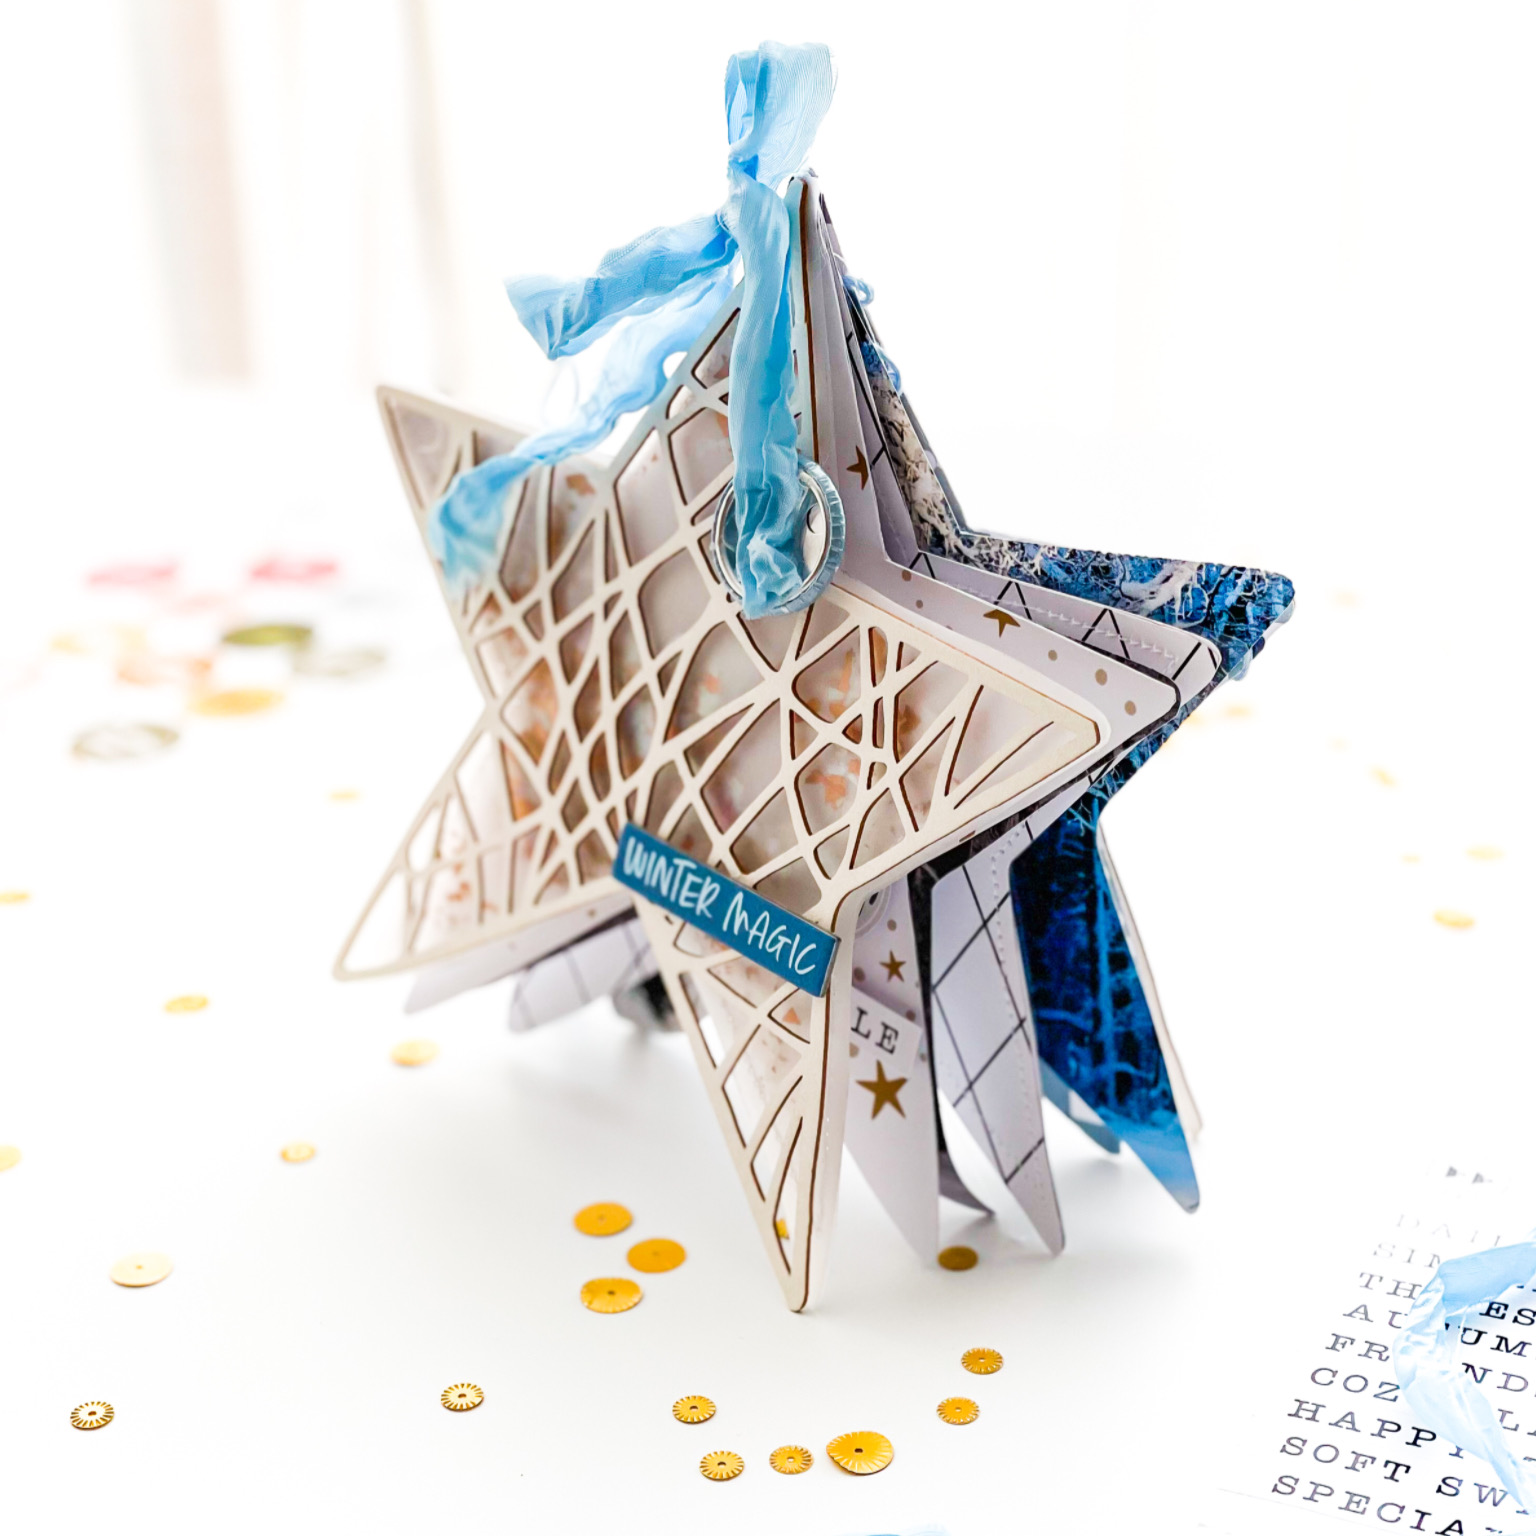
When I found the set of light chipboard album base star, I knew I had to make my mini with it!
Let's get started!
I prepared my pages with the amazing Christmas papers from the TOGETHER collection. A few embellishments here and there. So I can start filling my pages in December!
I used the back of the Light Chipboard album as a pattern to cut my papers. To do this, I placed the star on my chosen papers, traced it with a pencil, and cut it out with my scissors. I also printed a winter landscape photo that I had taken last year, once in black and white and once in color, and also cut it into star shapes.
I made a shaker star as the first page behind the cut out cover. For this I cut Vellum, except for a small slit together with my sewing machine. I filled in gold flakes and sewed the rest of the opening closed as well.
The star paper is gorgeous and absolutely had to be used. For decorating I used the wonderful Simple Life Sticker Set and the cute TOGETHER Winter Color Stickers. There is also plenty of room for photos and journaling.
I'll show you a few more pages!
I taped the design papers to white cardstock so I could write my journaling on the back if necessary OR paste in more photos.
To hold the pages together I made a small hole in each side, pulled the lovely Old Fashioned Ribbon in light blue through it and closed it with a bow.
I hope I can inspire you to prepare your December Memory Album!
See you soon!
Kerstin xx
SUPPLIES: Set of Light Chipboard Album Base I Old Fashioned Ribbon I TOGETHER 01 Paper I TOGETHER 03 Paper I TOGETHER 05 Paper I TOGETHER 06 Paper I TOGETHER Winter Ephemera Set I TOGETHER Winter Color Stickers Set I TOGETHER 3D Sticker Set Dots I Simple Life Stickers Set I JOYFUL Transparent Stickers I Frosty Seasons Chipboard Stickers Set
agnieszka damska
Hej! Jak Wam mijają wakacje? Pewnie wygrzewacie się na słonku i ładujecie bateryjki, oby tak było! Ja dziś wpadam z mniej wakacyjnym, a bardziej wiosennym mini albumem.
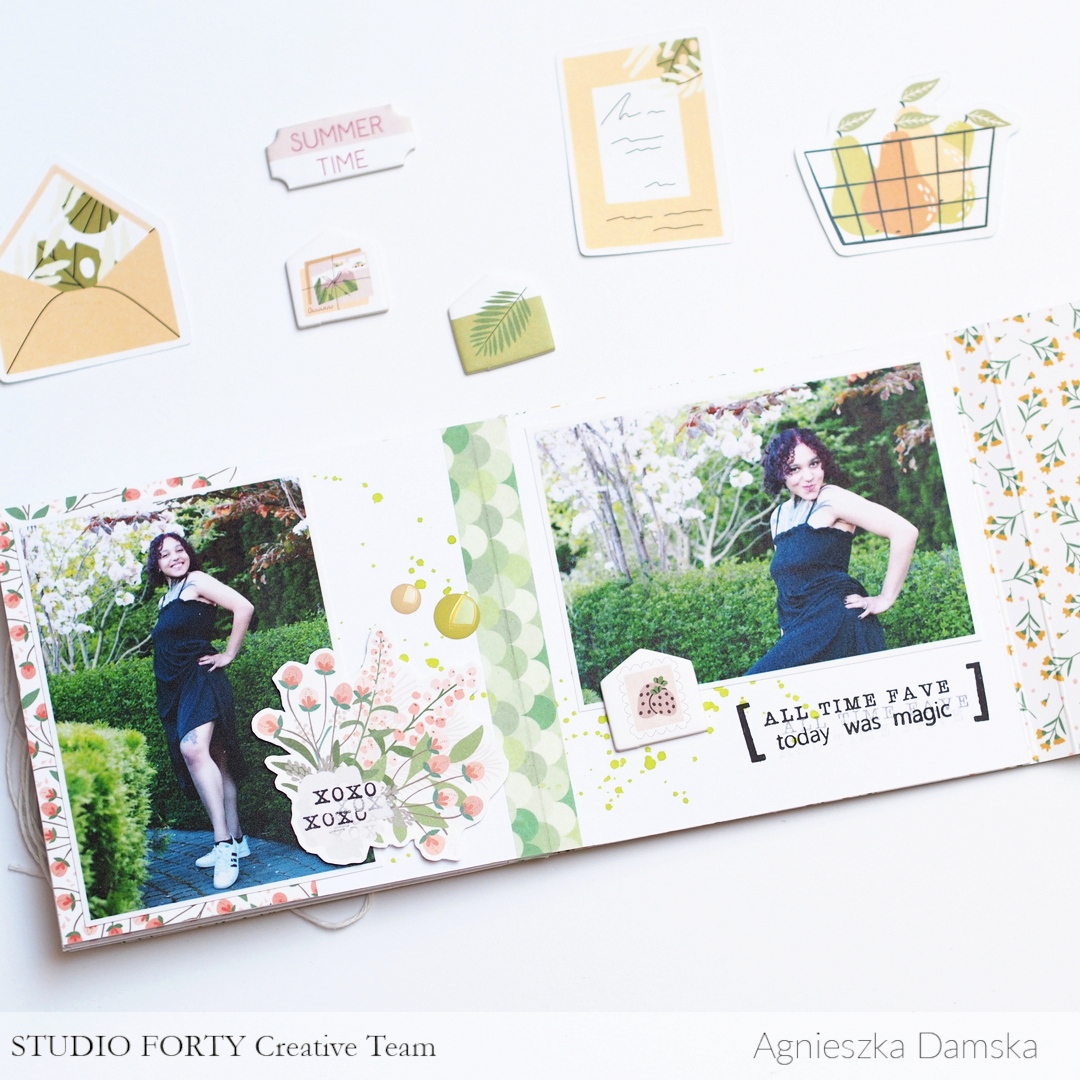
Majowe, rodzinne spotkanie w pięknym miejscu zaowocowało fajną, rodzinną sesją zdjęciową, a część z tej sesji w postaci zdjęć Karoli zamknęłam w małym albumie.
Album w całości wykonałam na papierach i dodatkach z kolekcji HERE&THERE. To co pojawiło się tu spoza kolekcji to stemple. Oprócz zestawów All TIME FIVE i HAPPY PLANTS użyłam zestawów LOVELY DAY, TOGHETER FOREVER oraz jednego z moich ulubieńców MAGIC.
Album powstał na bazie białych kart z kartonu, który pochlapałam jasnozieloną akwarelą. Karty złączyłam kolorową taśmą klejącą, a tylną stronę albumu przykleiłam do okładki wyciętej z dużego arkusza nr 5.
To wszystko na dziś. Chciałam Wam pokazać, że kolekcja HERE&THERE to nie tylko podróżnicze klimaty,całkiem romantyczne prace również mogą z niej powstać.
W albumie korzystałam z:
.png "Menu")










%20aga.jpg)


