Bom Dia
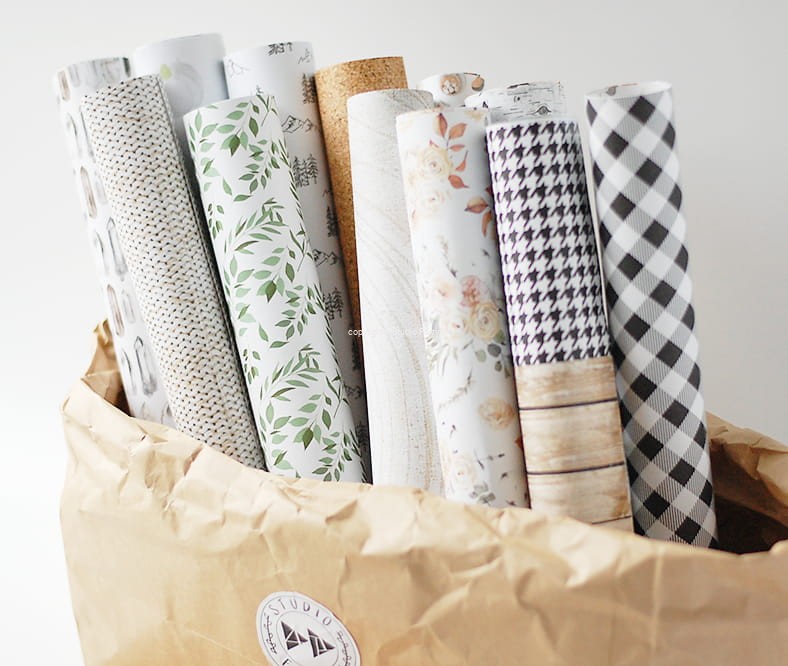
Hello everyone! I’m here with another Traveler's Notebook inspiration as I promised. I made a few new pages from our last year's summer holiday using the BOM DIA collection. This time I used the TN papers and of course lots of stamps as I love using stamps in my Traveler's Notebooks. And I'm looking forward to going on another cycling holiday this year. Yay!
So let's see how my other pages look like. I follow the whole pattern of this TN - I use washi tape on the top and on the bottom. On the first page of another day I used only one photo, because it's precious to me. Our son loves animals and he just couldn'd let this cat down. I also created a sort of a stamp cluster using the word "sweet".
Next page is about animals again. We visited a private ZOOPARK and I was amazed how great it was and how beautiful animals we saw. We donated the ZOO and I bought an extra ticket for my son so he was allowed to feed the big Ara parrots. That was just incredible. And to be honest - at the beginning I was a bit scared (and so was my son), but he enjoyed it a lot.
Besides the two photos I used lots of pictures from the ZOO booklet. I added a PL card and a TN paper as a background and used some stamps.
For my next two pages I used the same background papers as the story takes place at one place. Did you ever realized that kids are a bit afraid of natural ponds and lakes as they are use to swimming in clear swimming pool's water? I did ... and it was fun. Again I added a few stamps and created a sign using one of my die cuts. I actually die cut two layers - one from white textured cardstock and one from one of the TN papers. So it looks like a letters with a bit of a shadow.
I love this page! I took like a hundred of photos of our kids in this field and this is the only photo where every each of them smile and don't have their eyes closed or look somewhere else. So I just had to scrap it separately as one page. I cut two of TN papers into triangle shape and added some stamps and embelishments.
So I managed to finish two more days in this TN and I have two more to go. Hope you remember to take lots of photos during your holiday as photos are the key. Have a great day!
Products I used:
2020
Hello everyone! I'm so delighted to be here with you as a new Creative Team member! And as this is my first post here, let me write a few words about myself. I'm from the Czech republic and I live in Prague. I'm married and have a son who is nine years old. I've started my scrapbooking journey in 2013 and since then it's been my passion and a way how to calm my mind after a whole day at work. I'm a documenter - so mostly I work on Project Life, planners, layouts and Traveler's notebooks.
And today I'd like to share with you one of my last Big Planner Pages using the beautiful SO ROMANTIC collection. The most favorite product of mine are Traveler's Notebook papers, because they're just perfect for this big size planners.
In the past few years I used big Project Life albums to keep our daily memories. But after a while I realized, that I need something smaller, something easily portable. And that's why I've chosen Big Happy Planner for 2020. And I fell in love with it! It holds many photos and there's a plenty of space for journaling and embelishing.
I always prepare my photos first. I print them on my Epson printer (4 photos per 10 x 15 photo paper) and place them in the columns. Each column on the planner page is 5 cm wide. The only thing you need to do is cut the Traveler's Notebook papers in half and you have papers prepared to do the work for you. It's that easy. After that you just measure the lenght you need.
I always try to think about some creative ways how to fill in the spaces without photos. But you have to keep in mind not to use thick embelishments. Otherwise your planner will get fater and fater and in a few months you will not be able to close it properly.
One of my favorite ways how to embelish the blank boxes is cutting fringe on a paper stripes. You can use your scraps to create them and either fill the whole box or just a part of it as I did. And although it looks like 3D effect, this type of embelishment is flat so your planner is save. But don't limit yourself with the boxes. In my future posts I'll show you how to use even bigger photos or papers.
Lastly I want to show you how I help myself with cutting the perfect paper/photo size (for example from a small paper leftovers). I cut a stencil out of solid plastic cover measured 5 x 7,8 cm. I use it to cut papers and photos just the right size I need. And you can also make a circle stencil to cut circles that fit into the planner boxes.
So that was my Big Happy Planner - week 17 2020. And I'm looking forward to sharing my other tips with you how to fill in your planner. Have a nice day!
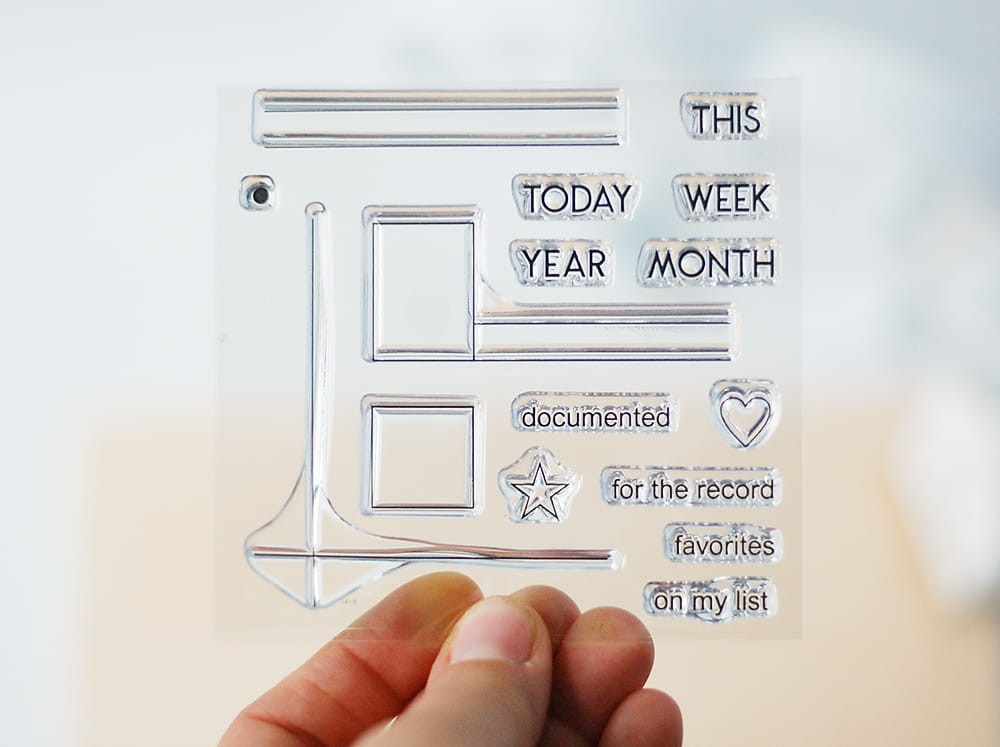
Products I used:
alphabet
Dzień dobry pierwszego grudnia! Grudniownik skończyłam na czas,
ale jeśli Wam się jeszcze nie udało, nie szkodzi. Można równie dobrze
tworzyć go na bieżąco. Pierwsza część mojego grudniowego pamiętnika
pojawiła się
tutaj (klik). Dzisiaj rano zaczęłam pierwszy wpis :)
Czas na kolejne dni - każdy jest utrzymany w tym samym, mroźnym
klimacie, lekko zaśnieżony, w stonowanych barwach.
Tak sobie wyobrażam tegoroczny grudzień.
Użyłam papierów i dodatków z kolekcji JOYFUL, ale także
z jesiennej kolekcji - świetnie się uzupełniają, obydwie mają
sporo "ciepłych" i przytulnych dodatków.
Na stronach pojawiło się kilka schowków - koperty,
papierowa torebka z zestawu papierów TN, co ułatwi
przechowywanie drobiazgów - notatek, biletów itp.
Kilka kopert posłużyło mi za dodatkowe strony - taka różnorodność
i warstwowość jest przyjemna dla oka i dobrze wygląda.
Pozdrawiam, dobrego grudnia!
Wykorzystane produkty:
.png "Menu")


.png)