box
Hello Lovelies,
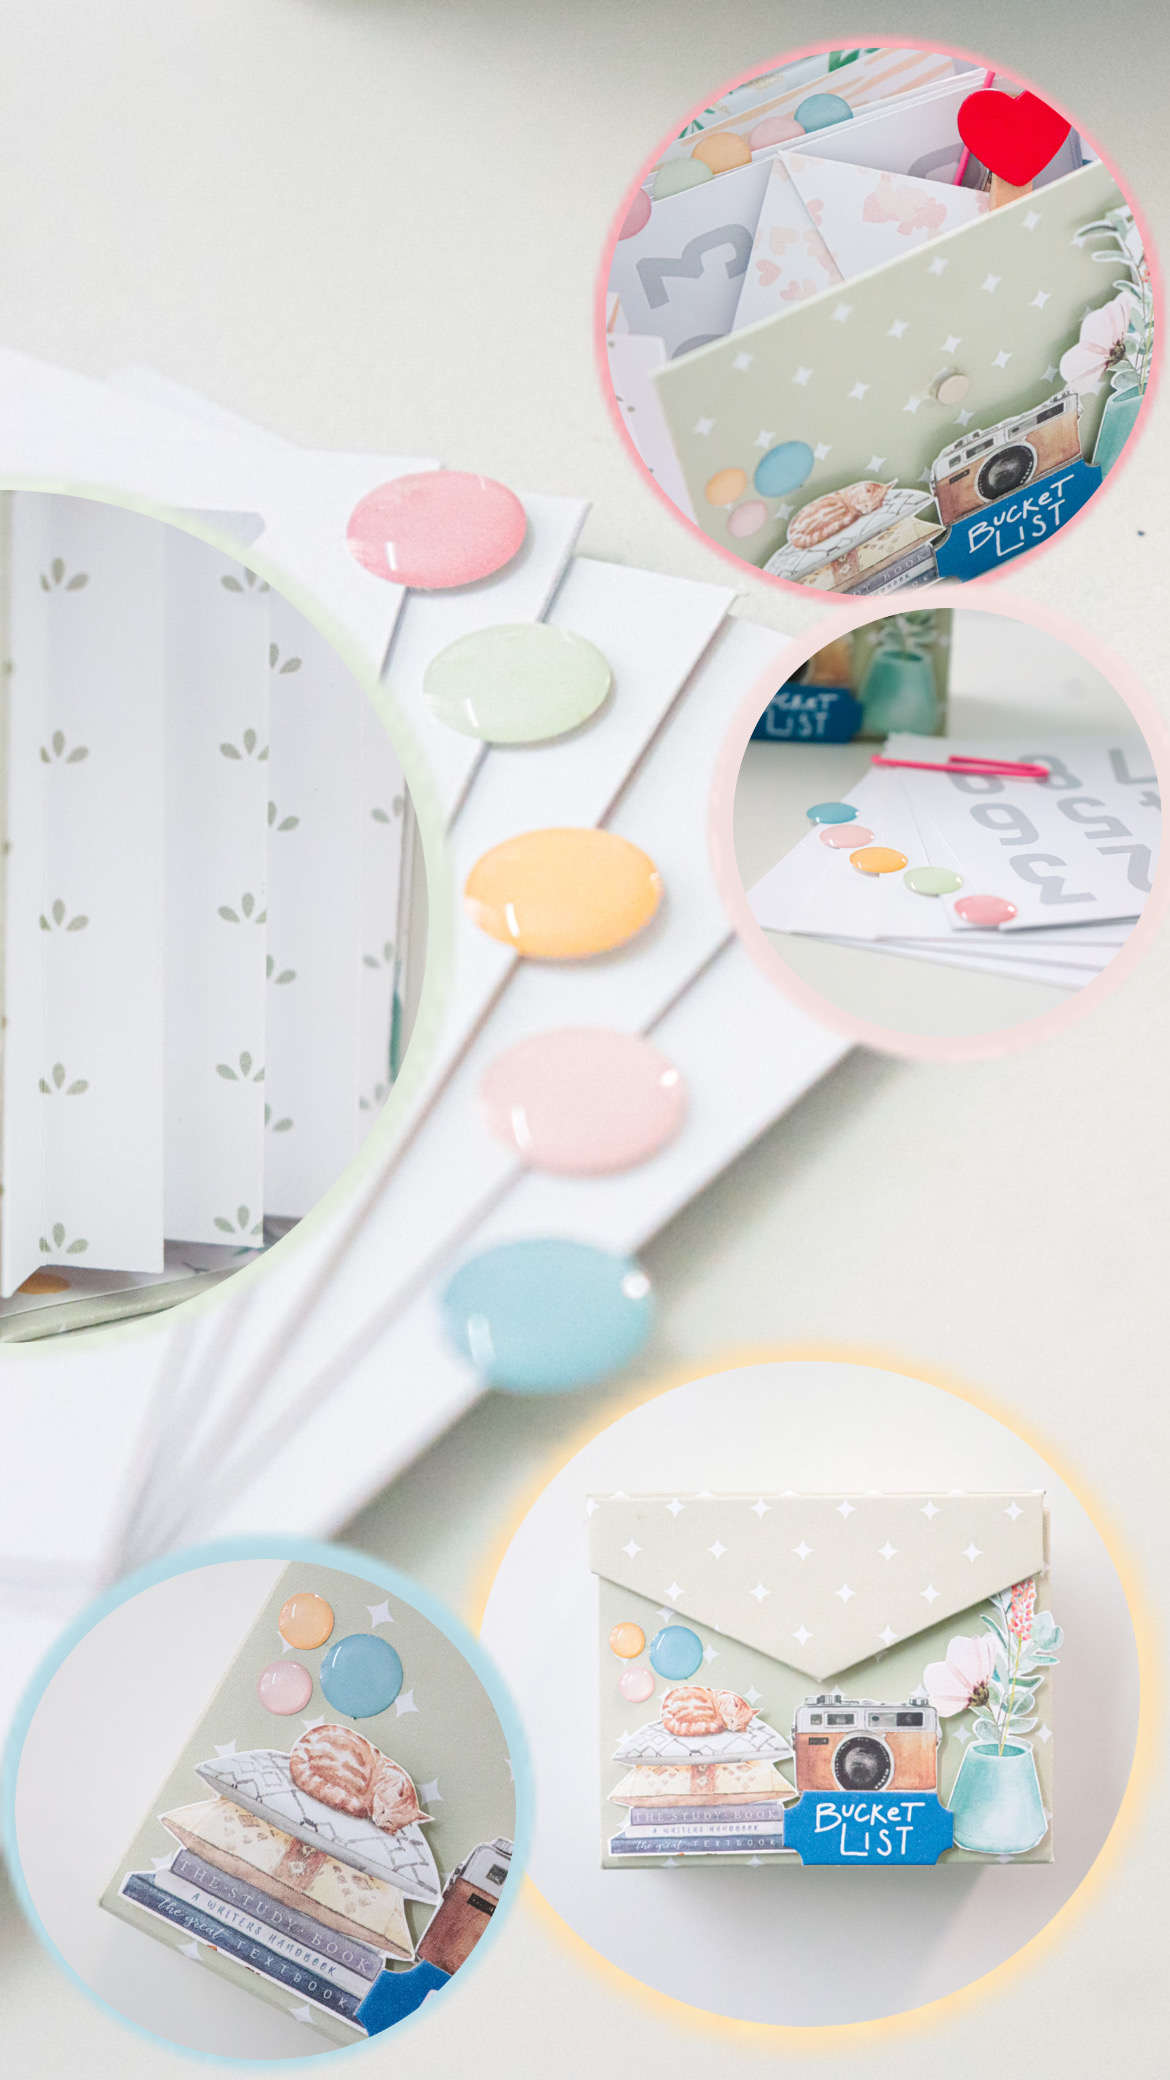
Good morning! Dhaara here with an exciting project. Zig-Zag goodie box - sounds interesting right? Let's dive into it. Let's go a little more colorful this time. Created this project using mix matching with the pattern papers and essentials collection journal card.
Starting with measuring the chipboard for the base and pattern paper for covering the same. Here goes the measurement as 7,5,7,5,3 * 9 (height*width) in m like below.
Let's now cover the chipboard with beautiful patterned paper on both sides.
Tada our base is now ready. Now we will focus on creating a zig-zag area surrounding the box sides.
Take a paper piece that measures 6.5cm*10cm(height*width)
At every cm score and fold front and back. Attach the zig-zag piece created to the base as shown above.
Now let's add a few add-ons to the box to give it more beauty and texture. I love adding enamel dots a lot because even a simple project will be elevated to a different level with these beautiful enamel dots.
Now using essentials collection journal cards and envelop covers we will add a few items to keep inside the Zig-Zag goodie box.
Really love how the goodie box turned out. Give it a try, create a goodie box, and add beautiful add-ons inside the box☺️ Happy Crafting 🥰
coptic binding
Dhaara here.. I am so excited to play with this beautiful colour palette and I couldn't stop at just one project. Here I created a coptic mini journal album, this is just to start with, since I plan to get a few more done!
This album is created using Essentials collection. It is designed to hold the memories of February /march month.
❤️ coptic stitching is my recent addition and with essentials collection patterns this it made perfect combination for sleeves.
Cover page of the album is created using Embroidery loop stamp (my most favourite) . Each stamp’s design has beautiful features and makes you play with by adding creativity to it. stamp designs stands unique and best 😍 It’s always great to incorporate stitching in paper crafts. It gives added texture and beauty to projects
Each section is embellished with Stamp cards, enamel dots, ephemera, stickers from essential collection.
Added stamp and elements from tabs set and also enamel dots.
Cannot wait to document my February memories on the journaling pages ❤️❤️
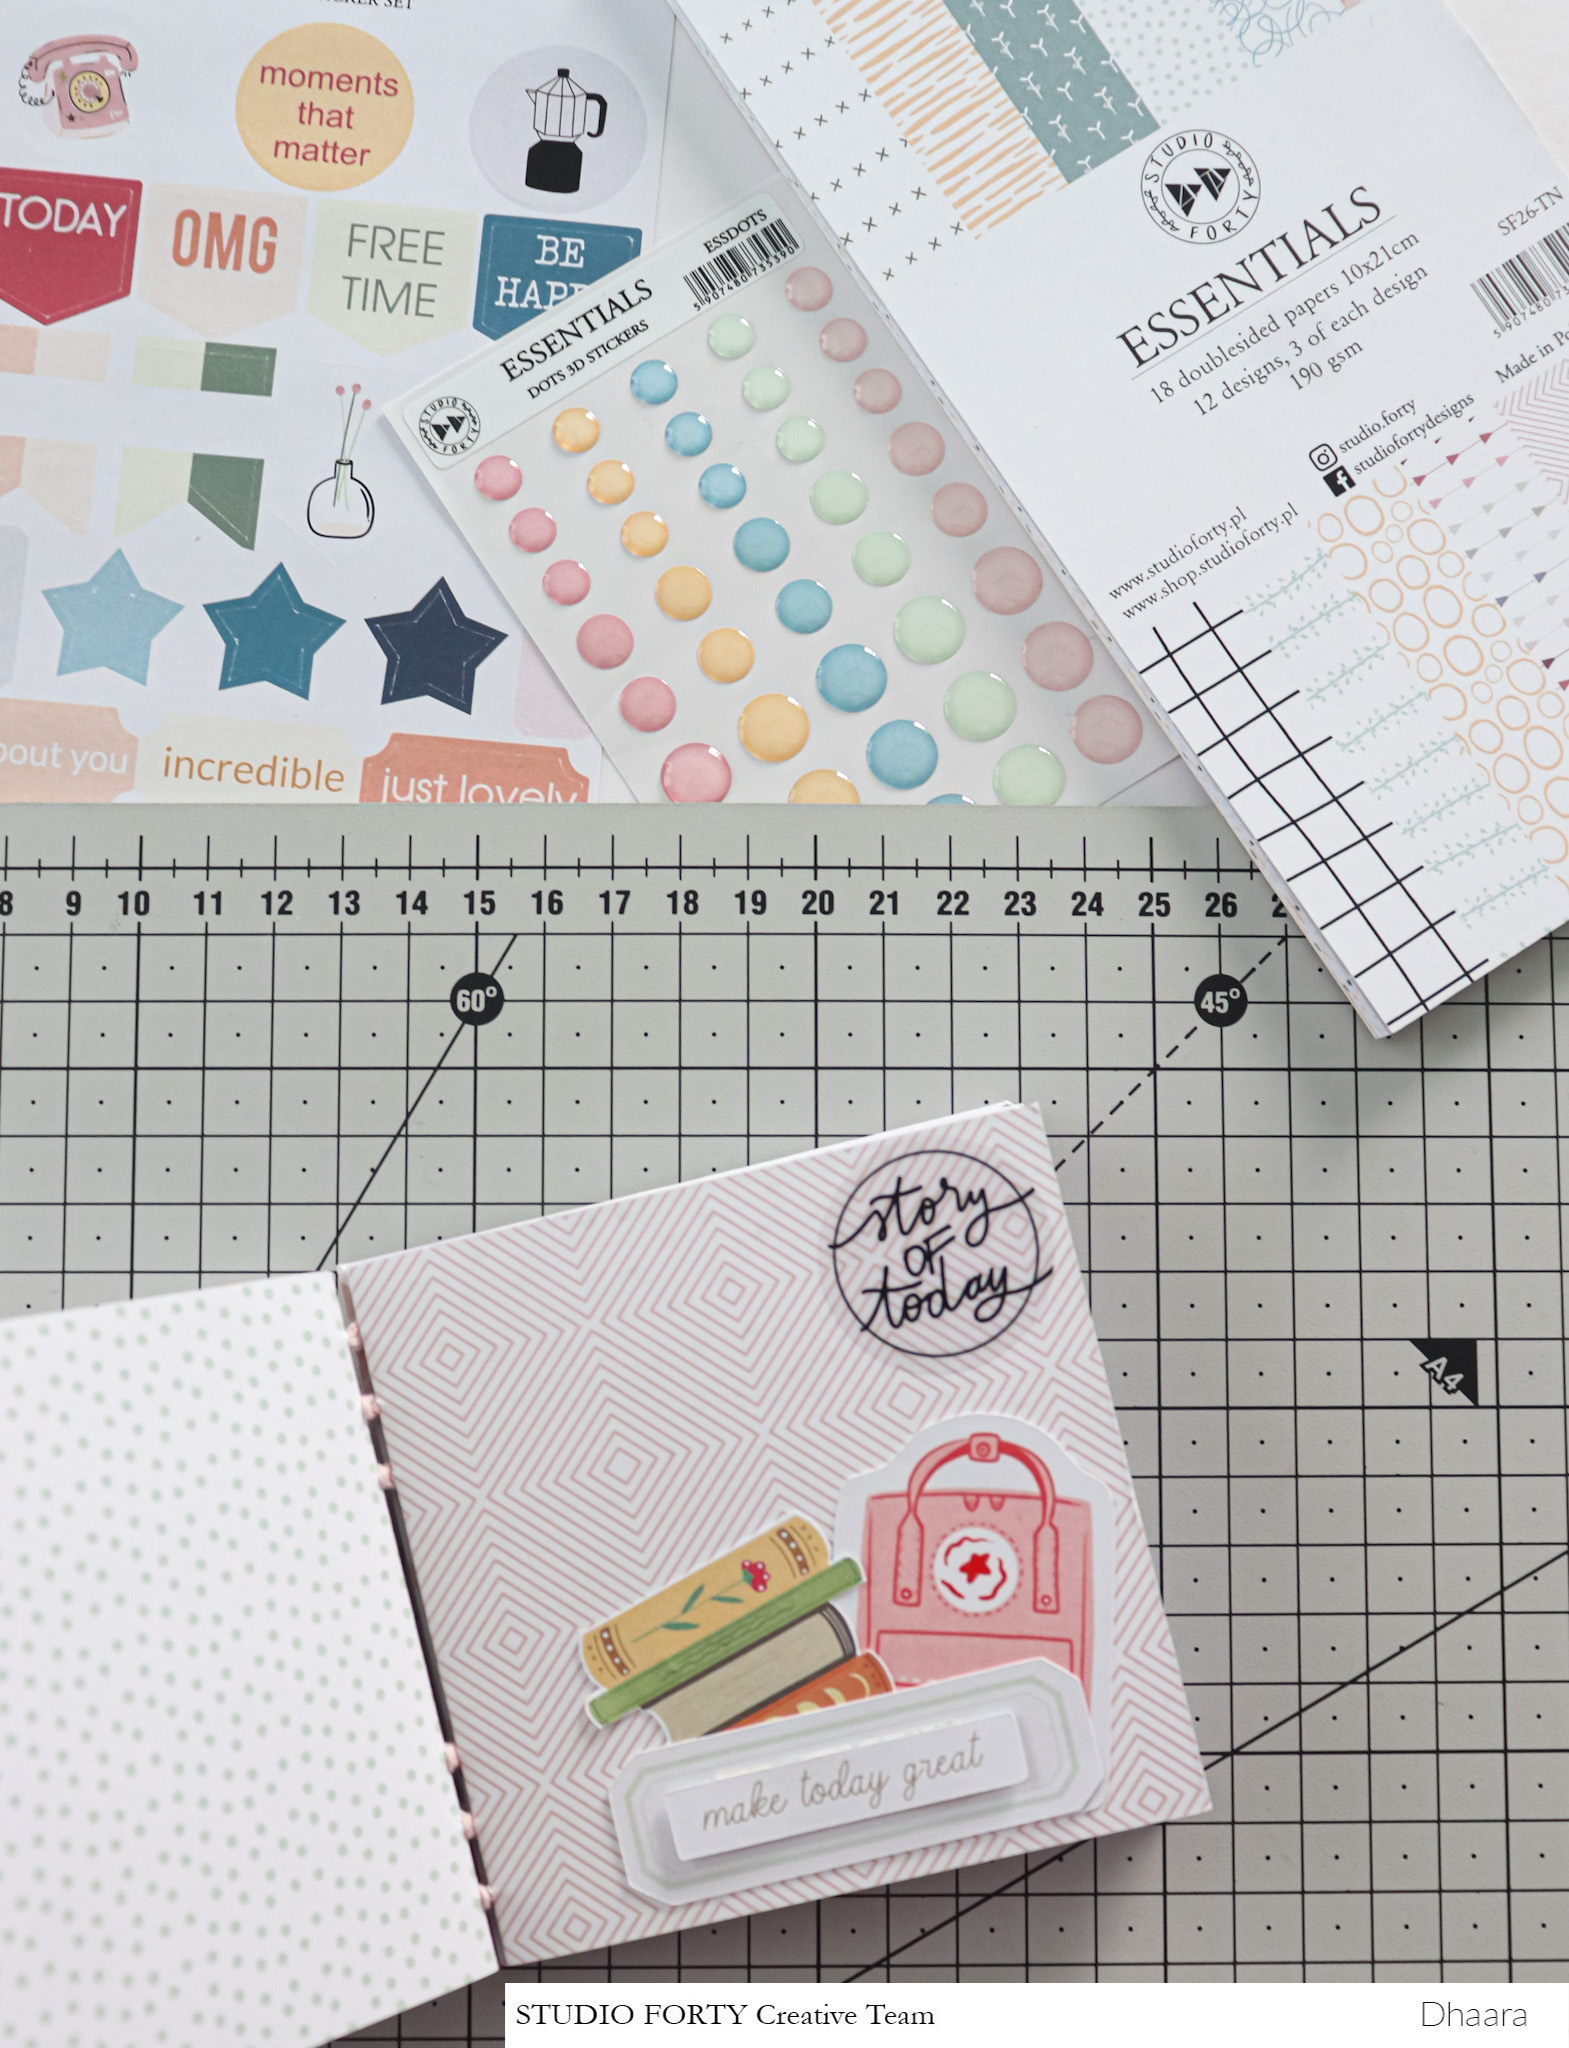 One closer look on Coptic binding and pattern paper:
Materials used :
Essentials paper pad
Essentials dots and enamel stickers
Essential transparent and sticker collection
Stamp set
I hope you liked it. I'm very happy to be creating with the Studio Forty😊 See you soon in the next post! Have fun weekend and happy crafting!!
clear stamps
Hello crafty friends!
Vânia here with some traveler´s notebook inspiration with the Joyful colllection.
With December approching it´s time to start preparing our December projects, the first page i made in my TN it´s with a December calendar, you can find this free template
here.
I´m also used the Days Documented stamp set to make a little list to write down significant happenings in this month.
I cut off the mosaics from the TN paper and made my own mosaic. And mixed stamps and clear stickers to made te tittle of my page.
For my second page, i made a intro page, quick and simple. With a full page photo in one of the sides.
Stamped the tittle mixing the Joy with theWinter Alpha stamp set. To finish add a chipboard stickers on the top of the tittle.
And that´s all for today! Thanks for watching!
Below the links to all the products that i´m using:
- Joyful Notebook edition
- Joy stamp set
- Winter Alpha stamp set
- Days Documented stamp set
- Joyful time transparent stickers
- Joyful chipboard stickers
crafts
Hello crafty friends! Vânia here with some Traveler´s Notebook inspiration.
I´m using mainly the GAIA collection, but i´m also using two of the new stamp sets from JOYFUL. Because, they´re so versatile, that in my opinion, can be used in any occasion.
Finally here where i live, south of Portugal, starts to feel like fall, yay!! The colder days are definitely coming. So i was inspired to create two "fallish" TN pages.
The notebook that i´m currently using it´s almost full and that makes stamping a little bit difficult, so instead of stamping directly on the notebook i make my pages and then adhere them to my notebook.
My first page it´s about tastes of fall and pomegranate it´s definitely a fruit typical of this season.
In my first spread i made my own background, using black and two different shades of brown ink for stamping the leaves "flying" around.
I made a border around the tittle and add the squirrel sticker, i think it gives a little fun touch.
For both of this pages i used images that i fussy cut, it´s a great idea, because you can make your one die-cuts and have a lot of them to decorate your pages and mixed them with stamped ones.
I also use some of the chipboard pieces, because they add a little volume but not to much and that it´s something we have to consider when we are working in the TN format.
For finish my pages i always like to add some ink splatters, this time i used gold ink for doing that.
And that´s all for today!
Thank you so much for watching, as always the links to all the products that i´m using are below!
- Gaia paper collection
- Days Documented stamp set
- Winter Alpha stamp set
- Fall Flowers stamp set
- Go Wild stamp set
- Warm and Cozy stamp set
- Borders stamp set
- Gaia chipboard stickers set
- Eco friendly stickers
- Nature transparent stickers
.png "Menu")