Artist Trading Card
Hello and happy December, everyone! It´s Sanna here today to share another project with you. Christmas being practically around the corner, I am getting distracted with artist trading cards, when I actually should be finishing up a couple more Christmas cards for family and friends. But sometimes distractions like this are really good, so I think it´s OK to spend one evening playing with something else than making Christmas card projects :).
Here are the ATC´s I created for today´s post:

The first set is winter themed. I´ve first misted the background with a blue spray ink and then added the branches onto the bottom part of each ATC. They are stamped with waterproof black ink.
Next I used the snowflake stamps with embossing ink to stamp images onto the "sky". After that I embossed the snowflakes with white embossing powder.
For decoration I added "faux stitching" around the edges and stamped a wintery sentiment which I fussy cut and inked with light blue Distress Ink.
Finally I added some liquid pearls details onto the branches. That way
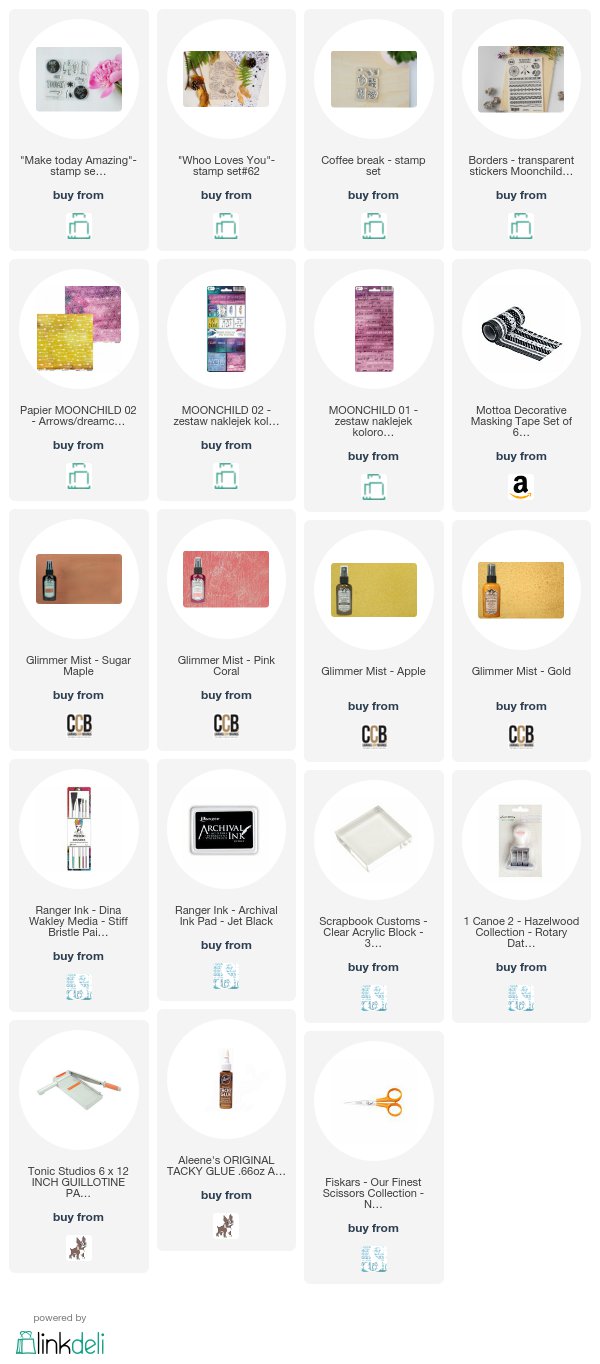
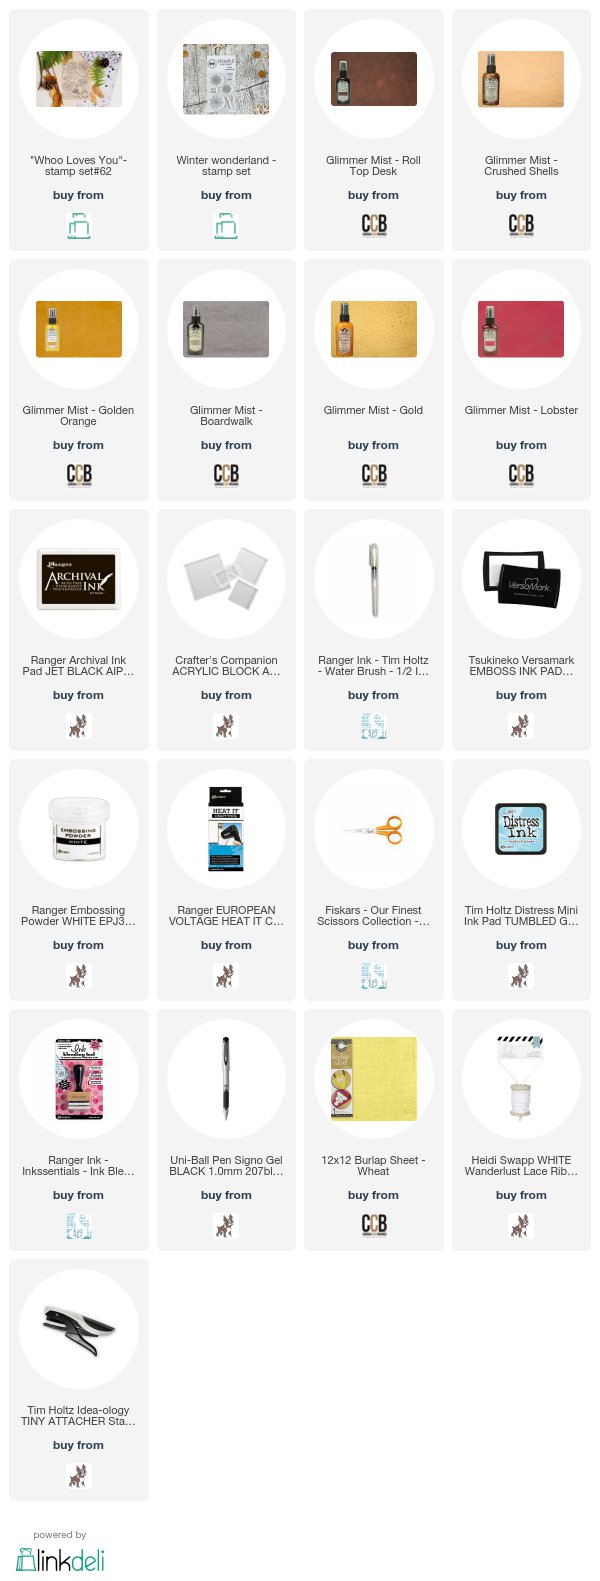
they look like winter berries. For details on used product scroll down
to the very bottom of this post - all used products are listed there.
For my next artist trading card set I took an early start towards Valentine´s Day. I wanted to create love/friendship themed ATC´s so I chose the Whoo loves you stamp set as my starting point for these four artist trading cards. I might still add a little red stamped heart to each one of them later, just haven´t decided on that quite yet.
For these ATC´s I first cut white cardstock into the right size (2 1/2 x 3 1/2 inch). Then I stamped the leaves onto the background with embossing ink and added white embossing powder. After heat setting the powder I took a peach toned spray ink and misted the backgrounds with that tone.
Next I took a water tank brush and some darker brown spray ink to color the leaves. After the background was done I stamped the sentiment speech bubbles and the animals onto a piece of white cardstock and used brown, grey, yellow and red spray inks with a water tank brush to color the images. After that I again added some "faux stitching" with a black pen around the edges.
After the images were dry I fussy cut them with precision scissors and added some yellow burlap and white lace onto the artist trading cards.
Then all I needed to do was to adhere the fussy cut images onto the backgrounds with paper glue.
To make sure the lace and burlap stay put on their place, I attached them additionally to the background with a stampler. This will keep them from coming off.
I had a great time creating these artist trading cards! And now that I´ve had some fun creative time, I can go and finish off the last Christmas cards for this season.
Wishing you all a lovely, creative weekend and happy crafting!!!
xxx, Sanna
Supplies:
.png "Menu")