Z tej strony Ania z nowych skrapem stworzonym z kolekcji SO CUTE. Tym razem inspiracja przyszła wprost z mojego telefonu, kiedy w galerii zdjęć zauważyłam kilka nowych fotek, których z pewnością nie zrobiłam własnoręcznie. Zapomniany telefon został przejęty przez jedną z moich córek, która cyknęła sobie kilka śmiesznych fotek i odłożyła aparat na miejsce. Pomysł na skrapa pojawił się błyskawicznie!
Biały papier bazowy stał się początkiem bałaganiarskiego, kolorowego skrapa. Kilka pociągnięć tuszami w żółtym, różowym i niebieskim kolorem stało się podstawą dalszej kompozycji.
Żeby dodać odrobinę kontrastu sięgnęłam po czarny tusz i stemple. Małe serdusza losowo rozsiane w tle i kilka napisów stworzyły nastoletni, pogodny klinat. Po dodaniu zdjęć sięgnęłam również po kolorowe najlejki z kolekcji So Cute, dorzucając je do swojej kompozycji.
Przejrzałam też swoje zapasy transparentnych naklejek S40 i znalazłam kilka zestawów pasujących do mojego skrapa. Samotka wrotka, papierowe samolociki czy dodatkowe napisy wzbogacają kompozycję bez przyciągania zbytniej uwagi.
Tytuł wycięłam wykrojnikami z czarnego kartonu. Zabawna czcionka idealnie wpasowuje się w lekki klimat skrapa.
Jeśli jesteście ciekawi, jak powstał mój layout, to mam dla Was wyśmienitą wiadomość! Na kanale YouTube czeka na Was wideo z procesu tworzenia.
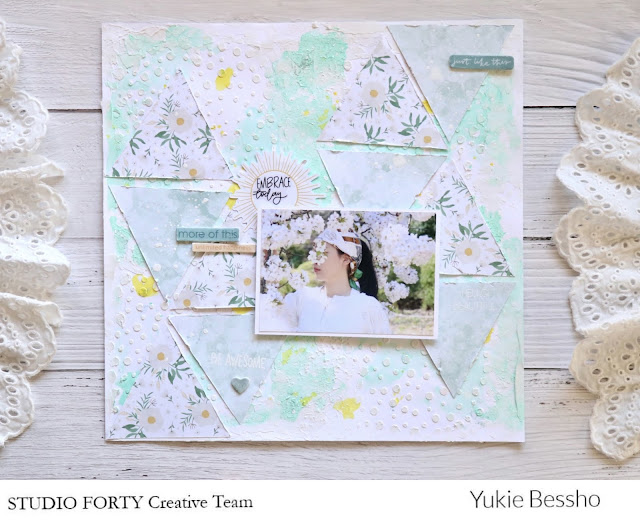
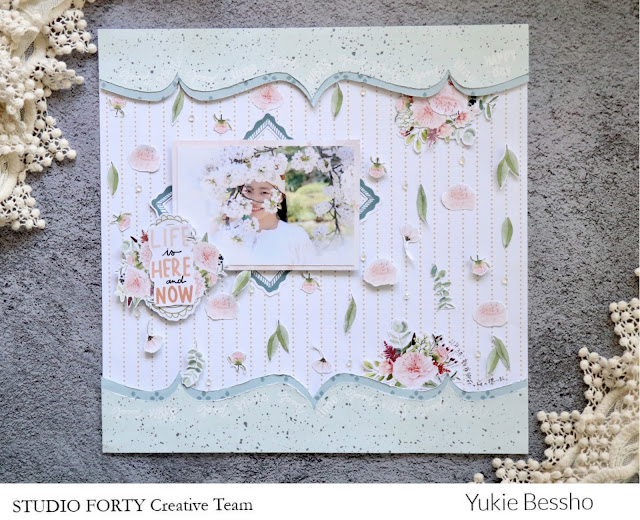
Hello Crafters! How are you today? It has been some weeks since the new collection is out. Have you make something with the collection: Everyday story already? Here I would like to share two of my 12x12 layouts made with the lovely Everyday story collection, today.
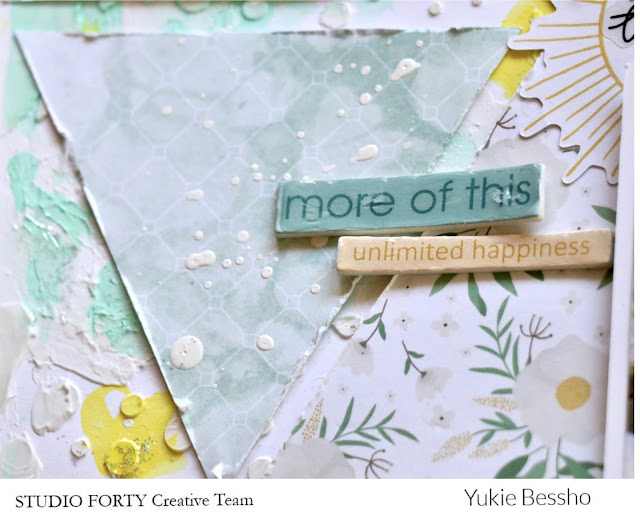
The first layout has lots of triangle motifs on mixed media. I have used water color paint to color the layout full of spring. Some stamp works with embossing powder is also on the triangles.
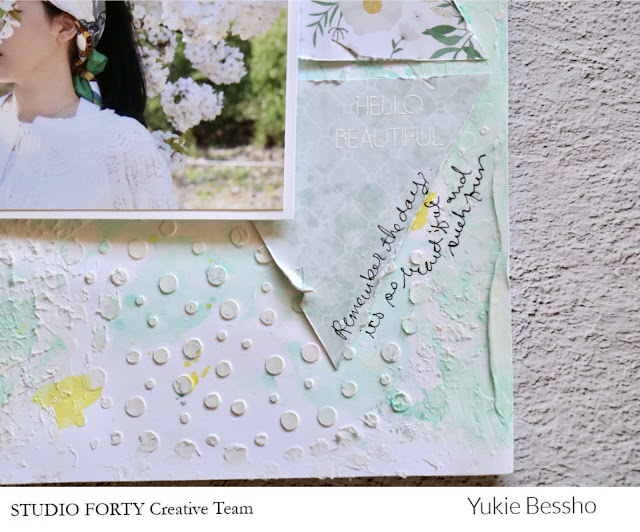
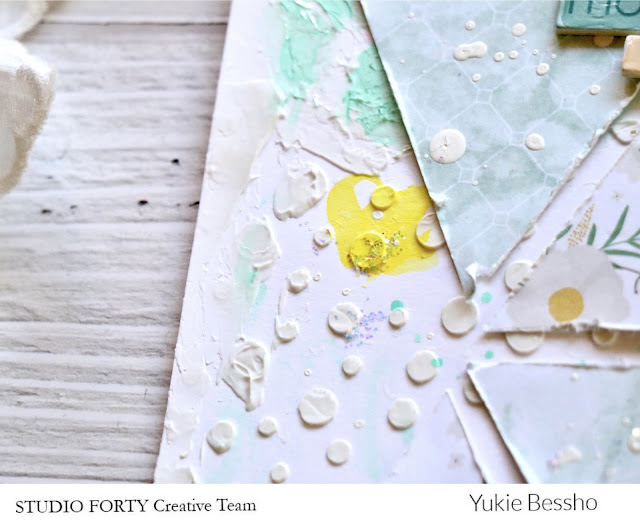
Modeling paste for the back ground.
Some water color to add the spring taste.
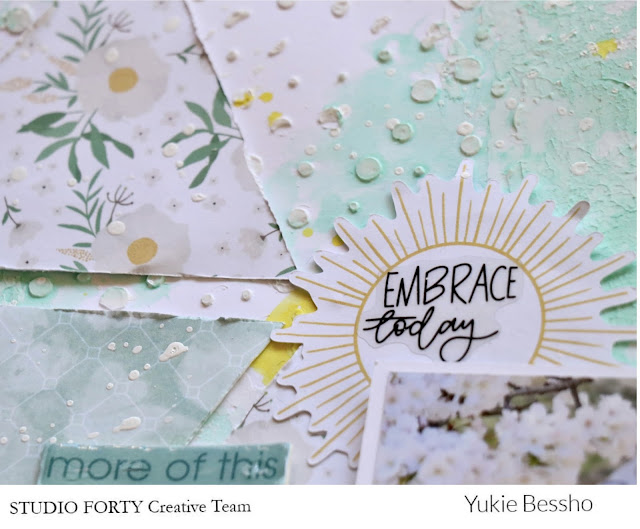
Studio Forty's famous transparent stickers are so useful.
Chipboard stickers. I added some extra shine on the surface.
A bit of the glitter on the back ground, too.
========
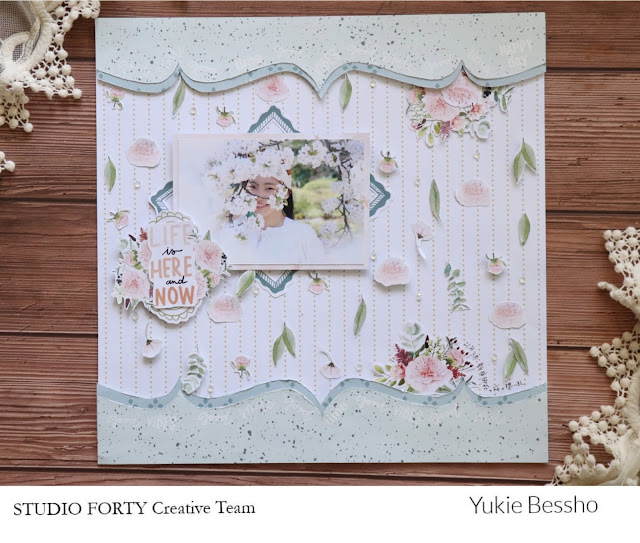
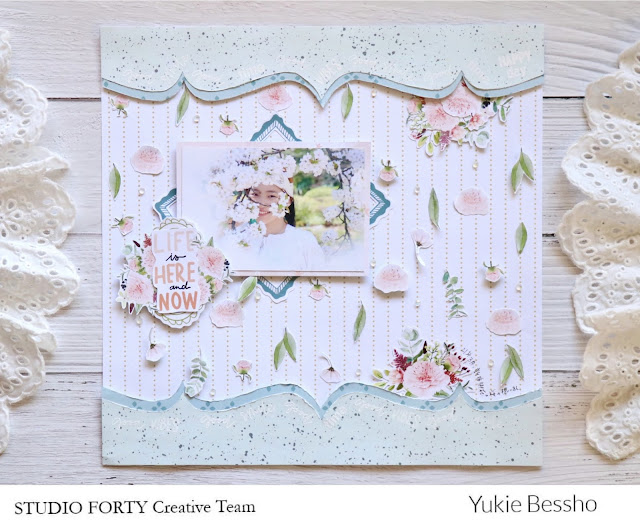
The second layout is with lots of cut outs from the collection.
Flowery!
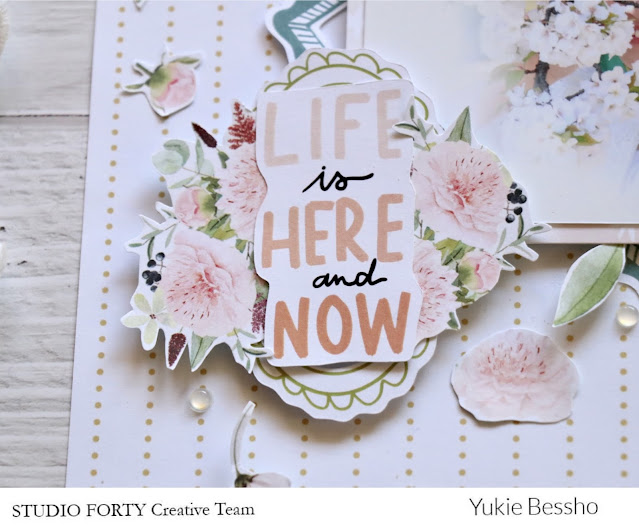
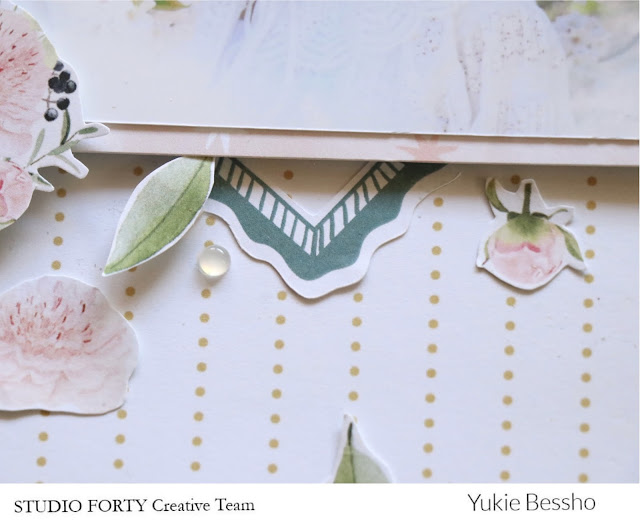
I have also here did some stamp works with embossing powder.
Also used some die cut elements.
Die cut elements as my title. So pink, so flowery.
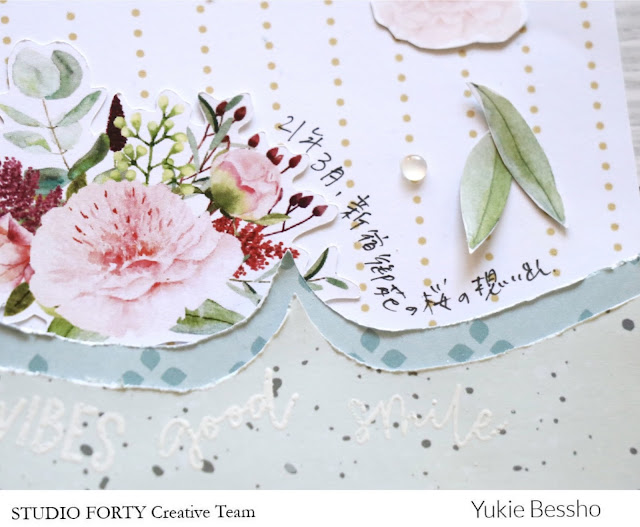
Did journaling in Japanese. See the stamps too?
The blue frame was cut in four pieces to make it look much larger than it is.
Thanks for being with me till the end.
I hope your crafty time is fun with the beautiful Studio Forty collections. Everyday story collection →Click here
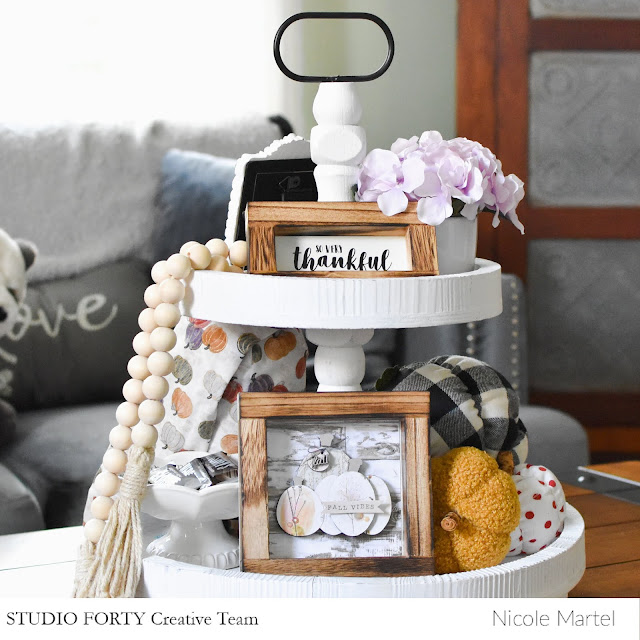
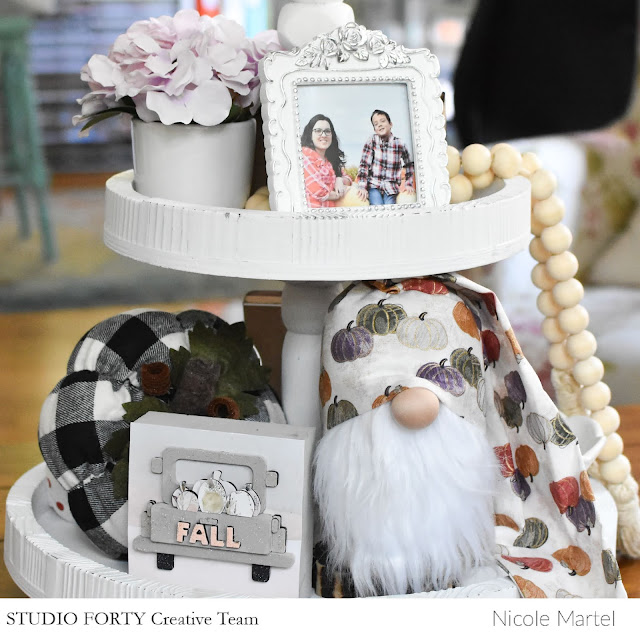
Good morning friends! Today I'm sharing a few pieces I created for my tier tray this month using some papers from the Herbarium Collection. It's super cute and I hope you like it!
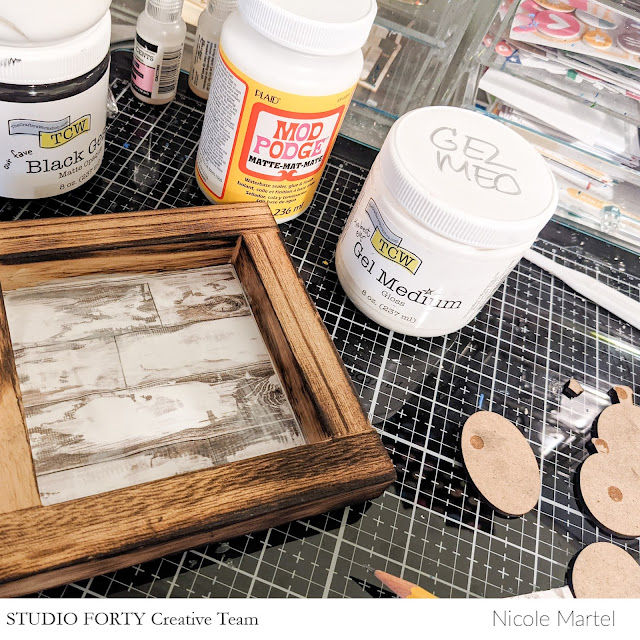
While these wood crafts look simple, I can assure you, a lot of love and time went into each piece. :) To begin, I cut the patterned paper so that it would fit within the frame and then adhered it using Mod Podge.
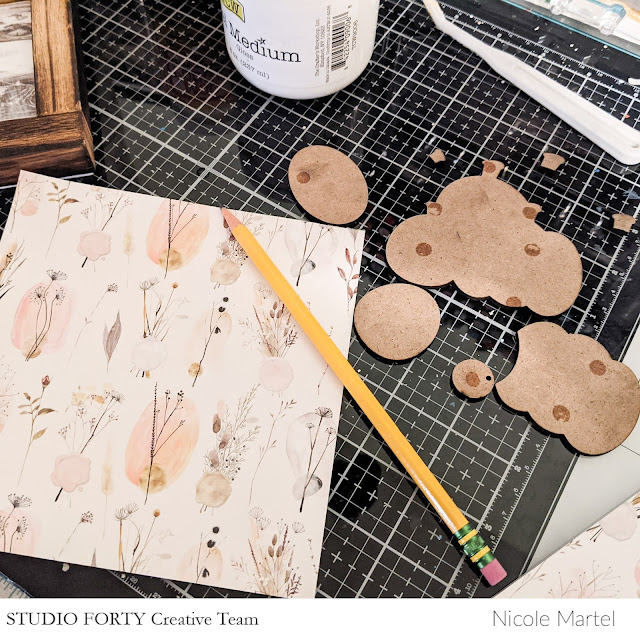
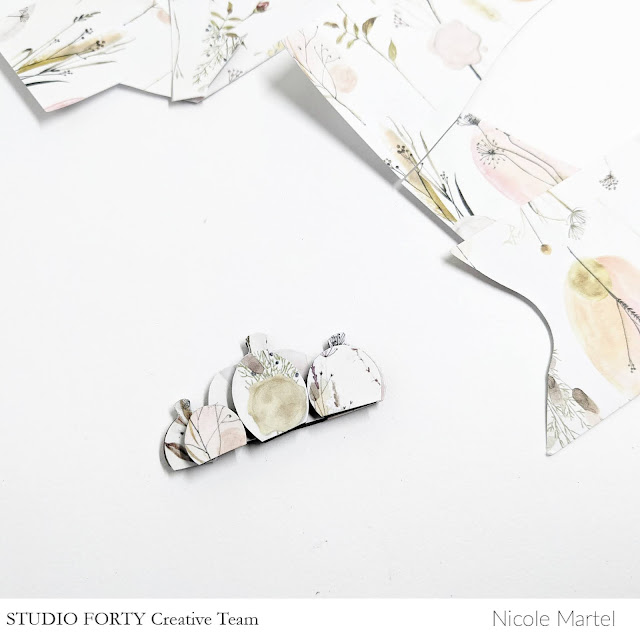
Then, I traced the pumpkin wood chips onto the patterned paper and cut them out. This process took a bit of thinking because I wanted certain flowers... LOVE this paper! It is my absolute favorite.
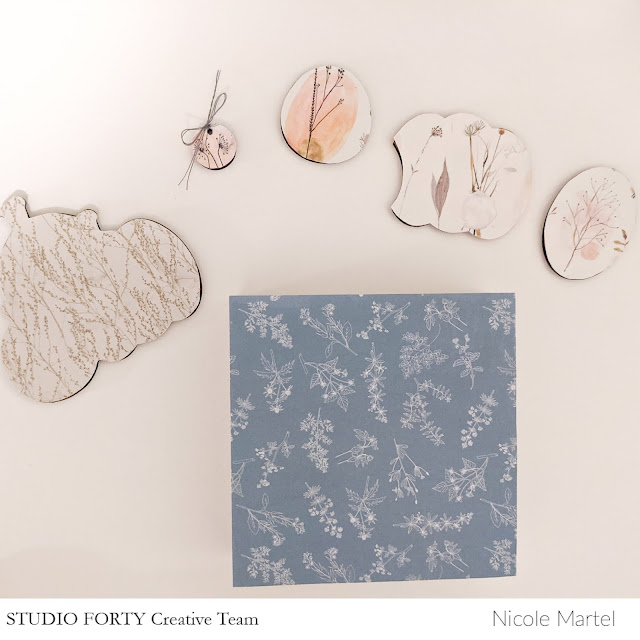
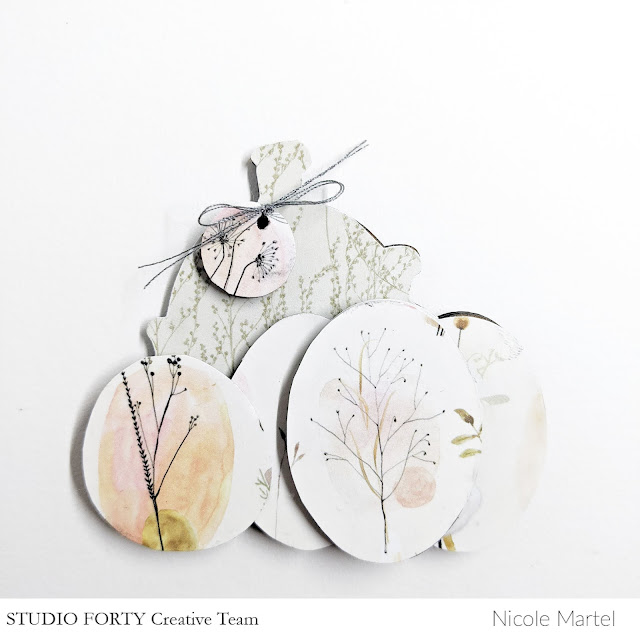
Next, I used Matted Glue to adhere the paper to the wood chips. Initially, I was going to use the blue backing for the frame and then I changed my mind... Here are all of the pieces. You can see how I cut the flowers to fit properly. Aren't they lovely?
I glued them all together and added some string to one of the chips.
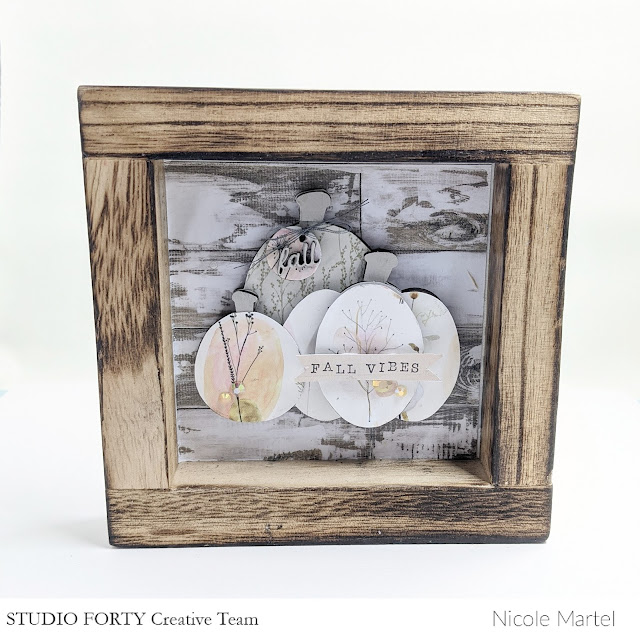
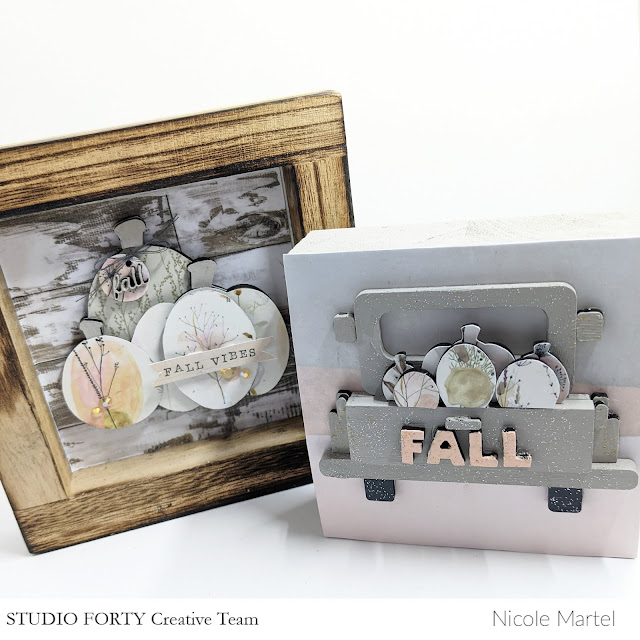
To complete the piece, I cut the "fall vibes" strip from patterned paper and mounted them to the pumpkins using foam squares and then I added a few gems. I just love how this piece turned out!
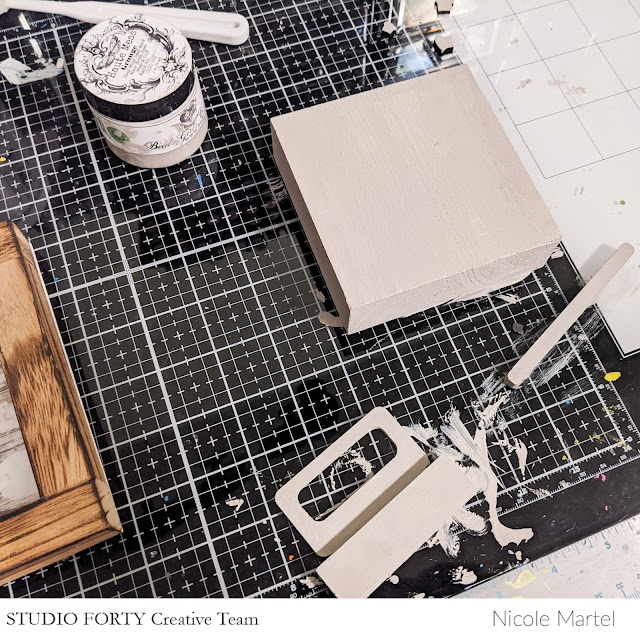
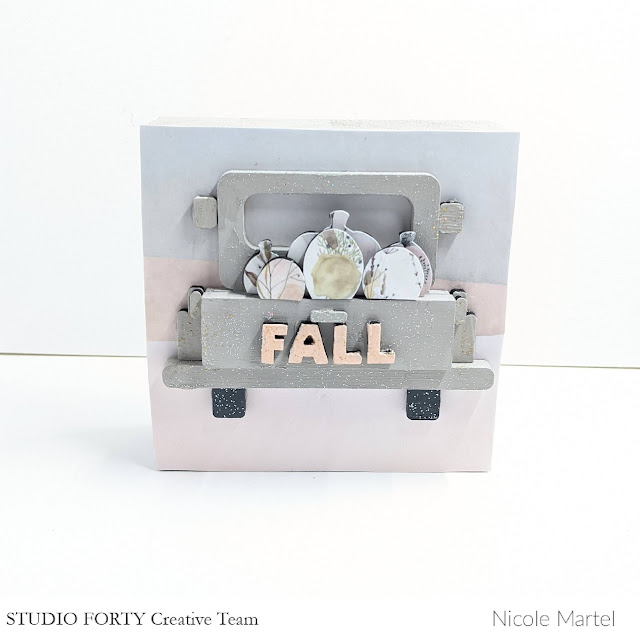
For the next piece, I painted all of the pieces using a light brownish/gray acrylic paint and let the pieces sit to try.
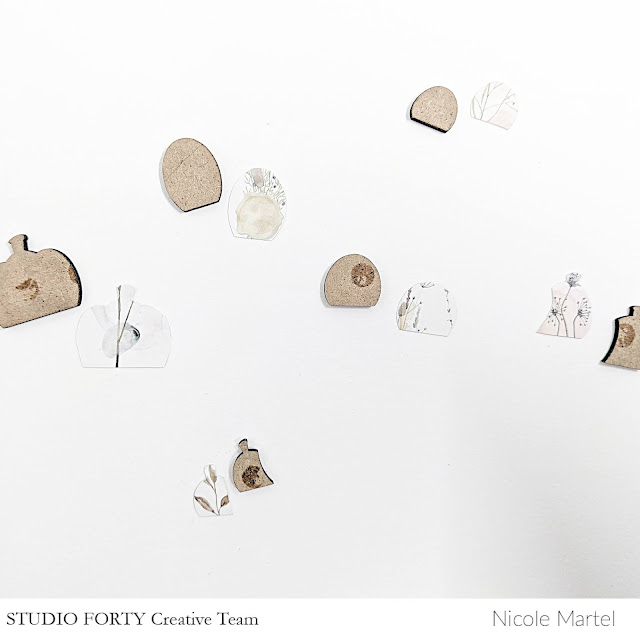
While this was trying, I carefully traced the patterned papers to the tiny pumpkins and then I cut them out.
Next, I glued the pieces together using a Matte Gel Medium.
Before assembling the pieces together onto a 4x4 wooden block that was covered with patterned paper, I added gold glitter all over the wood chips to add a bit of shimmer. Then I glued all of the additional pieces together for the truck.
I had so much creating these pieces and I hope you found this post inspiring! I try to create different things for our fans to give you different ideas on how to use Studio Forty's products!
Hello and you all have a wonderful weekend. Today I, Sonja, can show you my latest layout with the LAZY DAYS series. We use it to design a layout and a Project Life page, also together.
To do this, we cut strips of the same size from three different papers. These should be as wide as our pictures.
After you have glued on the strips and the pictures, you can give the layout some structure with a sewing machine or with a needle and thread. I love to use my golden yarn for this, somehow it goes with almost all colors and patterns.
I designed the title of the double page with two punches from my collection. I stuck the title itself on a white cardstock and stuck it on the palm leaves with adhesive spacer pads.
And now to our Project Life page. For this we first need 6 cards of 3x4 inches.
With a stamp plate from the series I designed three journaling cards. I stamped the motifs on with an embossing pad and a stamp. With fine golden embossing powder, the contours become rather delicate and very clear. I should reach for the embossing powder much more often, because the accents you get look really great and are individual.
Finally, I selected a few stickers from the series and stuck them on a white cardstock, cut them out and stuck them on punched-out circles.
I hope you enjoyed my inspiration. Enjoy the day and the weekend.
clear stampsHello crafters! Today i´m sharing with you two pages in my traveler´s notebook using the new Adore collection and some bits and pieces from the Just Chillin´and Magic Fall collections.
For my first page i´ve decided to play a lot with the new "i love you" stamp set, all those circles are just perfect for making my background.
I´ve stamped several of them directly in to my page and add some to the top. Always playing with different color paints and the different patterns, that we can mixed and match.
The possibilities are endless with this set!
Quick tip- To give a "shadow" effect i´ve stamped with grey ink on the back and with black ink on the top.
For the tittle in this page i´ve decided to use a mix of stamps and stickers.
My second page it´s all about hot chocolate, who doesn´t love a hot chocolate?
I´ve used some black paint on the top of the paper i chose to use as backgound for this page. So that my photo could stand out, also use some paper stripes, and stickers to back my photo.
Stamped some circles and add them to a paper stipe on the left of my page, ussing the same colors i´ve used to back my photo.
The clear stickers are perfect to add on the top of a photo, that´s what i did in this one, this sticker was truly perfect!
And that´s all for today! I´ve hope you find some inspiration here. I will leave the links to all the products that i´m using below.
.png "Menu")