Pokazywanie postów oznaczonych etykietą ribbons. Pokaż wszystkie posty

UNDER THE SEA LAYOUT I KERSTIN SCHEIDLER

12x12 scrapbook layout
Hello everyone! It's Summer! It's hot here in Germany and and I show you today an inspiration for a Summer layout. I was looking through my Studio Forty papers and an older paper from the BOM DIA collection fell into my hands. It is PERFECT for a Summer memory. Let's get started! 


Do you know it? It is the SEA SHELL paper from the BOM DIA collection. A wonderful paper to take the scissors to hand and cut out all the lovely shells and ferns. 


As a base I have chosen a pale blue cardstock and placed a circle of white cardstock in the center. The various cut out shells and ferns I have glued with 3D Foam on the circle. 


I glued a few of the SUMMER ESSENTIAL 2023 Transparent Stickers to white paper, cut them out and placed them on the layout. Transparent stickers can be used in many ways! I also used the stars from the ESSENTIALS collection TABS B&W COLOR Stickers. I think they fit perfectly with my summer memory. 


Aren't the starfish cute? And the jellyfish first! A beautiful paper for a memory by the sea or lake. I have added to the layout ESSENTIALS DOTS 3D STICKERS. 


In the circle I cut a triangle. I tore the blue cardstock and backed it with the GOOD DAY paper from the TOGETHER collection. I placed my summer photo in the resulting slot and decorated with a saying from CHILL OUT COLOR STICKERS from the ESSENTIAL collection.


Here you have a closer look at the layout. I love it! I also used leftover pieces of the OLD FASHIONED RIBBON in PINK AND LIGHT BLUE. Can you spot them?

I hope you like this layout and I can inspire you to a Summer layout. Thanks for stopping by. See you next time!

Kerstin xx 

GOOD TIMES HERE ALBUM I KERSTIN SCHEIDLER

3D dots
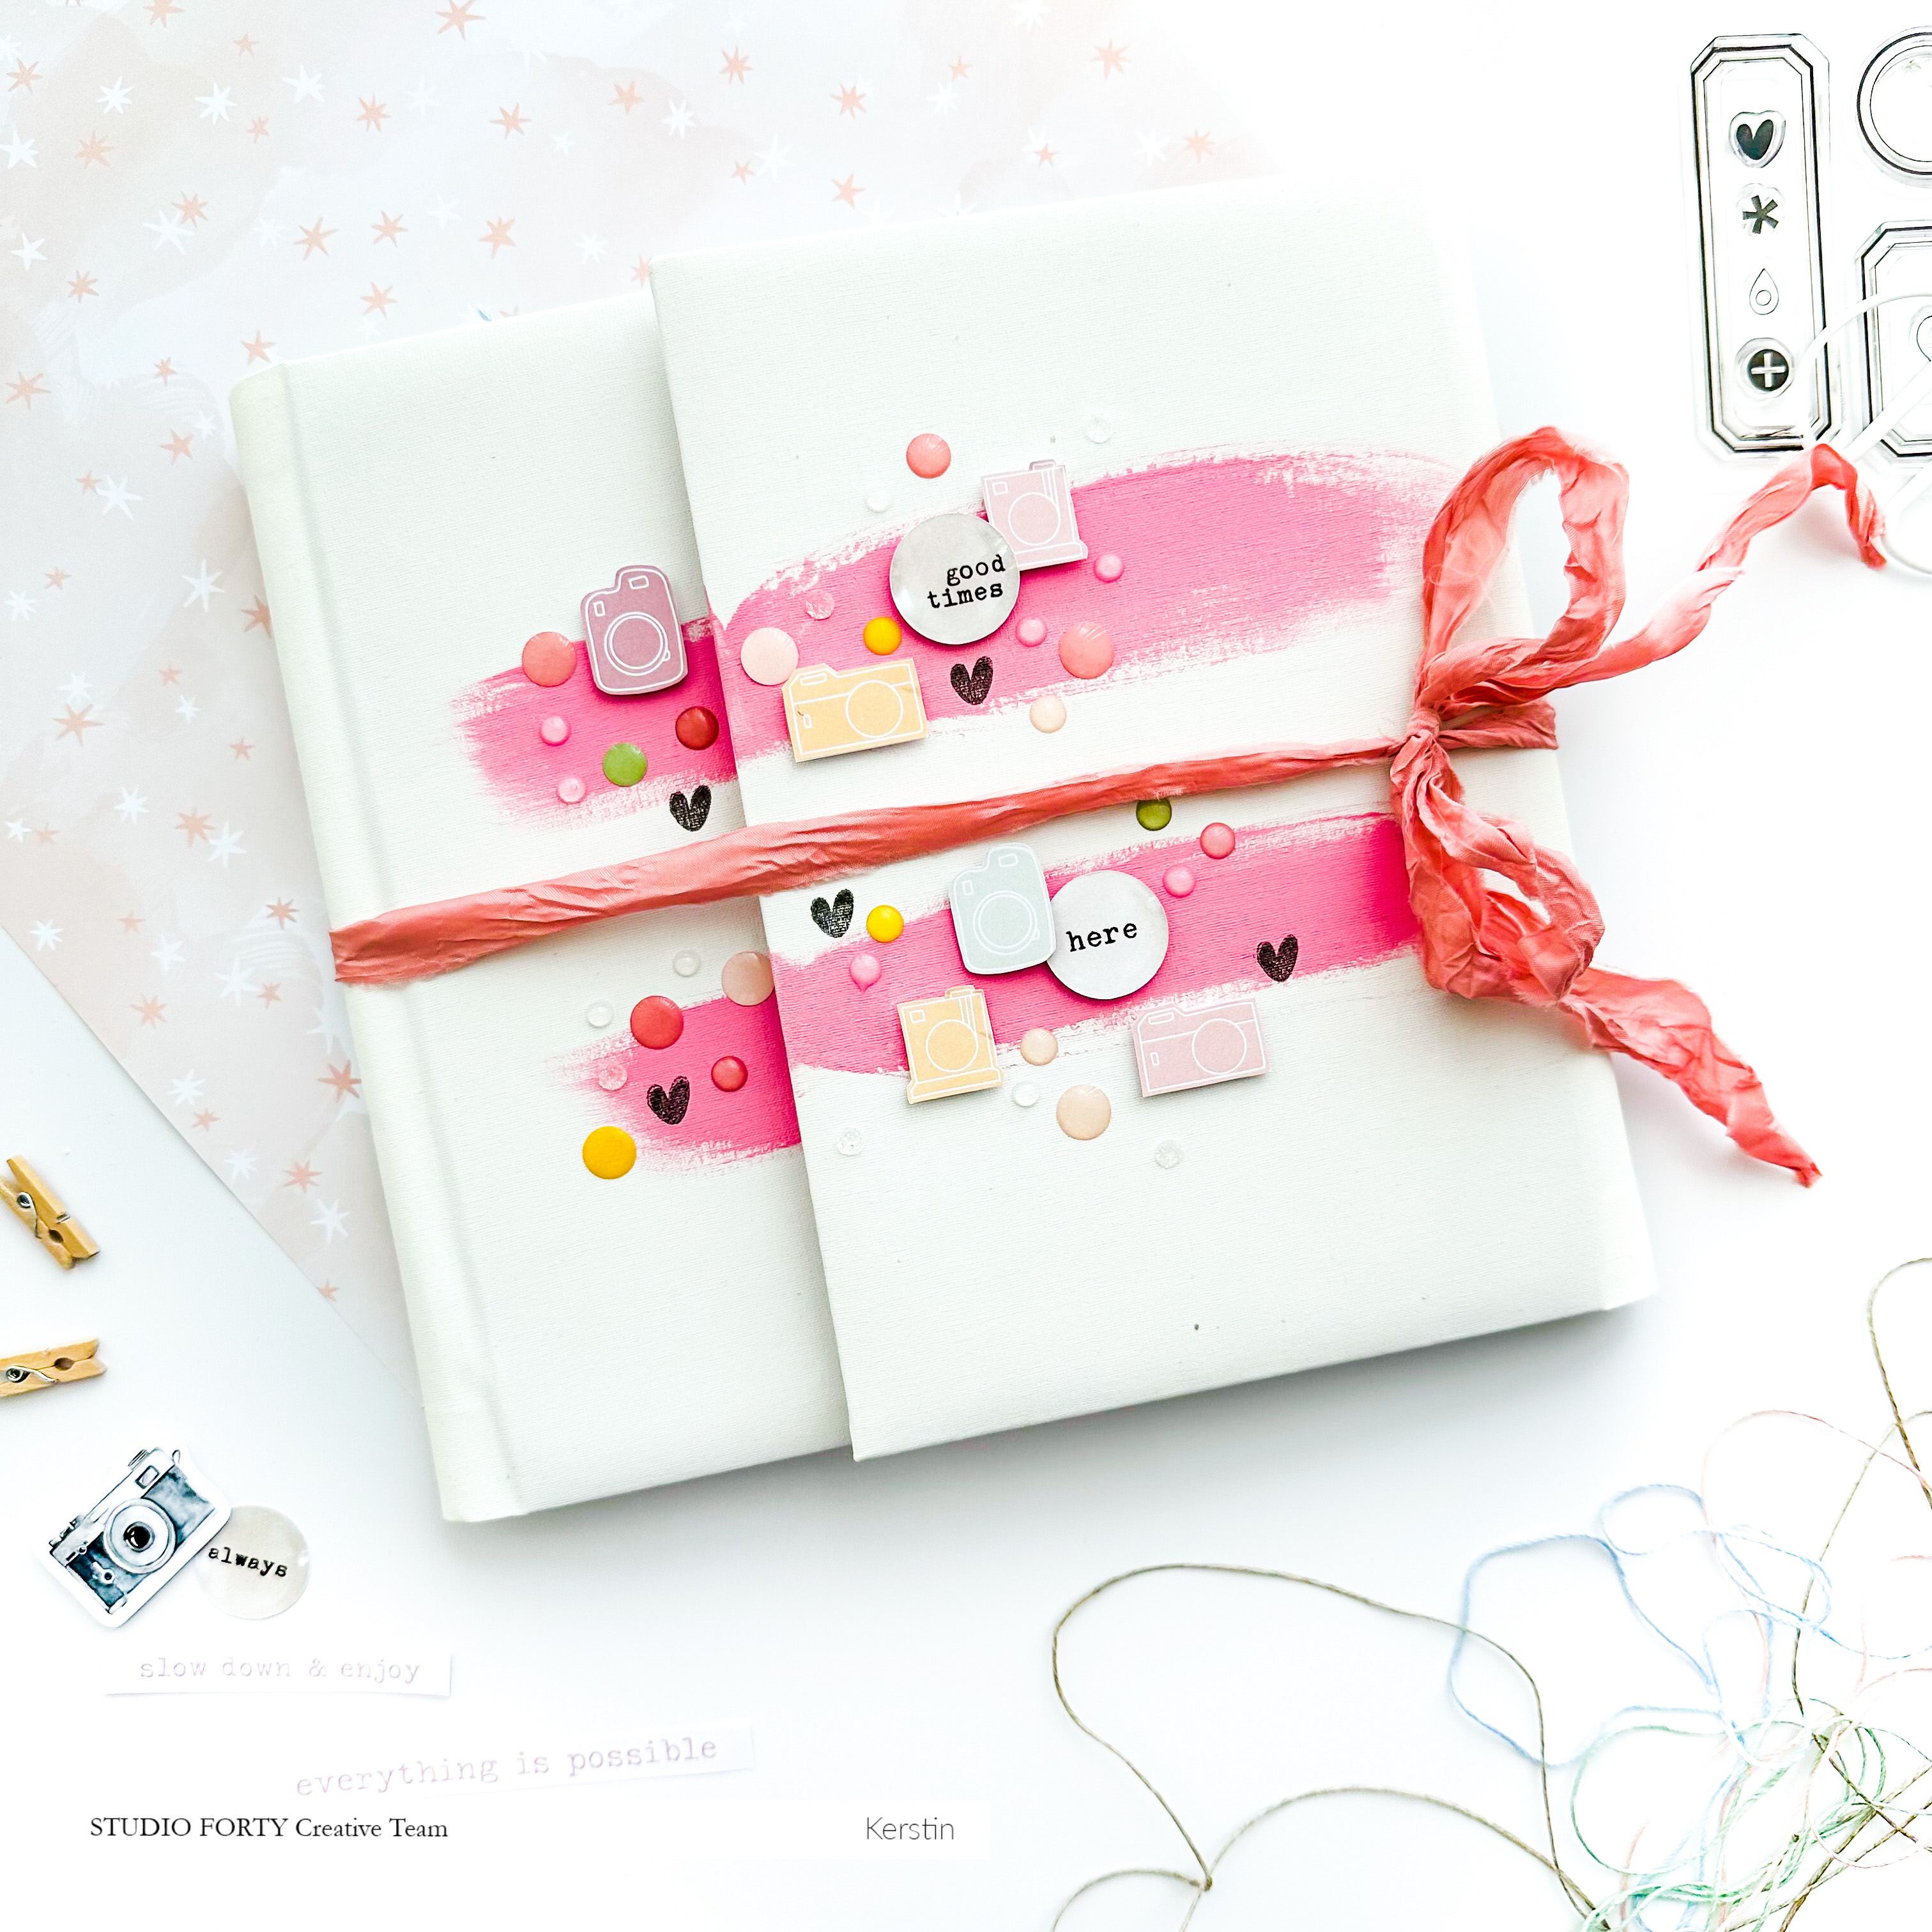
Hi everyone! Kerstin here with a new inspiration for you feat. the Album Base white. An album doesn't always have to be homemade! This white Album has a cool size (23 x 23 cm) and comes with 7 pages. Perfect to get started right away. I show you today what I have made. Let's get started! 


For the closure I chose the beautiful Old Fashioned Ribbon in the color powder pink. To match, I have painted two pink stripes with acrylic paint. After drying I decorated with Dots 3D Stickers from different collections, the Essentials Cameras Stickers and Everyday Story Paper Die Cut Elements. I stamped on some black hearts using Stamp Set #168 To Do Labels. 


For the right side of the album I used one of the enclosed pages. I cut strips out of the cute Everyday Story 03 Make Art Paper and glued them on with 3D Foam. For the decoration I chose Paper Die Cuts from the Everyday Story collection again and the Simple Life Stickers Set and the Phrases Stickers Set. I've enough space to keep my memories.


In the middle of the album I made pockets to fill from Everyday Story 04 I Girls Night, Don't Grow Up 04 I Free Spirit and Let's Party 02 I Sweet Life Papers. Decoration must not be missing, of course - as you can see in the photo. In these pockets I can put journaling cards with my notes/memories and photos.  


As a highlight, I made my title out of little letter cubes. 


For the left side of the album, I decorated some of the enclosed pages. I pasted the pages with design paper - Together 05 I Gather, So Romantic I Paris.Paris and a Paper from the Here & There collection. I arranged the pages in a fan shape - I chose the width of the fold as the spacing - and glued them on. 


Here you can see the pages in more detail! To decorate these pages I used Everyday Story Paper Die Cuts, the amazing Be Happy Stickers, Be Motivated Stickers Set and of course Dots 3D Stickers. There is plenty of room for journaling and photos! I'm really looking forward to filling this album with memories.

I hope you like my idea with the Album Base white! It offers many possibilities to create an album. 

Thanks for stopping by! See you soon! Kerstin xx 

GOOD TIMES MINI ALBUM I KERSTIN SCHEIDLER

3D dots
Hello together!
Kerstin here today with a Mini Album inspiration for you! I love minis! I can keep my memories there wonderfully. This is the one my daughter asked for! I decided to go with the 3 1/2 x 6 1/2 inch size. The back has a width of 1 inch. Since I am in love with the plaid paper from the Essentials 2023 collection, I had to make the cover of my mini with it. But before I tell more here, let's get started! 


Since I love flowers and leaves, I stamped leaves on vellum with the awesome HAPPINESS stamp set #164, cut them out and arranged them on the cover. For my title, I used one of the ESSENTIALS Transparent Stickers. I put it on white copy paper, cut it out and glued it on with 3D Foam. To close the Mini I used the adorable OLD FASHIONED RIBBON. 


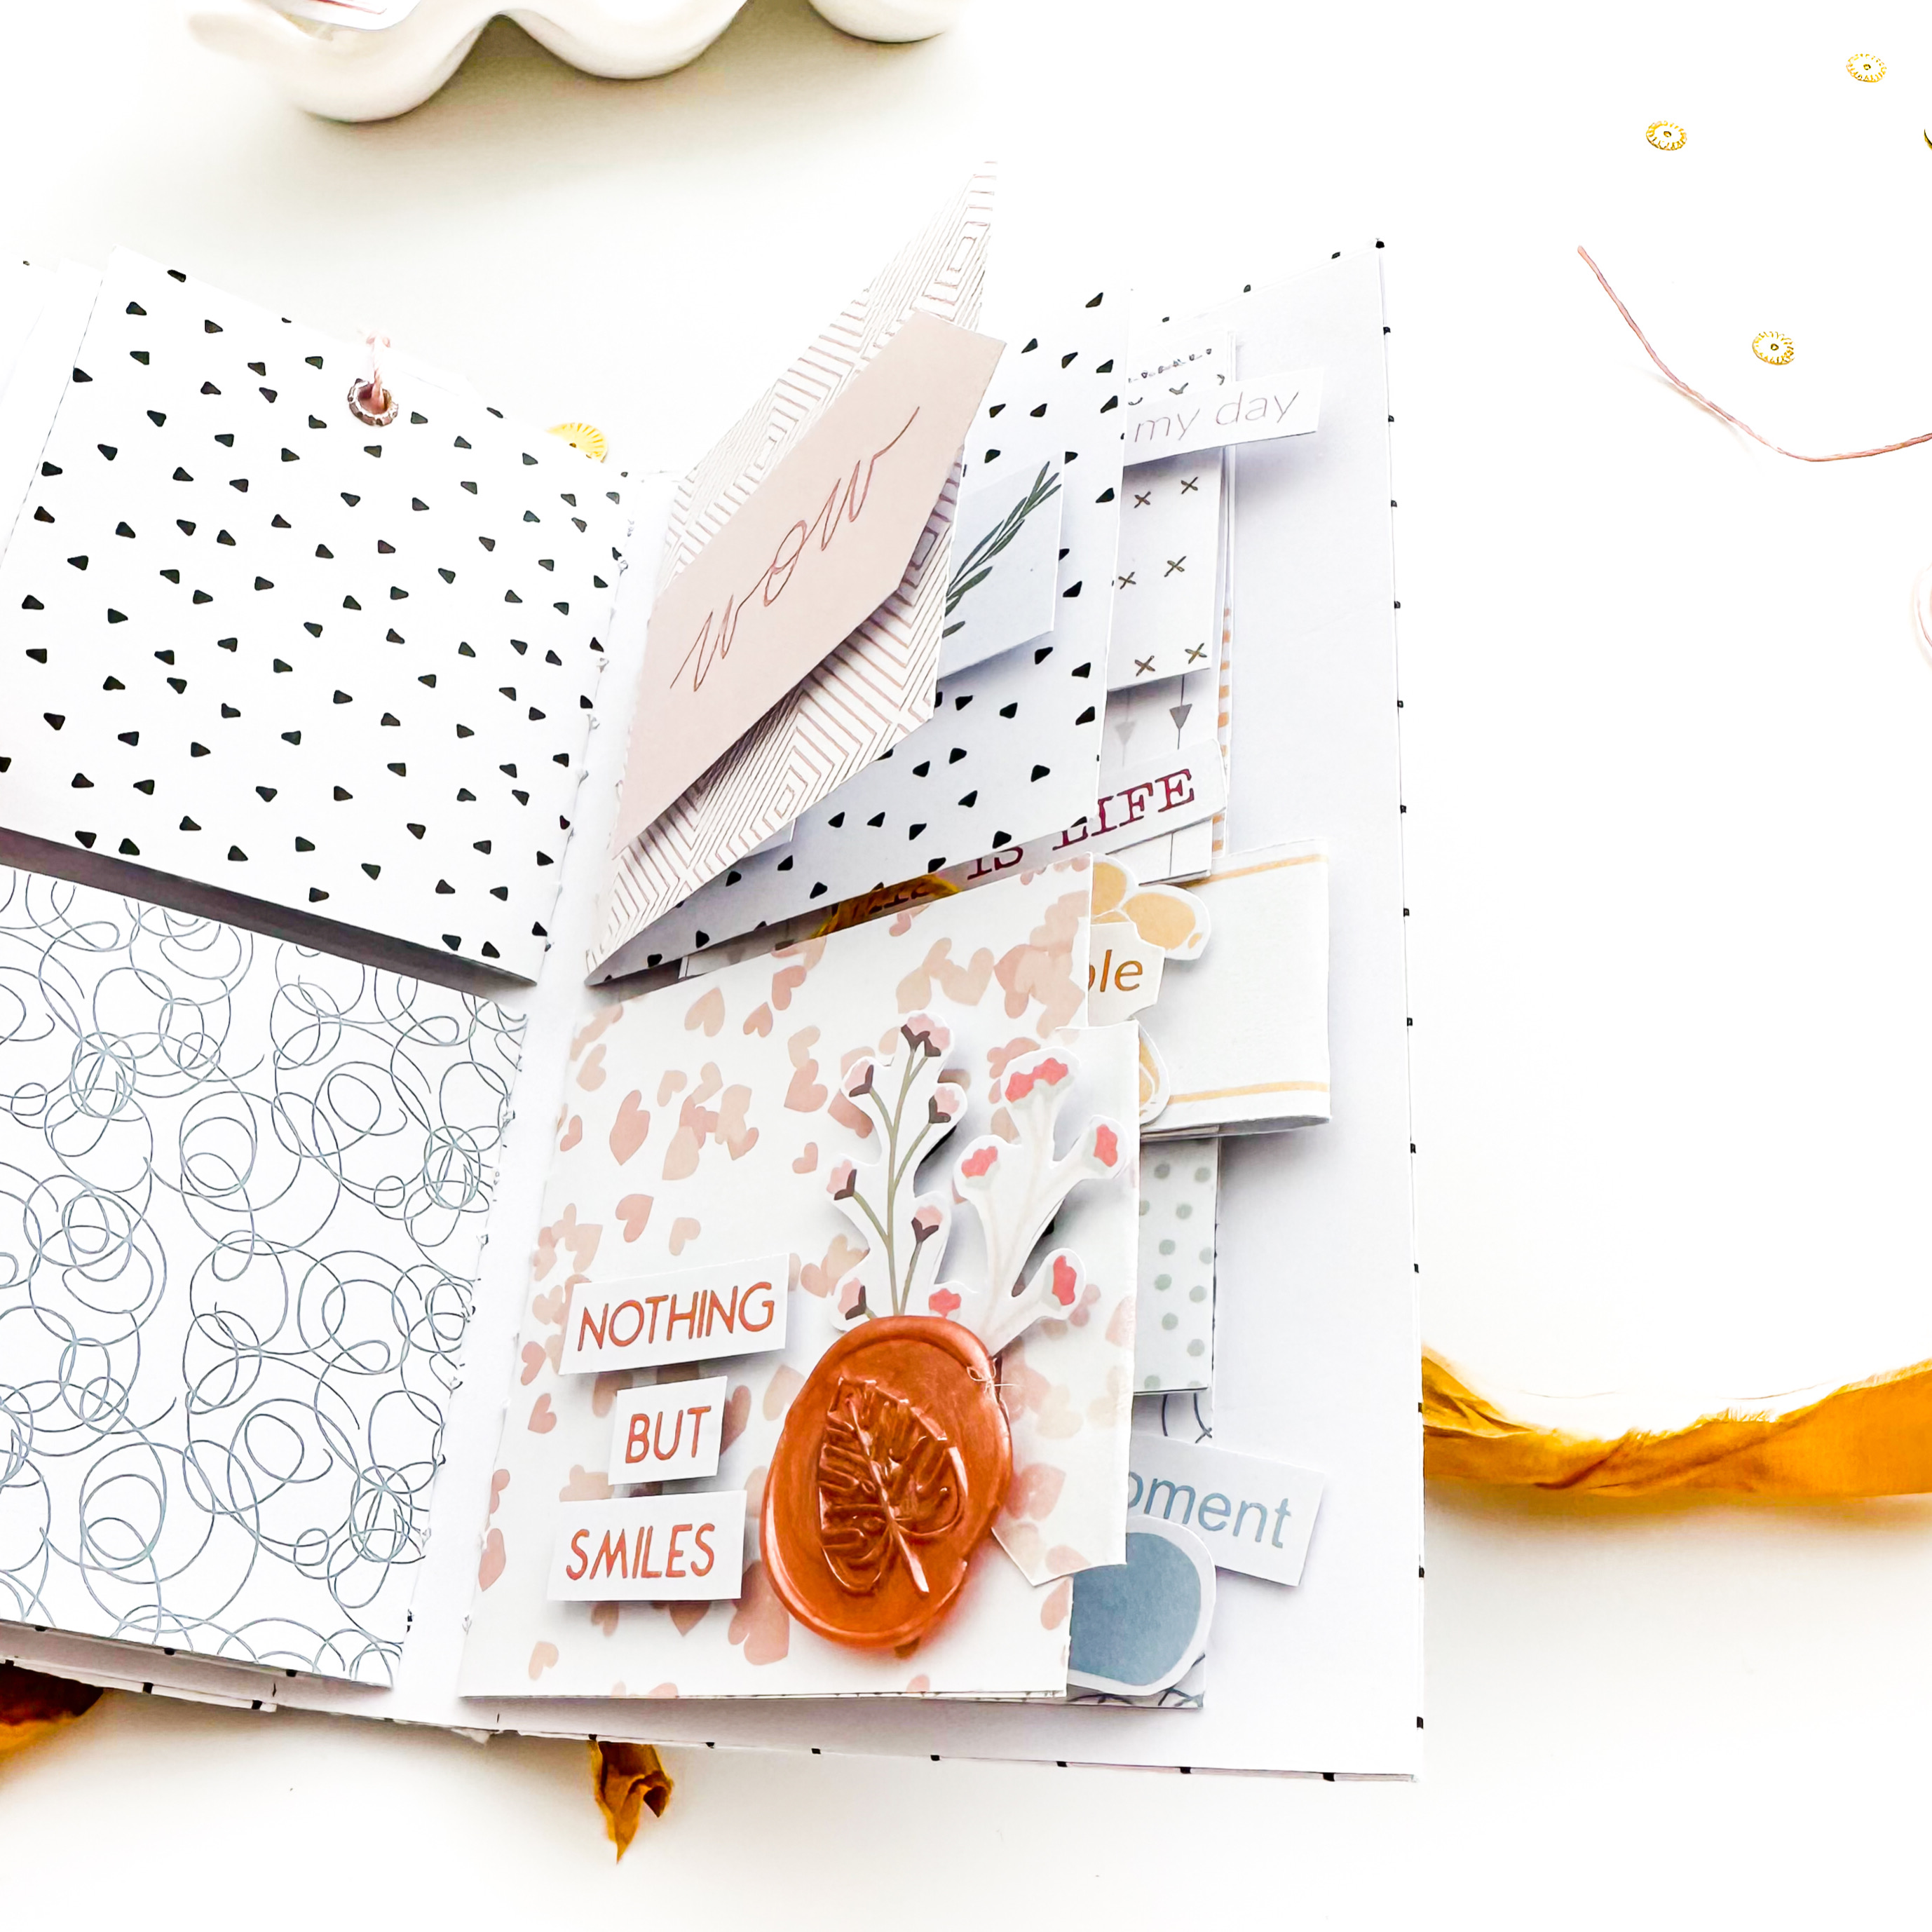
For the inside pages, I chose a size of 3 x 6 inches. I folded the paper in half and then sewed it onto a paper - which I later glue into the mini. Like this - one side each top right, top center, top left and then bottom right, bottom center, bottom left. This is how these mini pages are created. I glued a few together as a pocket and left others open to hold my photos or journaling. 


Here you can see the first pages when the mini is opened. For the top pages I chose acetate, painted with some acrylic paint and used some of the cute Essentials 2023 3D Sticker Dots. 


 I wrapped some yarn around the second side of the acetate and applied Essentials 2023 Transparent Stickers. In the photo you can also see how I sewed the sides. 

I'll show you some inspiration how I designed the pages in the next few photos.


I hope you like this idea and I can inspire you to make a mini for your memories. Thanks for stopping by and have a wonderful creative time!

Kerstin xx 


Tęcza | Anna Kaczmarek

Aka
Cześć, tu Ania.
Mam dla Was dziś coś tęczowego.
WyglÄ…da nieco jak oÅ›miornica, a to tak w zasadzie mini album z cytatami. 
Zrobiłam przegląd kolekcji papierów Studio Forty
 i okazaÅ‚o siÄ™, że mam już ich sporÄ… tÄ™czowÄ… kolekcjÄ™ ;)


Strony albumiku skÅ‚adajÄ… siÄ™ ze Å›ciÄ™tych nieco kółek, 
tak, aby na płaskiej części można było wkleić wstążkę.
WybraÅ‚am wÅ‚aÅ›nie mocowanie wstążkowe, 
ale można też kleić ze sobą papierowe marginesy kółek.


SklejaÅ‚am ze sobÄ… po dwie strony, 
a w środek wklejałam po dwa kawałki wstążki.
WybraÅ‚am takÄ… o szerokoÅ›ci 1 centymetra i kleiÅ‚am tak, 
aby pół centymetra wystawaÅ‚o na zewnÄ…trz. 
Tą wystającą część wklejałam następnie do kolejnych dwóch kawałków papieru.
Wklejane wstążki pocięłam na różne długości, żeby swobodnie zwisały.
A następnie je pokolorowałam markerami.


Lubicie tasiemki, wstążki z napisami?
Ja bardzo!
A wiecie, że możecie je zrobić sami?
Wystarczy permanentny tusz do stempli (ja użyłam czarnego Archivala)
oraz różne stemple.


Wybierałam krótkie sentencje, pojedyncze słówka, ale też małe symbole.
Na pewno wykorzystam jeszcze
 ten sposób ozdabiania wstążki przy pakowaniu prezentów!


Na poszczególnych stronach umieÅ›ciÅ‚am różne cytaty o tÄ™czy, 
oraz ozdobiłam je odbitkami stempli Studio Forty.


Takiej kolorowej dawki energii potrzebujÄ™ ostatnio.
I cieszę się, że przy okazji tego projektu,
wpadłam na pomysł stemplowania wstążek :)
Skorzystacie z niego?
Pozdrawiam!


Do zrobienia prywatnej tęczy użyłam: