Pokazywanie postów oznaczonych etykietą notebook papercrafts. Pokaż wszystkie posty

Notesy mini, midi, maxi | Anna Kaczmarek

Aka
Hej, tu Ania!
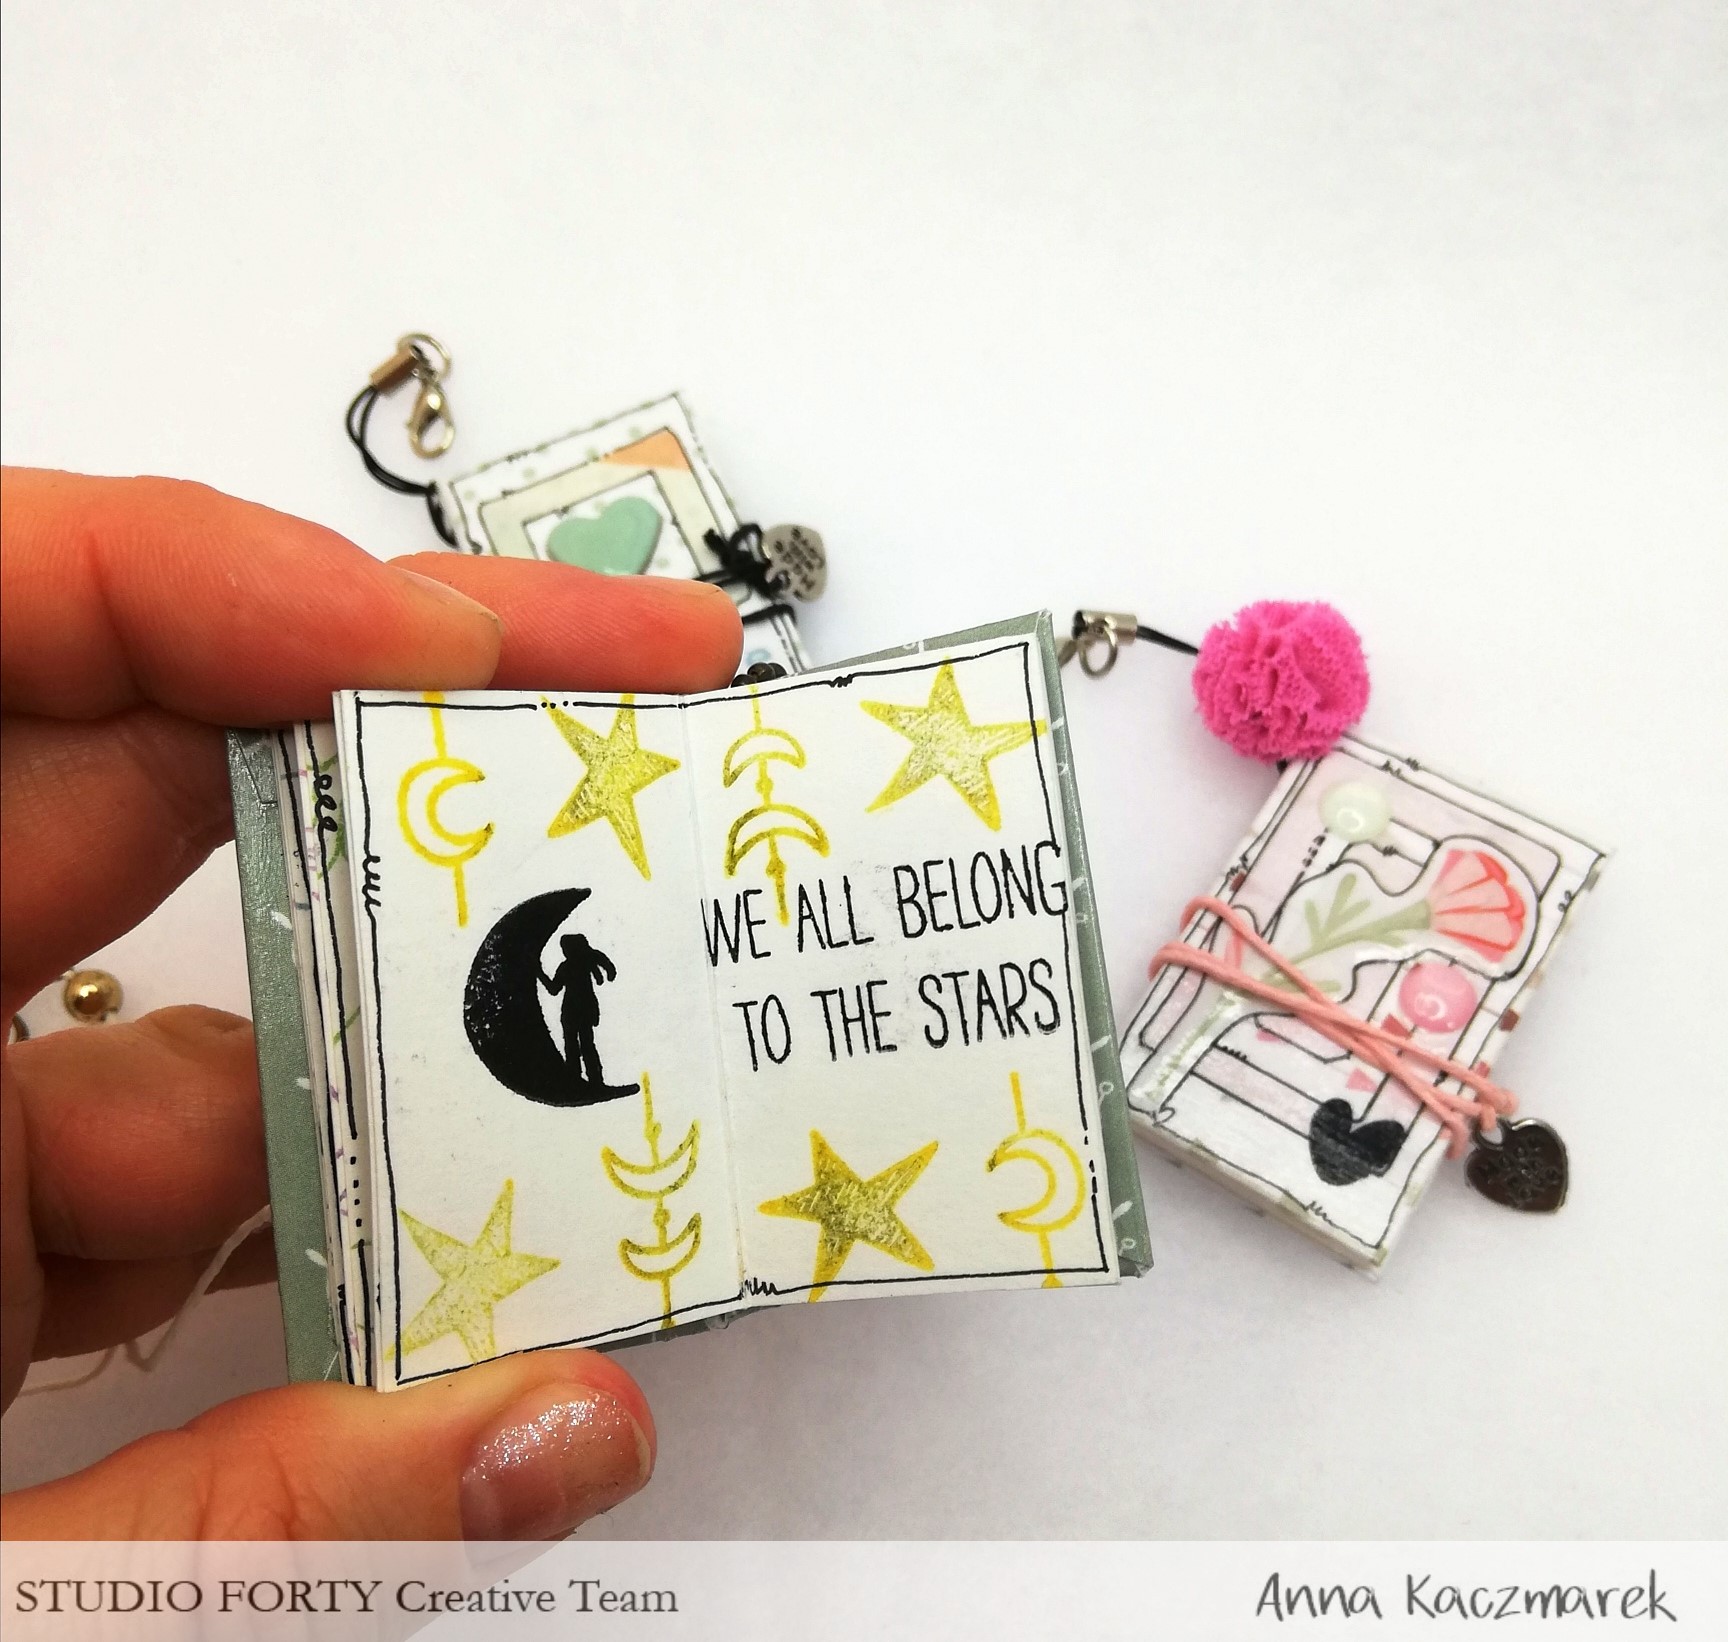
Mam do pokazania notesy w różnych rozmiarach, ale łączÄ… je kolorowe wzorzyste papiery, naklejki i stemple.


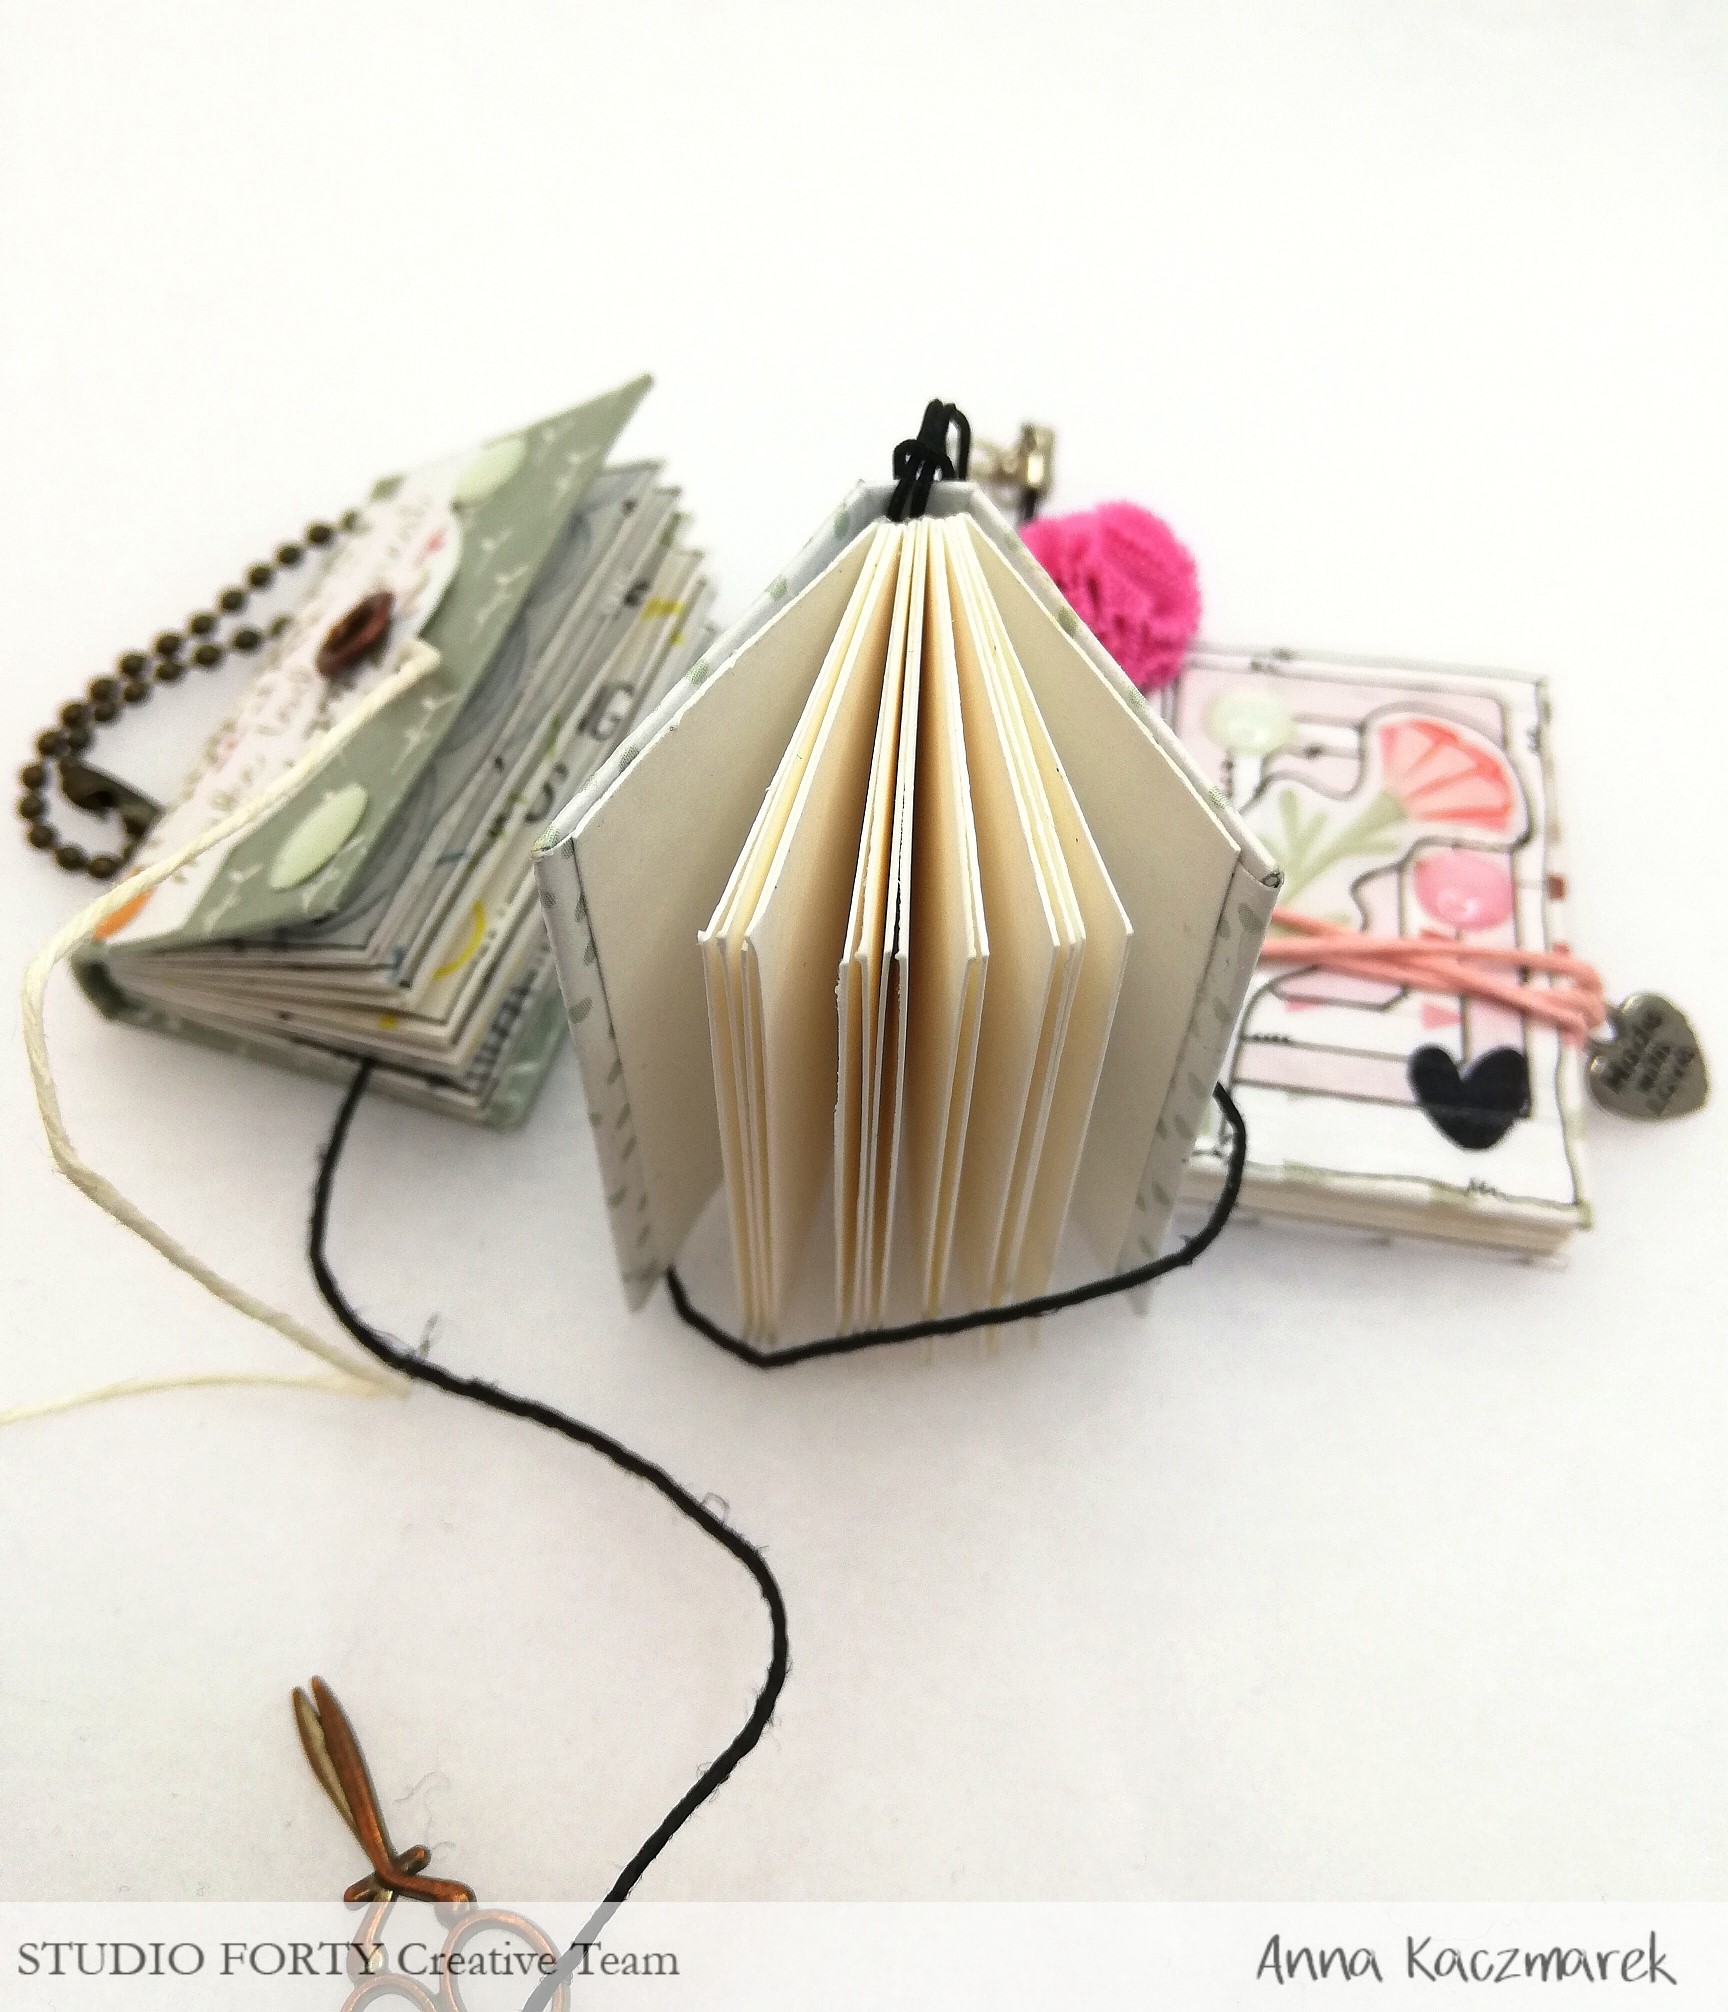
MaÅ‚e notesy stworzyÅ‚am od podstaw: najpierw wycięłam z biaÅ‚ego papieru akwarelowego osiem prostokÄ…tów o wymiarach 5 cm x 6 cm. NastÄ™pnie je zbigowaÅ‚am na Å›rodku i zÅ‚ożyÅ‚am na pół wzdÅ‚uż tej linii 5 cm.


Osiem zÅ‚ożonych kartek uÅ‚ożyÅ‚am jednÄ… na drugÄ…, spięłam klipsami do papieru i zagiÄ™cia posmarowaÅ‚am klejem introligatorskim do papieru.


OkÅ‚adkÄ™ zrobiÅ‚am z trzech kawaÅ‚ków nieco grubszego papieru, które nakleiÅ‚am na papier kolorowy - tu akurat z kolekcji Essentials.


Następnie wkleiłam sklejone kartki w okładkę.

Wierzch każdego mini notesu pokryÅ‚am cienkÄ… warstwÄ… lakieru, można użyć takiego do decupage'u. Zabezpieczy to notesiki przed zabrudzeniem oraz przed zniszczeniem papieru.


Pokażę jeszcze, jak oklejam okÅ‚adki różnych notesów, nie tylko tych najmniejszych.
Trzeba pamiÄ™tać, aby oczywiÅ›cie papier byÅ‚ nieco wiÄ™kszy od rozmiarów okÅ‚adki, aby można byÅ‚o oprawić również jej brzegi.
Gdy już nakleję papier na wierzch, to potem robię linię bigowania dłutkiem kulkowym wokół całej okładki.


Potem nakÅ‚adam cienkÄ… liniÄ™ kleju introligatorskiego na liniÄ™ bigowania oraz na "skrzydeÅ‚ka" i chwilÄ™ odczekujÄ™, aby papier nieco zmiÄ™kÅ‚ na tym bigowaniu.
Dopiero potem zaginam skrzydełka papieru na okładce.
DziÄ™ki temu mam pewność, że papier nie popÄ™ka na zagiÄ™ciach i w sumie nigdy mi siÄ™ to nie zdarzyÅ‚o z żadnÄ… okÅ‚adkÄ….


Przy tym wiÄ™kszym notesie wykorzystaÅ‚am wypukÅ‚e naklejki - dots'y w nieco innym celu ;)
KażdÄ… z naklejek przedziurkowaÅ‚am i nakleiÅ‚am na otwory sprężyny w okÅ‚adce. WyglÄ…da to bardzo ciekawie i jest dodatkowym akcentem dekoracyjnym.


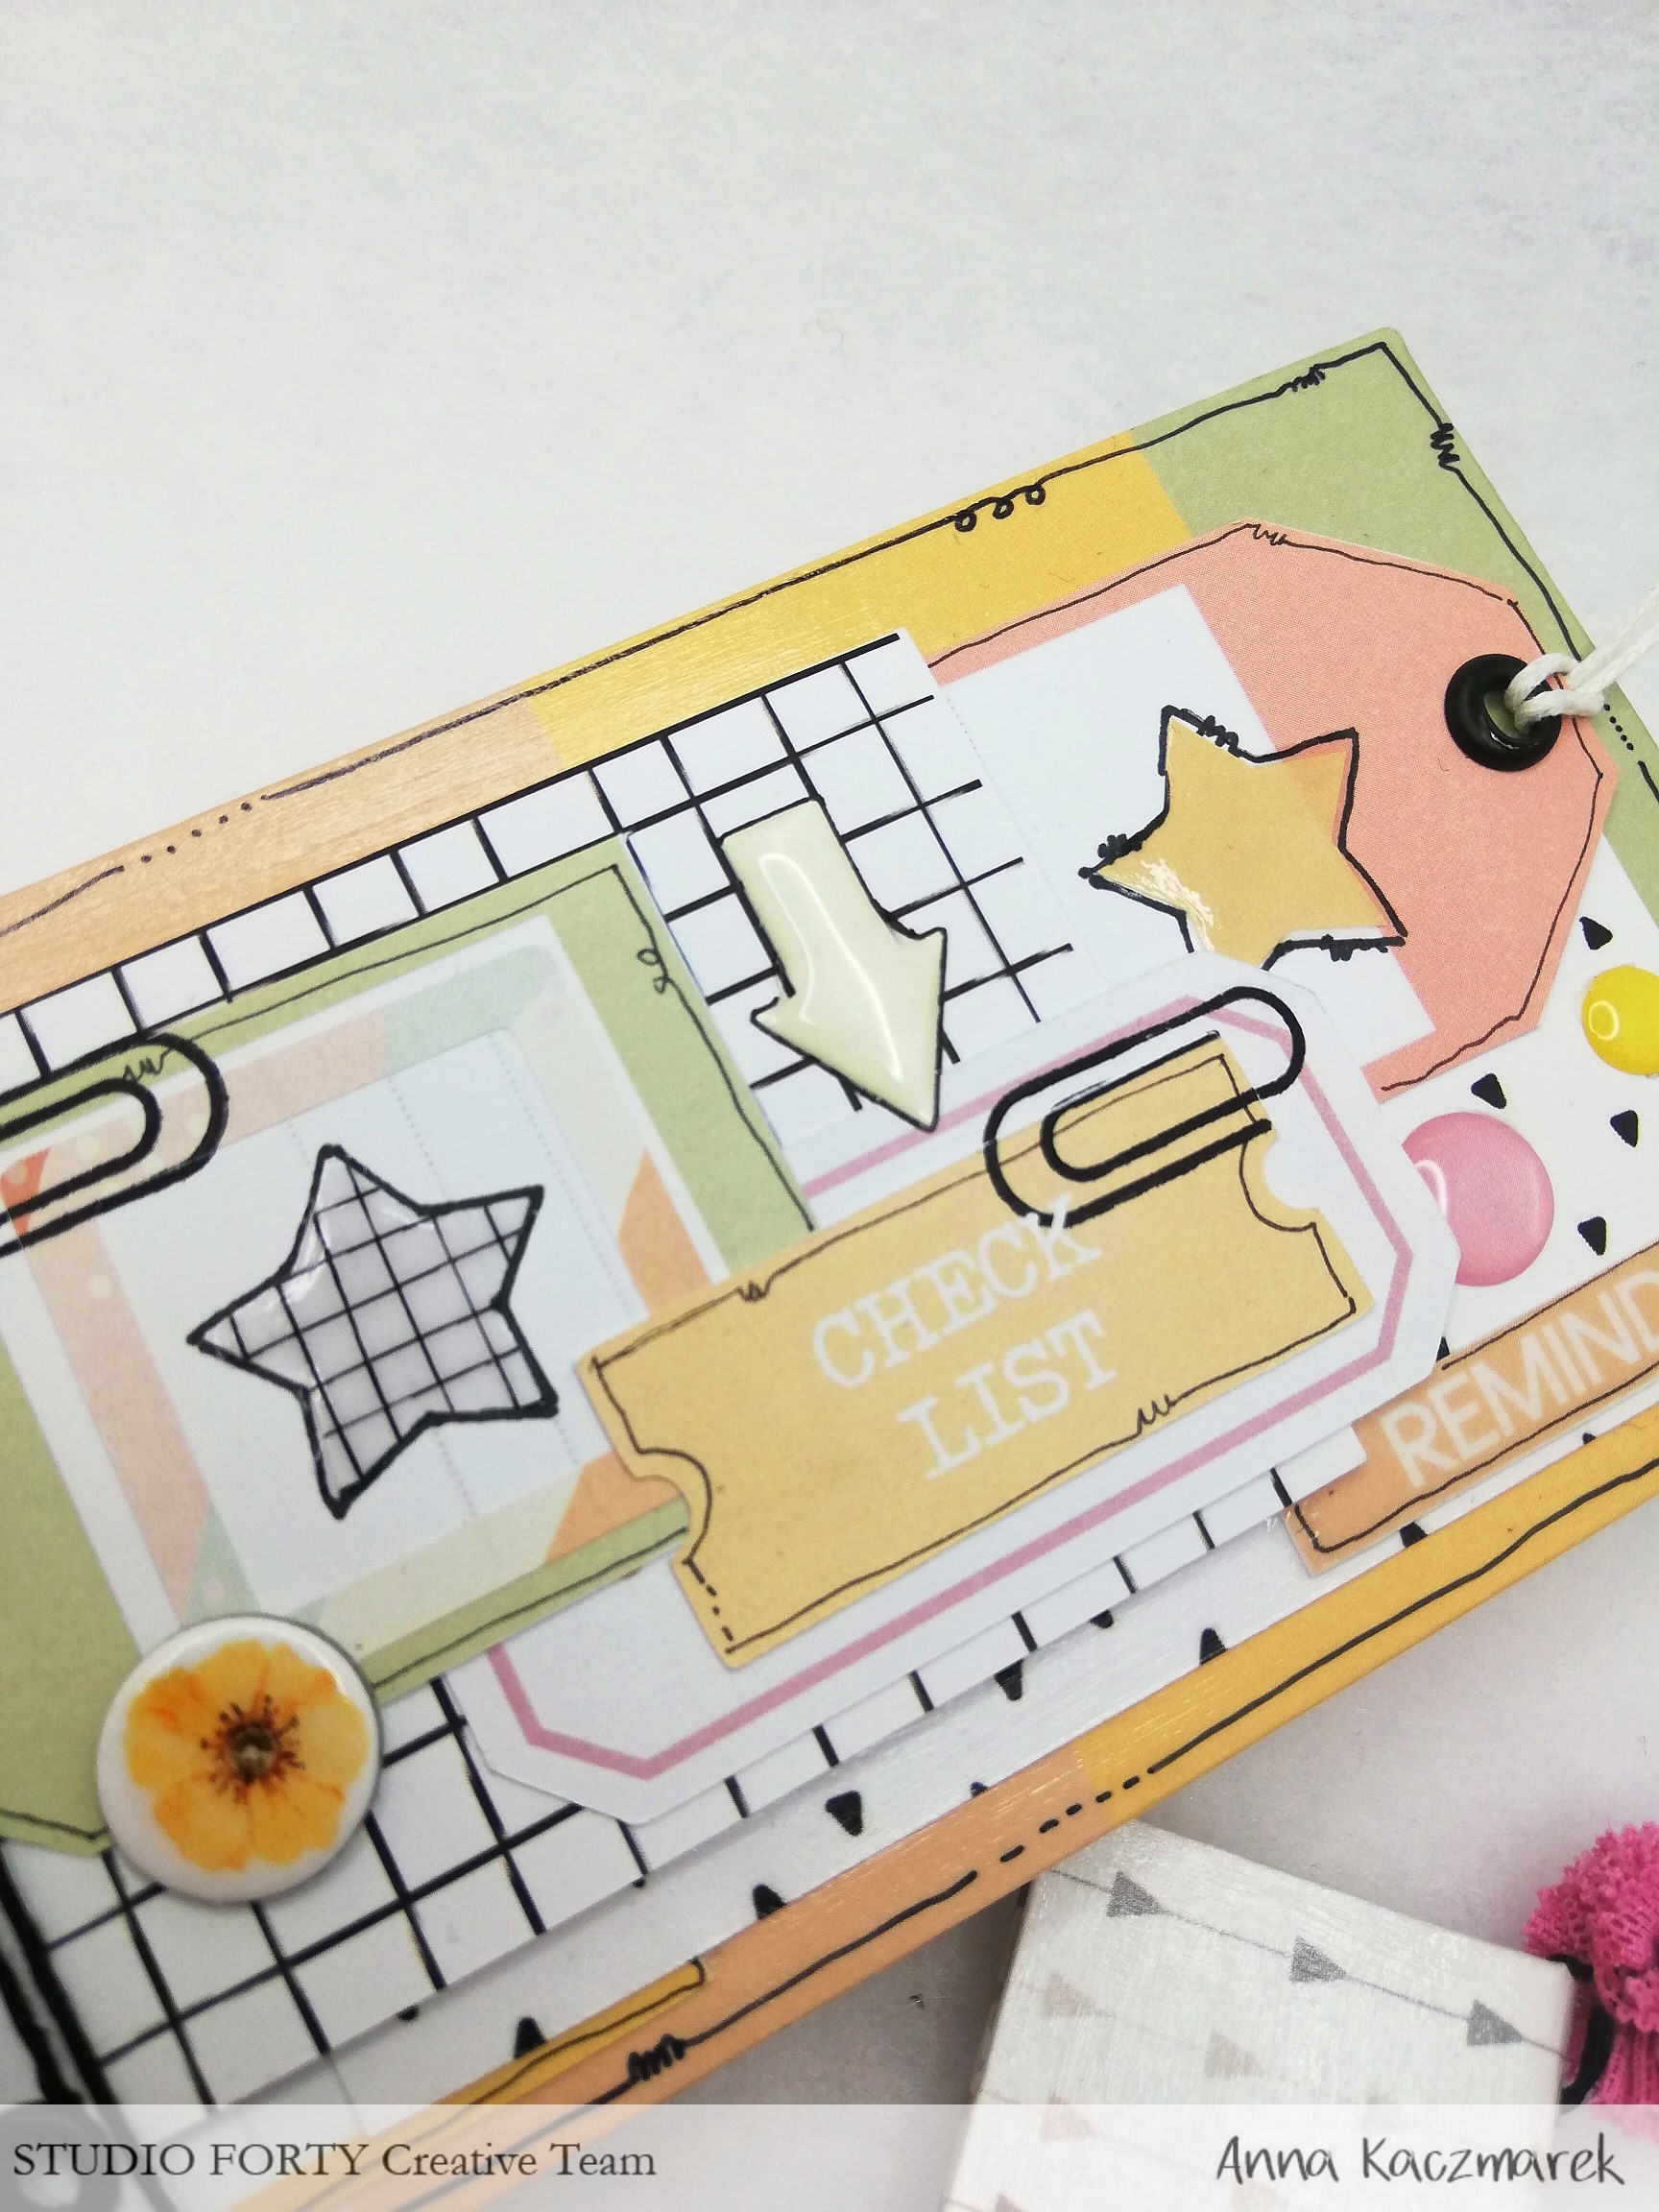
Niektóre chipboardy i naklejki pokryÅ‚am grubszÄ… warstwÄ… szklistego lakieru i uzyskaÅ‚am dodatkowe wypukÅ‚e elementy.


Lubicie robić notesy? Ja na pewno wolÄ™ je robić i ozdabiać, a potem dawać w prezencie, niż je uzupeÅ‚niać ;)

Zachęcam do tworzenia!


Shaker tag | Anabel

Anabel
Hi pretty!

I'm Anabel from @cattaleiasoul. Today I am in the studio forty blog to show you 
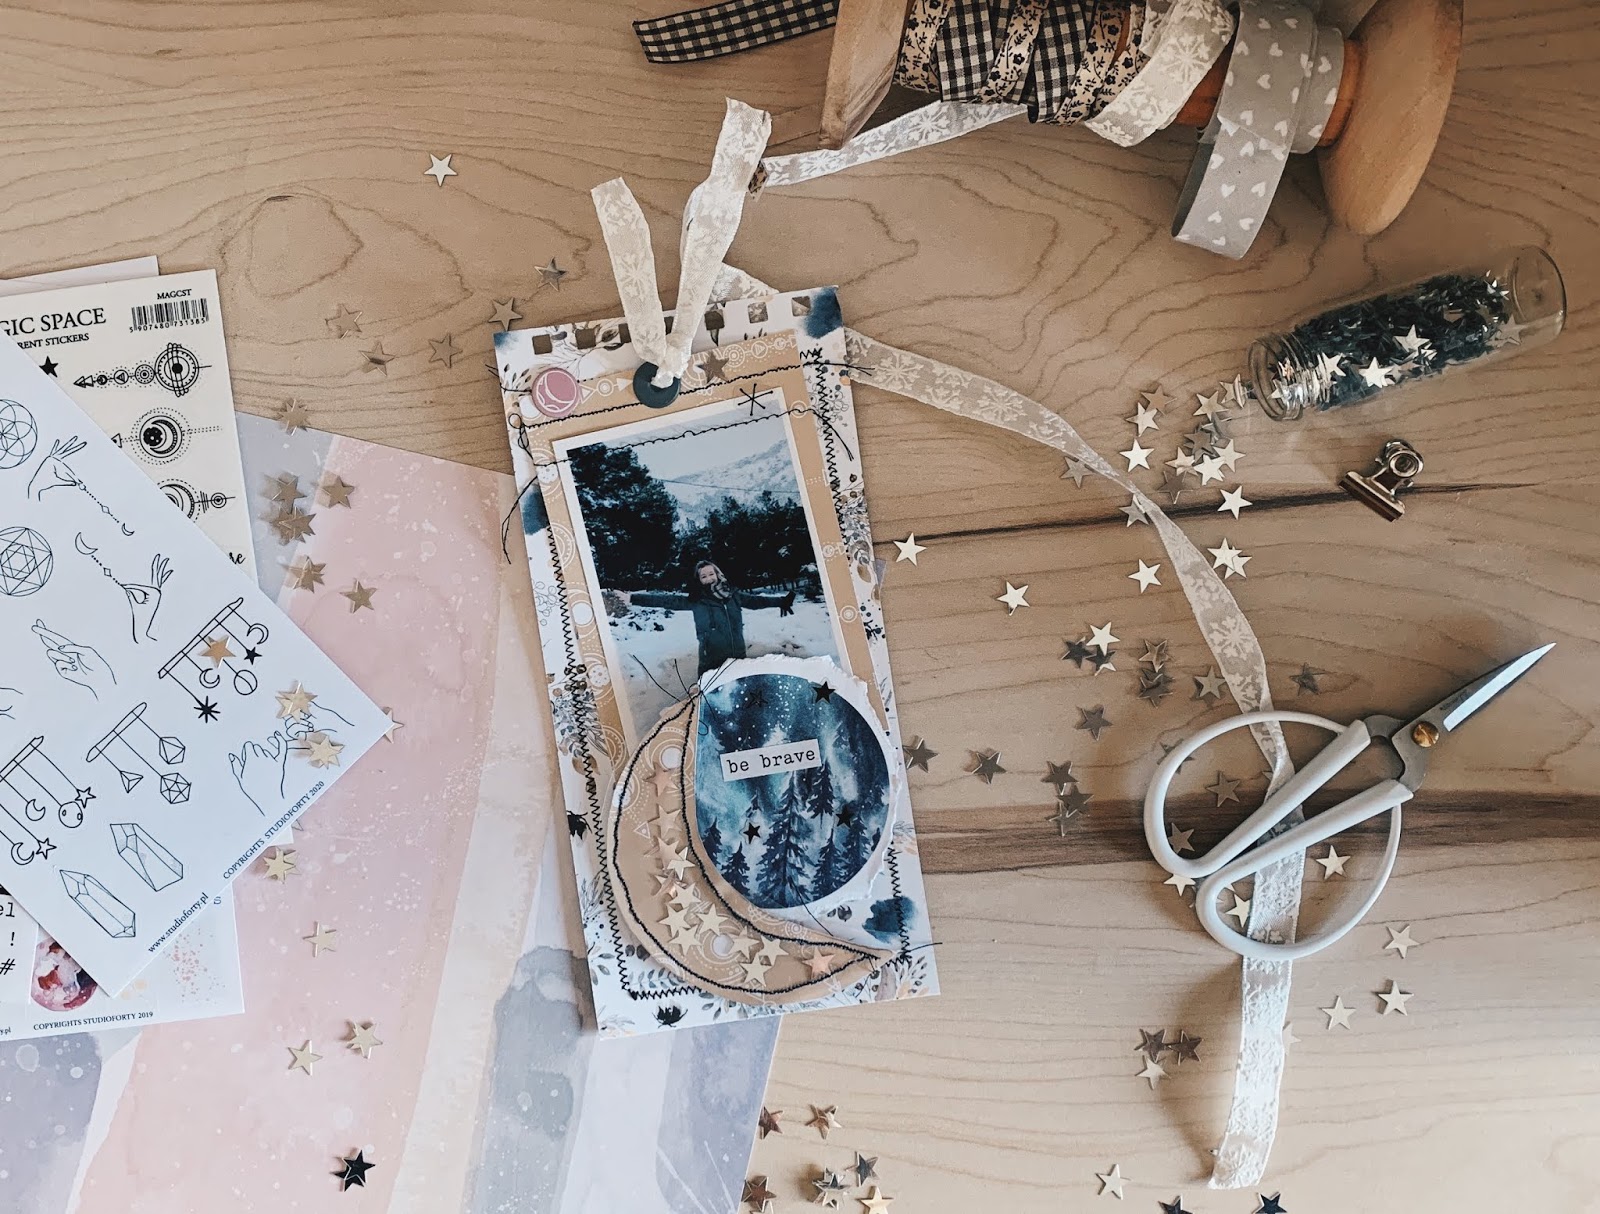
the shaker tag that I made with the new Lunare collection.
The first thing I've done has been to choose the papers, and size. 
For this occasion I only needed two 10x21 papers and coincidentally 
it is the same pattern but each one I will use for one side.
 

I really like the sewn effect, so I used my sewing machine quite a lot. 
I have done the first sewing around the paper that will be the base.
 For my moon-shaker, I first cut one in a white paper to see the size I needed,
once I decided, I cut the acetate and the paper I was going to use.
Then I have sewn a first part, I have introduced silver stars and I have finished sewing.


I have chosen a tag from the same collection and I have torn it to give it
 the shape I wanted.To this tag that has been left in a circular shape 
and to the moon I have glued them with 3d adhesive to give the tag a bit of volume.


I added a picture of a day that I was especially happy, because it snowed
in my city, something that never happens, and to give it my touch, 
I added some stitches with the sewing machine.

At the top, I made a hole and put an eyelet with the help of my crop-a-tell 
and passed a little ribbon that I had as a house of snowflakes.


To finish decorating it I have put some stickers with text and in the shape of stars.

I like to store my tags in a filing cabinet with rings so I made some holes with the cinch, 
which apart from being beautiful is practical for me.


I hope I have inspired you and see you very soon here.

Cattaleia

XX


TN inspiration | Vânia Fonseca

crafts Hello crafty friends! Vânia here with some Traveler´s Notebook inspiration.

I´m using mainly the GAIA collection, but i´m also using two of the new stamp sets from JOYFUL. Because, they´re so versatile, that in my opinion, can be used in any occasion.


Finally here where i live, south of Portugal, starts to feel like fall, yay!! The colder days are definitely coming. So i was inspired to create two "fallish" TN pages.


The notebook that i´m currently using it´s almost full and that makes stamping a little bit difficult, so instead of stamping directly on the notebook i make my pages and then adhere them to my notebook.


My first page it´s about tastes of fall and pomegranate it´s definitely a fruit typical of this season.


In my first spread i made my own background, using black and two different shades of brown ink for stamping the leaves "flying" around.


I made a border around the tittle and add the squirrel sticker, i think it gives a little fun touch.


For both of this pages i used images that i fussy cut, it´s a great idea, because you can make your one die-cuts and have a lot of them to decorate your pages and mixed them with stamped ones.


I also use some of the chipboard pieces, because they add a little volume but not to much and that it´s something we have to consider when we are working in the TN format.


For finish my pages i always like to add some ink splatters, this time i used gold ink for doing that.


And that´s all for today!

Thank you so much for watching, as always the links to all the products that i´m using are below!

Gaia paper collection
- Days Documented stamp set
- Winter Alpha stamp set
Fall Flowers stamp set
Go Wild stamp set
Warm and Cozy stamp set
Borders stamp set
Gaia chipboard stickers set
Eco friendly stickers
- Nature transparent stickers