layout
Today is my last post for Studio Forty, so these are my farewell projects, although I hope we continue to see each other on social networks, I'm sure we will.
Today two layouts, I have used the latest collection and I hope you like them.
I have cut two strips of paper that I have sewn at the top and bottom.
In the center and on two papers I have pasted the photo and then I have been adding different ornaments.
I have written some sentences and with a stamp I have placed a sentence in relief.
Plus I've splattered with ink.
For the second one, the design is vertical. On the left I have cut a piece of paper into strips.
In the upper part I have pasted the photo and on the strips of paper I have stamped with a stamp.
With the sentences that I have written I have stamped other words with a seal.
I have also glued a couple of chipboards... and I have splashed this time in gold.
We keep seeing each other!👋
marivipazos
I know winter has just started, but I'm already looking forward to spring.
As there is a "little time" left for that, I have rescued some photos of flowers for these projects.
layoutdesing
Today I bring two layouts, in the first one I have placed the photo on top of papers cut in different sizes, both stand out and on them I have been placing the different ornaments.
In one corner I have placed a piece of paper, and below it a sticker with a phrase and I have stamped the word "time" in gold.
As decorations I have cut some strips of paper that I have glued on the background and also several chipboards, ephemera, enamel dots...
I've also dotted gold all over the page.
In the photo above you can see more details of the layout.
For the second I have created a background with two different papers.This time I have used two photos of the same moment.
On the right side is where I have concentrated the ornaments. A label and around different elements.
I have stamped a phrase on the label and at the bottom I have glued a label.
I hope you like them!
I take this opportunity to wish you a Happy New Year!
marivipazos
Hello again, let's go for the last post of this year.
Today I show you two projects in TN with the
"TOGETHER" collection.
Although I haven't done PL this year, I love having
cards because I always use them, I love this resource, here you can see how I used one. Since the photo is landscape I have placed it in the same way.
I have decorated the photo with several chipboards and a piece of paper on the photo that I have cut in a triangle and placed in a corner.
For the second I have covered the entire page with a patterned
paper, and I have pasted the photo on it.
On the photo I have pasted a star and on top of it a small detail.
On the other page I have created a background with flower
stamps and on top I have placed a label.
On the
label I have pasted a phrase and I have written a few words.
I hope you like them and I take this opportunity to wish you a Merry Christmas.
See you soon!
cards
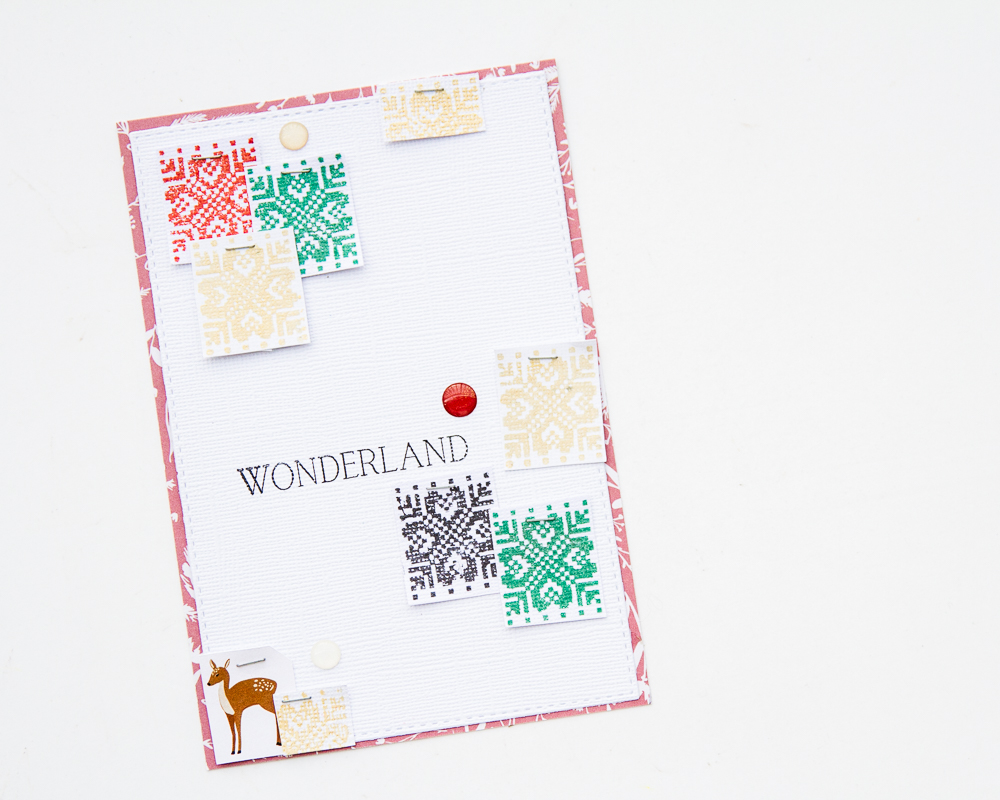
As there is little left for Christmas I have made a couple of cards, that even if you are not going to send them or yes, they can be a nice decoration for shelves or the tree or for packages...
For this one I have
stamped some papers with a Christmas sweater motif and I have placed them on the card as if I had stapled them.
I have glued some enamel dots and stamped "
WONDERLAND"
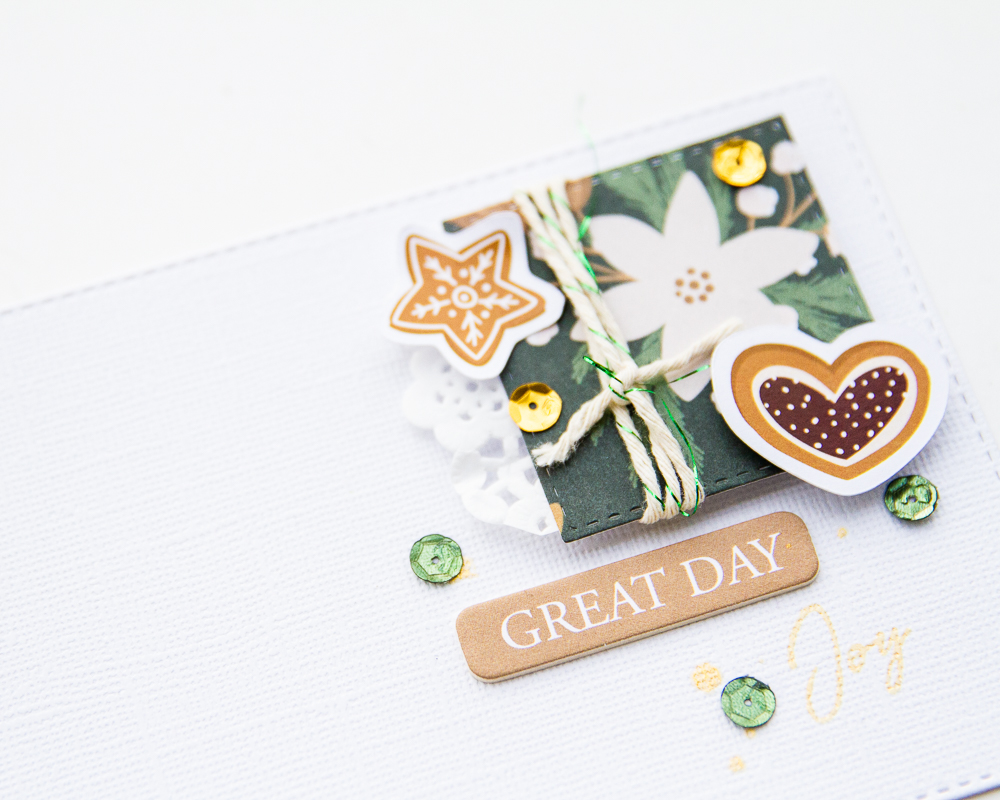
Here on a piece of paper I have been adding various
ornaments, to create layers and give volume to the card.
With gold ink I have stamped "
Joy" and I have splashed gold around it.
I have also pasted a chipboard with a phrase.
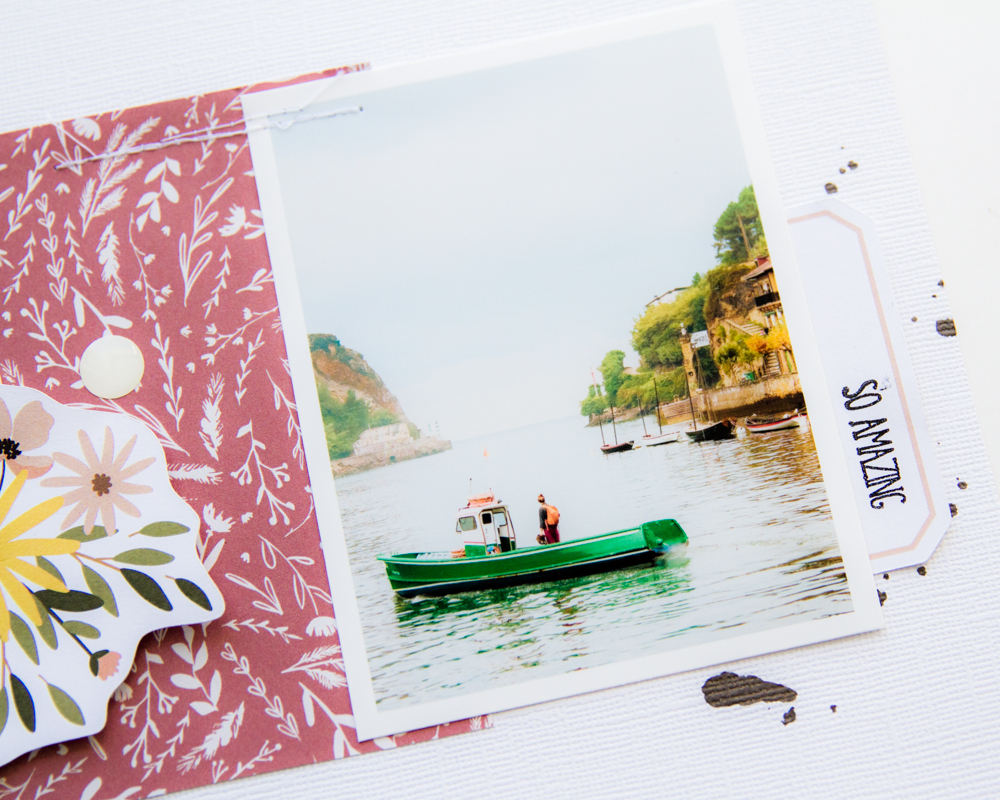
I have also made this small layout that although I have used Christmas decorations ... it is not Christmas at all, almost all the decorations can be given life throughout the year.
This time I have used craft paper and I have edged the paper with a ribbon.
I have decorated the photo with a frame and a flower die cut.
On both pages I have used chipboards and also here I have stamped a stamp.
have stepped out of my comfort zone with the cards...I hope you like them and they inspire you.
marivipazos
For those of us who like plants, but don't have any, because we don't have time to take care of them and the few we've had have died, any balcony with a few flowers drives me crazy. And of course, taking a picture...
And there is nothing I like more than a paper with flowers, which is what I used for this page.
I have covered the entire right side with this beautiful
"Together" paper.
For the title I have cut out and glued a
PL card to the bottom.
I have also glued some twigs with a little volume.
On the photo I have stamped some leaves and pasted a label where I have written some sentences.
For the second layout, I have also used a PL card, but I have not cut it, I have pasted it at the same height as the photo but on the other page, and I have decorated it with different stickers.
On the photo I have pasted another label to write a little.
And on both pages I have stamped some branches.
Below I have stamped a phrase, which I have continued to write by hand.
I hope you like it, see you soon!
layout
I'm here again, with new projects, this time layouts, of course with
"Together"
Here I have placed a layer of paper under the photo and with various
ornaments I have decorated.
I have sewn a strip of paper on top of the
paper.
Before gluing everything, I splashed ink on the paper.
I have placed a label where I have stamped a phrase.
In layers I have decorated the left side and on them I have pasted another phrase that I have previously stamped on a piece of paper.
In the second I have used three frames, which I have placed adorning next to the photo.
In addition to splashing with ink I have added different small elements.
On a couple of papers I have placed the photo, and on one side I have glued some strips of paper.
I have also
stamped some stars in green and near them I have glued enamel dots.
I have finished with some handwritten sentences.
I hope you like them!
Happy All Saints Day or Halloween!
See you soon!
.png "Menu")